Entering Yorktown National Battlefield is like stepping into the last act of the American Revolution. The Visitor Center and Historic Yorktown make key stops. Yet the park’s driving tours reveal the full size of the 1781 siege. If you plan a Yorktown trip, these self-guided routes best show the land and tactics of that enormous battle.
This guide to Yorktown Battlefield driving tours covers the two main routes: the Red Battlefield Tour Loop and the Yellow Allied Encampment Loop. See it as your helper for the battlefield visit—it adds details at each stop so the surrounding sights tell a clear, rich story.
This post may contain affiliate links, meaning if you purchase something through one of these links, we may earn a small commission at no extra cost to you! Read the full disclosure policy here.
Table of Contents
Know Before You Drive the Yorktown Battlefield Loop
- Start at the Visitor Center: Pick up the official “Yorktown Battlefield” map and guide. Its numbered stops correspond to markers on the road and are essential for navigation. Check the official park website for traffic and construction updates.
- Audio Tour: Consider downloading the NPS app or an audio tour for narration, but this post will provide rich detail for each site.
- Time Commitment: Each loop takes about 45-60 minutes to drive, but allow 2-3 hours total if you plan to read markers, get out at key stops, and absorb the views.
- The Route: The 7-mile Red Loop covers the British inner defense line and key attack points. The 9 mile Yellow Loop explores the massive Allied siege lines and encampments. They can be done independently or together.
- Wear comfortable shoes and bring essentials: Several stops require short walks on uneven ground, so sturdy shoes or sneakers are a must. Bring water to stay hydrated, a hat and sunglasses for sun protection, and a camera or phone to capture the battlefield views. A notebook or small journal can be handy if you like jotting down observations. Finally, pack snacks or a small lunch if you plan to take your time—some stops have picnic areas nearby..
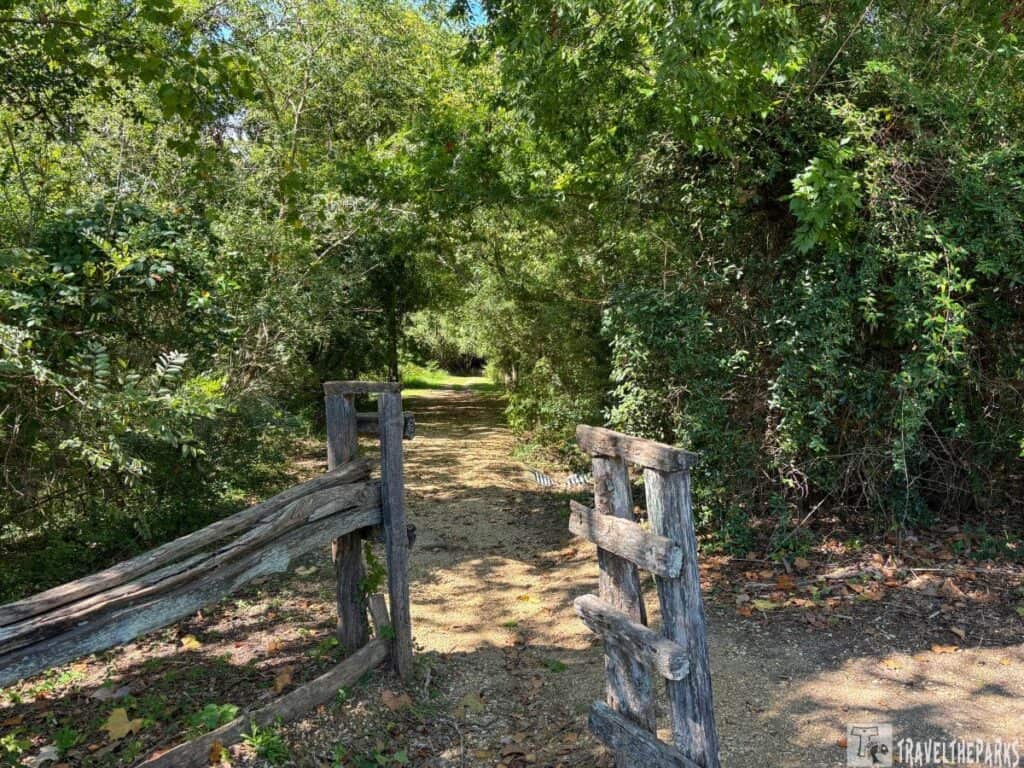
The Red Tour Driving Loop: Following the Final Days of the Siege
Taking the Red Tour at Yorktown National Battlefield really shows us how the last days of the Revolutionary War played out. The loop follows a natural flow as it led us from the British defensive works through the areas where the siege grew tighter and finally to the point where surrender was inevitable. The Red Tour focuses on the details—distances, terrain, and placement—that explain why Yorktown ended the way it did.
Each stop builds naturally on the last, making this one of the most informative ways to experience the battlefield.
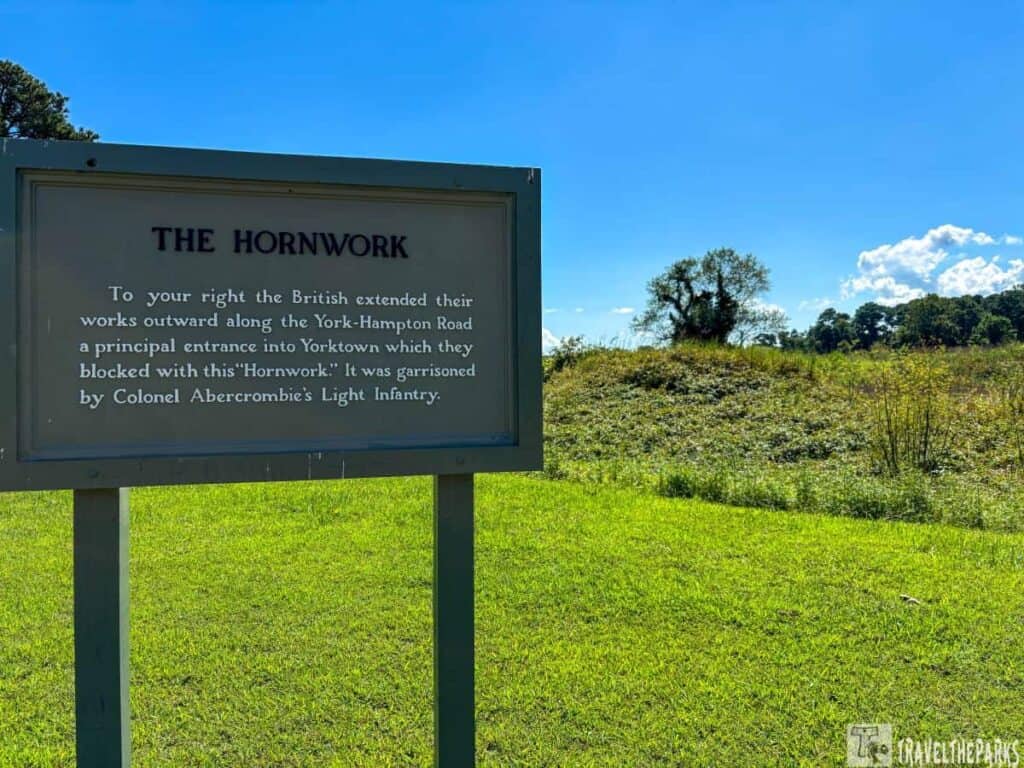
Stop A: British Inner Defense Line
At the first stop, we approached the British Inner Defense Line. It was the last heavily fortified point that the British used to protect Yorktown. I was quite surprised how small the space actually was when I was only a few steps away from the low earthworks. These defensive measures were thoughtfully constructed, but at the same time they reveal how restricted the British situation was when the allied armies were closing in on them.
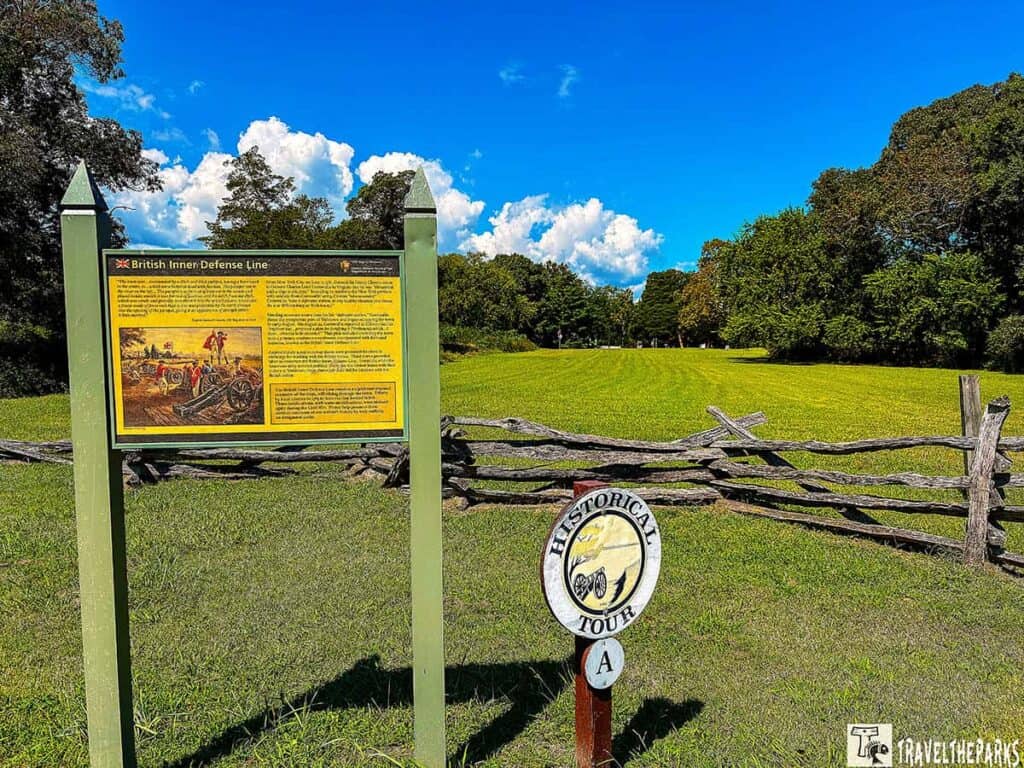
From here, it’s easy to see why holding Yorktown was becoming increasingly difficult. The terrain leaves little room to maneuver, and the proximity of opposing lines makes clear that the British were under constant pressure. This stop sets the foundation for understanding the rest of the tour—Yorktown was less about sweeping movements and more about containment.
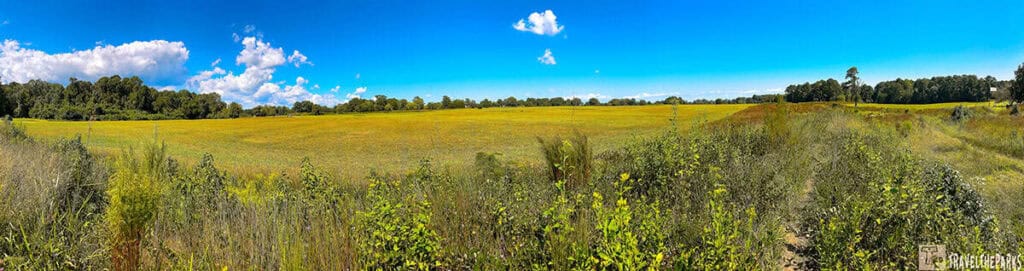
Stop B: Grand French Battery
A few minutes’ drive and we are at the Grand French Battery. It is the largest and most powerful artillery position on the Allied first siege line. After coming up to this high ground, one can immediately understand its tactical advantage—there is an unobstructed line of fire directly into the British defenses below.
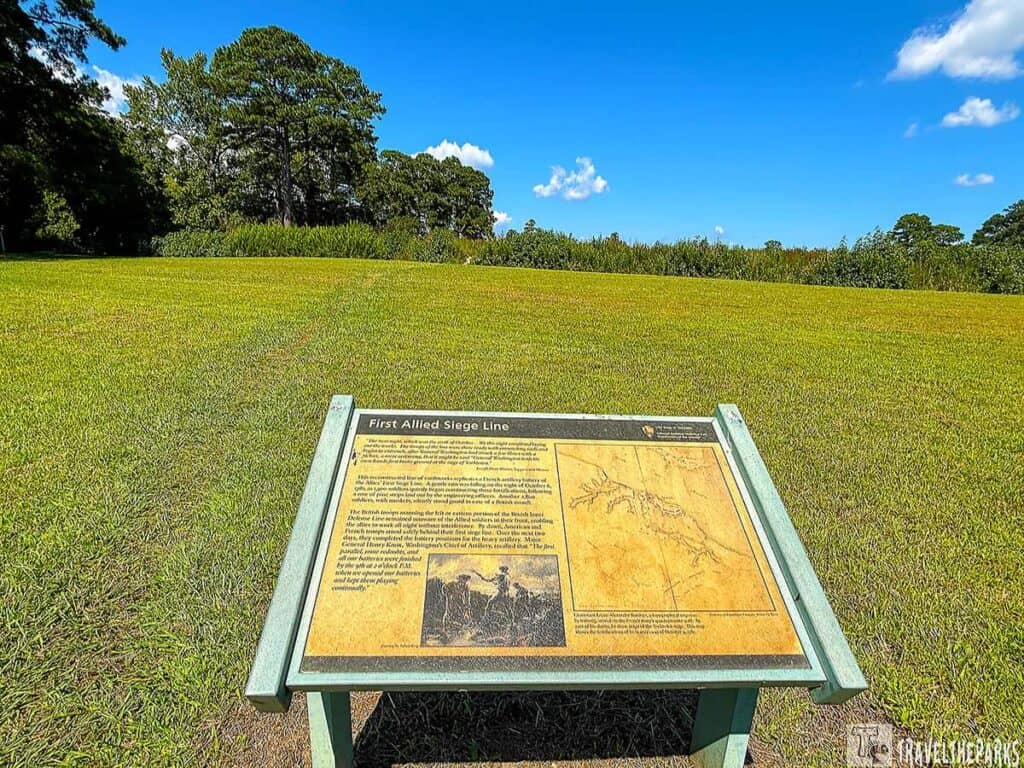
This battery was a key moment in the siege. The positions were dug starting October 6, in darkness and rain, and by October 9 the French cannons opened fire. Standing here, you can see it wasn’t just a single strong point—it was part of a larger plan that steadily wore down the British. Visiting the site really shows how important French firepower and expertise were to the siege’s success.
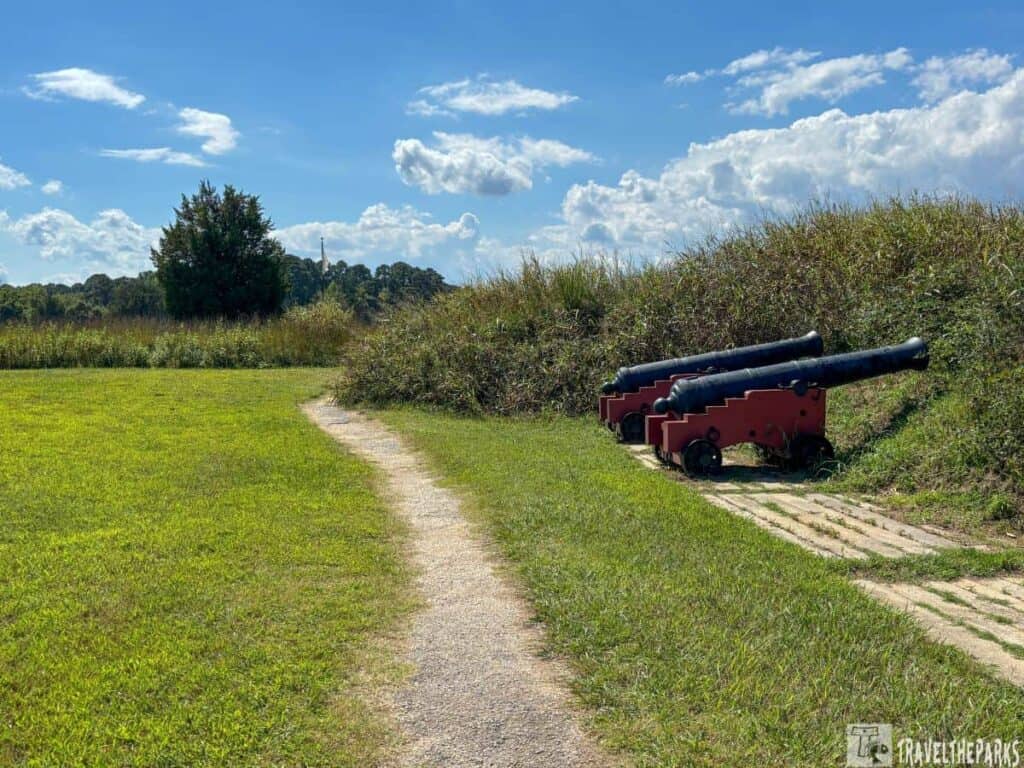
Stop C: Second Allied Siege Line
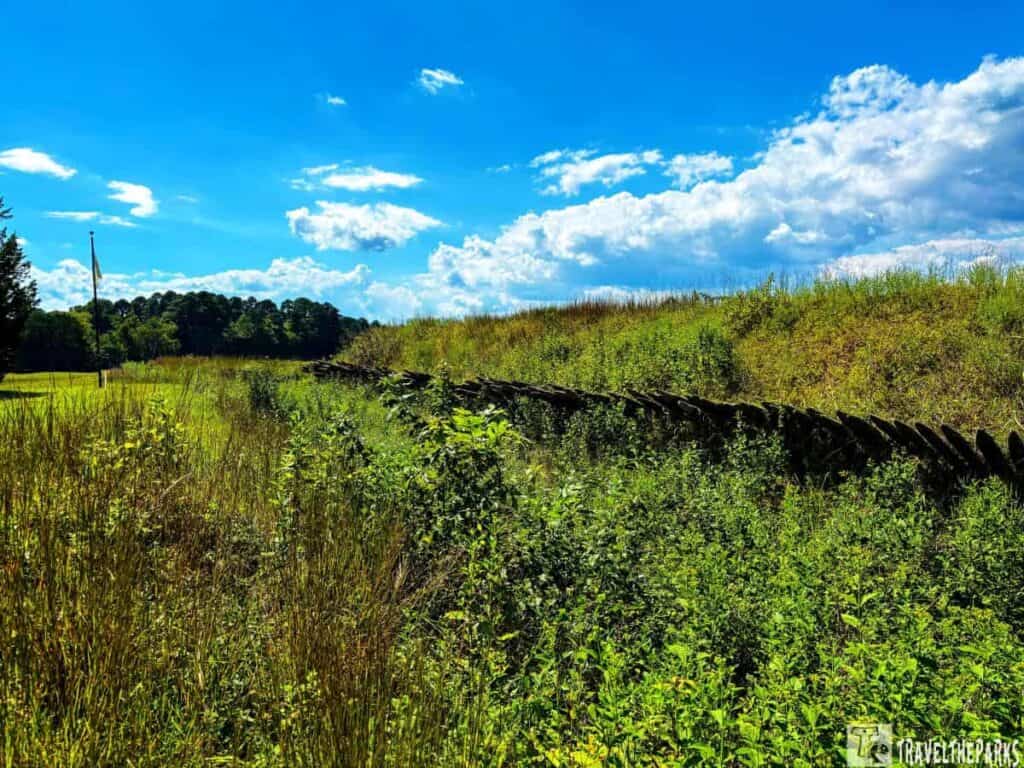
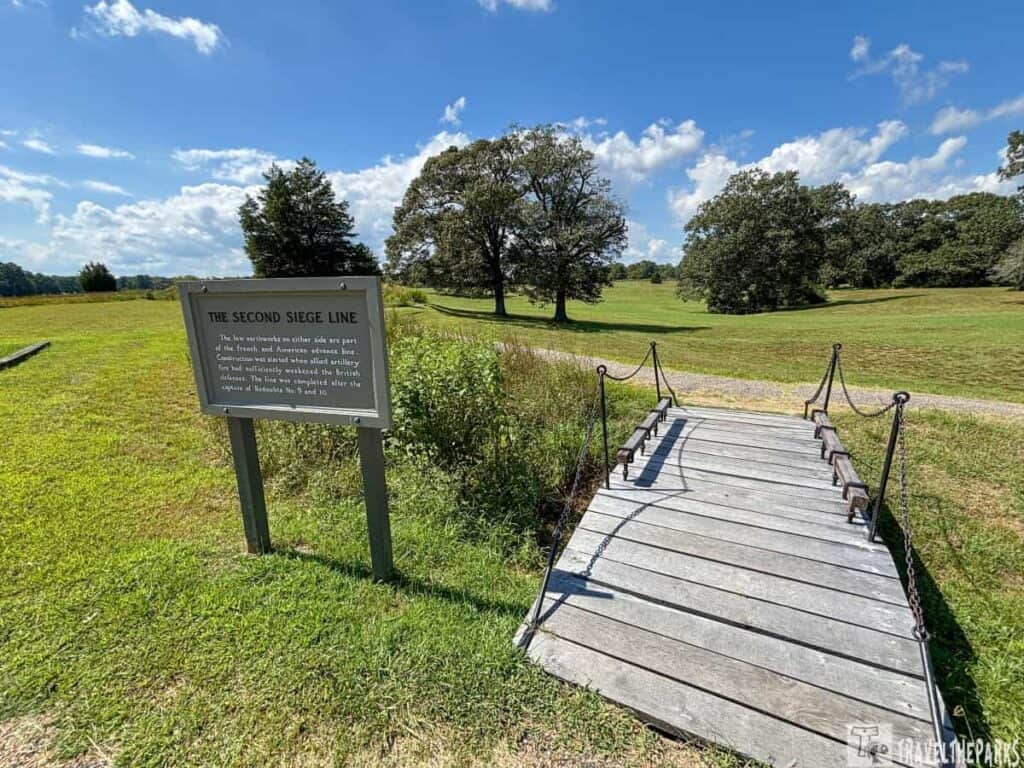
The Second Allied Siege Line was a bold move in the siege. On October 11, engineers extended the fortifications close enough to be almost within range of the British. Standing here today, you can really feel how near the two armies were. The land itself shows the tension of the final standoff. Redoubts 9 and 10 blocked the line’s progress, which still controlled access to the river.
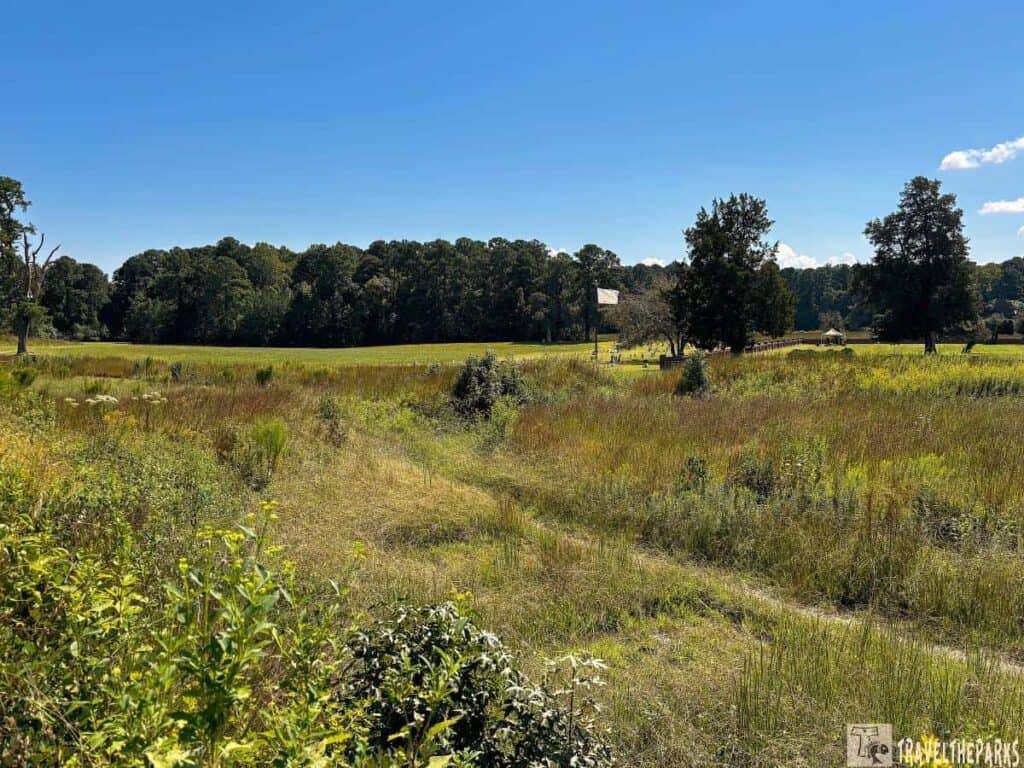
This spot really shows the careful planning behind the victory. The allies advanced slowly and steadily, not rushing, but digging trenches and moving methodically. It’s a clear example of how patient, organized strategy eventually forced the British to surrender.
A short walk away, the peaceful Yorktown National Cemetery, created decades later for Civil War dead, provides a poignant counterpoint to the Revolutionary-era battlefield.
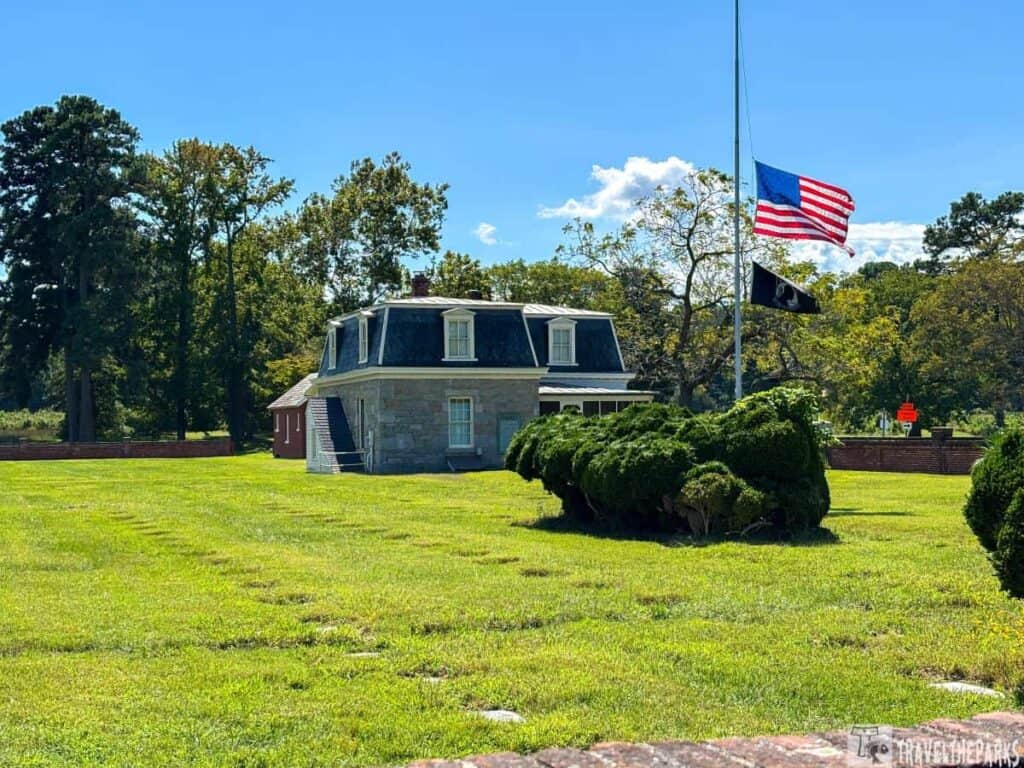
Stop D: Redoubts 9 and 10
Redoubts 9 and 10 were a turning point on the Red Tour. These small but key positions anchored the British defenses. By capturing them, the Allied forces advanced nearer to Yorktown. On the night of October 14, French troops took Redoubt 9, and American forces captured Redoubt 10 to the left. Both fell in just about half an hour. Afterward, the allies built a second siege line and set up a large American artillery battery between the redoubts. Three days later, Cornwallis asked for a truce. Being here today, it’s easy to see why these positions had such a big impact on the battle.
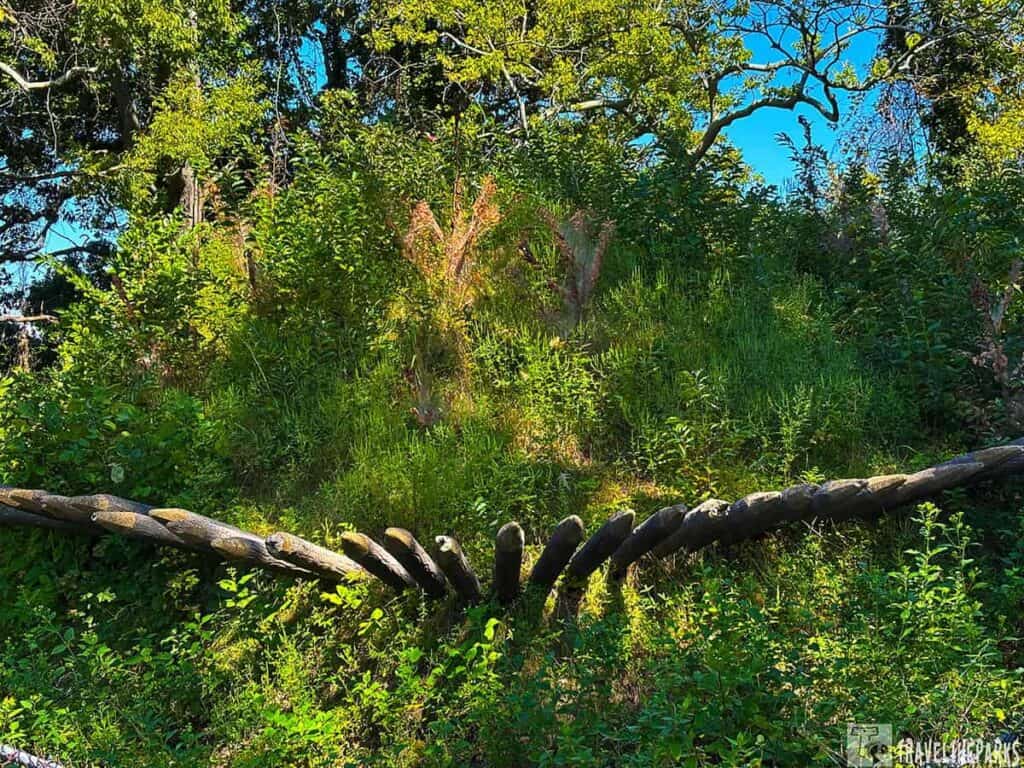
Walking around the redoubts today, we can really feel how tight and exposed these positions were. Taking them didn’t end the siege outright, but it made the final outcome almost inevitable. Being here connects the land itself to the strategic decisions that followed, helping us understand why these minor points had such an outsized impact on the battle.
Stop E: Moore House
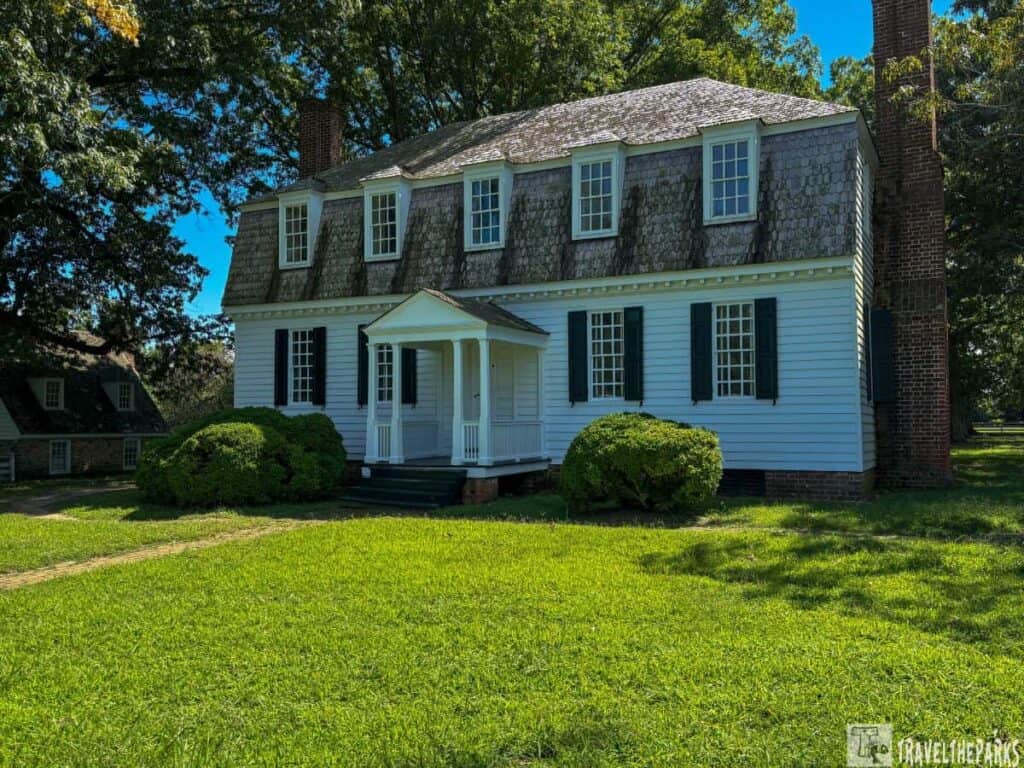
Once the roar of battle fades, the Moore House seems much quieter. This plain old colonial house served as the spot for surrender talks. On October 18, 1781, officers from both armies gathered at Augustine Moore’s home. They worked out the terms for Cornwallis’s troops to surrender.
Out front, the peaceful spot stands out against the monumental events of that day. The Moore House represents the shift from active conflict to discussion—a reminder that the end of war often comes through conversation rather than combat.
Stop F: Surrender Field
Here,The Red Tour ends at Surrender Field. There, British troops laid down their arms on October 19, 1781. Here, the wide-open space lets you think about that day. No distractions get in the way. Cornwallis’s army marched out here on October 19, 1781. They stacked their weapons. This marked the end of the last significant fight of the Revolutionary War. It all but guaranteed freedom for America.
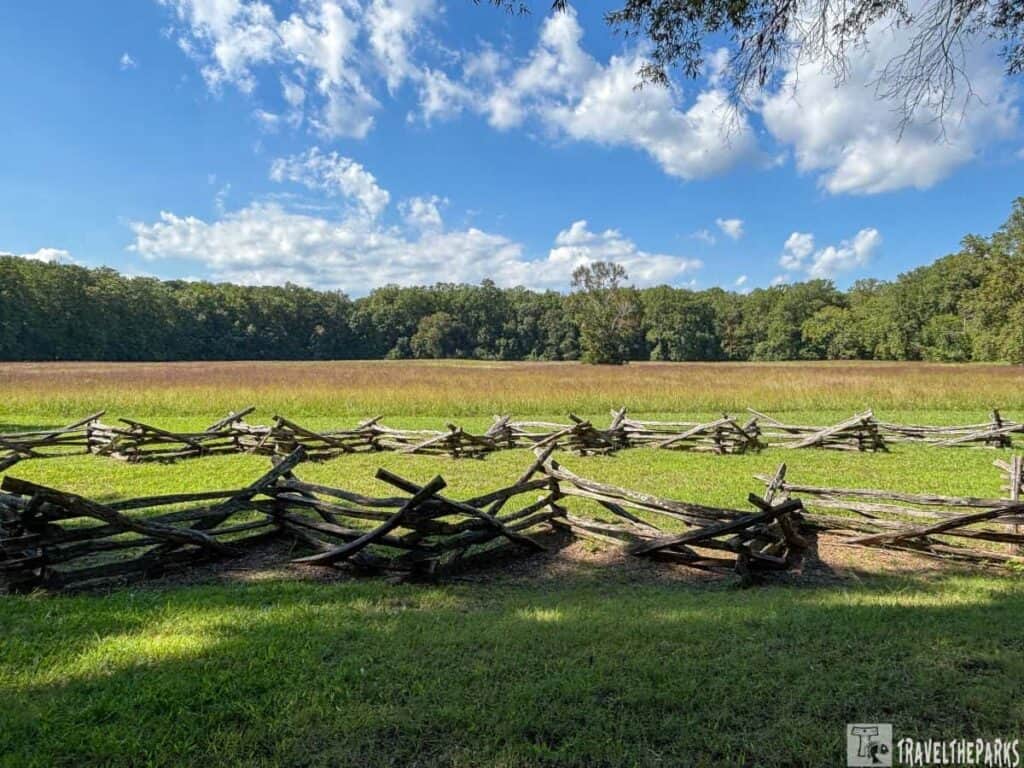
The field seems serene today. Still, its place in history stands out. Finishing the tour here pulls it all together. It links the defense lines, cannon spots, and earthworks we just saw. This spot caps off the drive. It shows what went down at Yorktown. Plus, how the ground itself decided the fight.

Choosing Between the Red and Yellow Tours
After driving both loops, we think the Red Tour wins if you pick just one. It offers better context and real battlefield sights. You see siege lines, redoubts, and spots tied to the surrender. These link the ground to events in 1781.
The Yellow Tour is worth it too. But it asks that you use a bit more imagination. Most old traces are lost, so picture the camps and guns yourself. The stops give background. Still, they lack the Red Tour’s powerful punch.
Both tours together paint the full Yorktown picture. Red shows the siege’s end. Yellow reveals how allies camped and fought. Side by side, they cover landmarks and daily life.
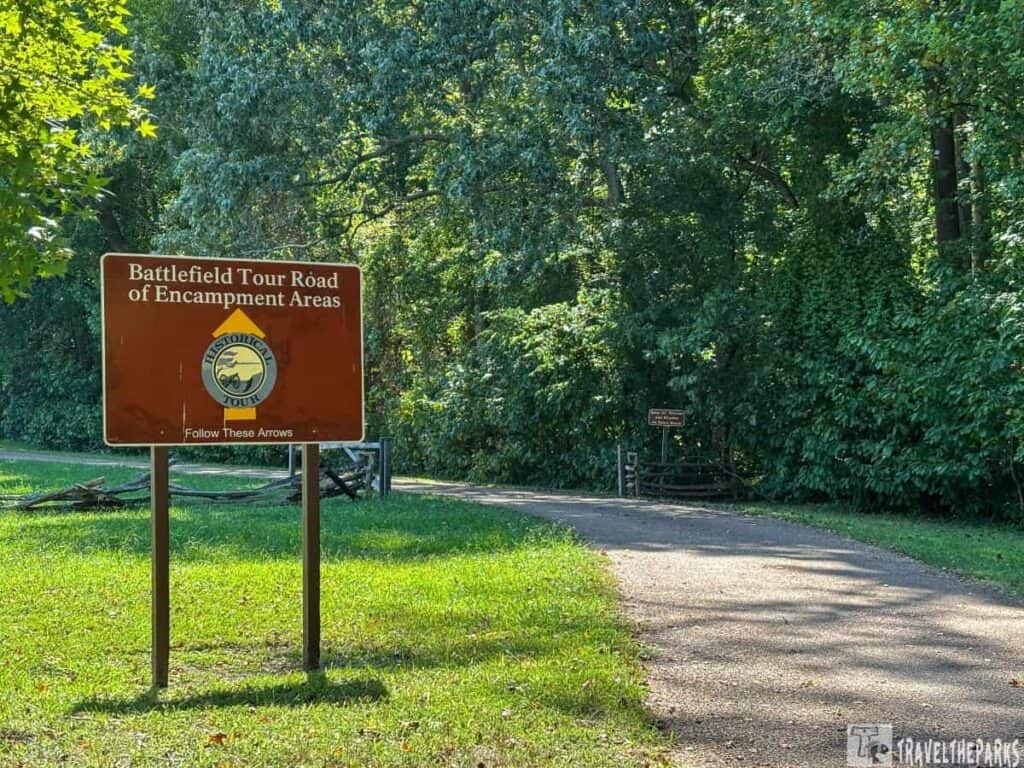
The Yellow Tour Driving Loop: Yorktown Beyond the Siege Lines
The Yellow Tour at Yorktown National Battlefield builds on the story from the Red Tour. It’s not about the frontline battles. Instead, this loop highlights the preparation behind the siege—artillery positions, command posts, and camp areas. By touring these places, one can grasp the siege’s day-to-day unfolding, appreciating the scope of the operation and its participants.
Each stop links to the next. It gives a clear view of how plans, leaders, and supplies set Yorktown’s fate.
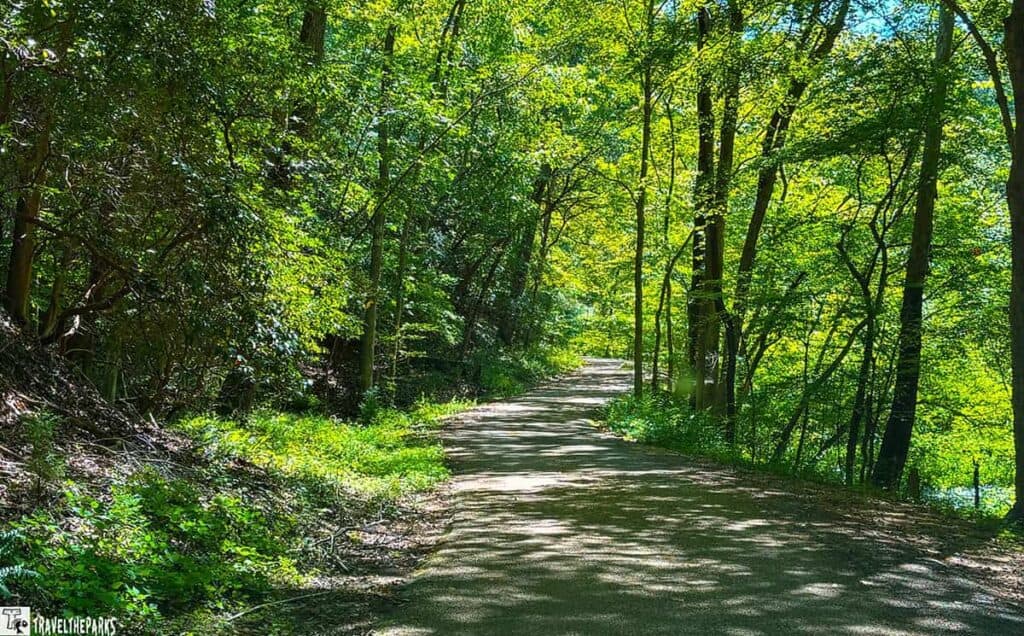
Stop G: American Artillery Park
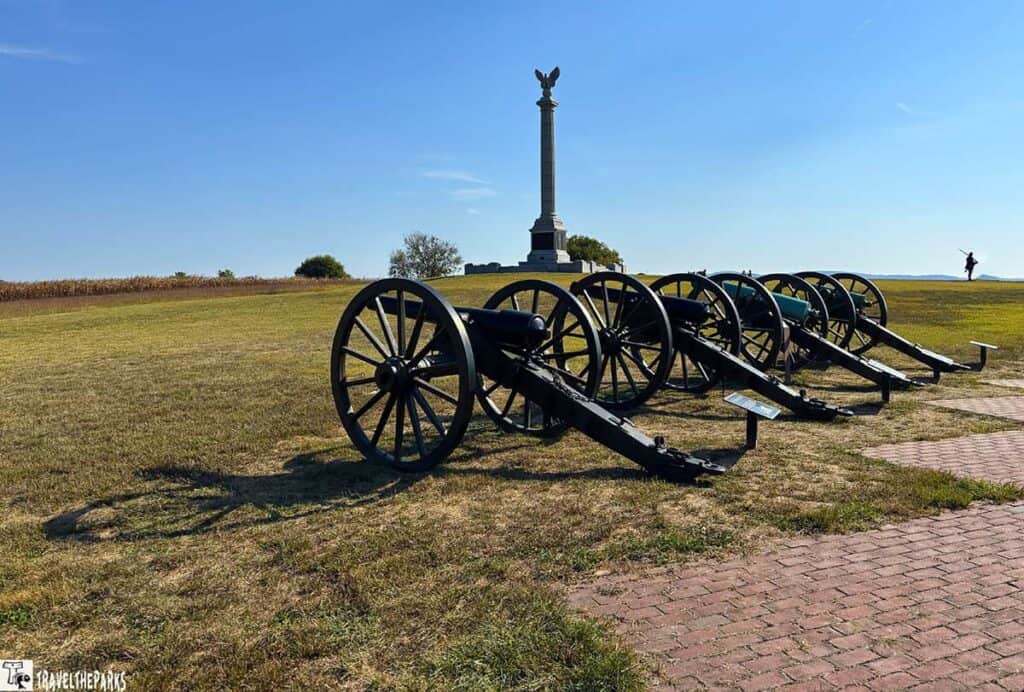
The Yellow Tour starts at American Artillery Park. There, Continental Army cannons helped with the siege. As we walk here, the smart placement stands out. The guns used high ground and clear shots at the British lines. Back in 1781, this pretty spot held Washington’s enormous siege guns. It had carriages and limbers to move them. Powder carts and ammunition wagons kept them ready.
This spot shows why artillery mattered so much to win the siege. The Americans skipped direct attacks. They pounded British spots over time to wear them down. Here, you see how planning and waiting led to the big win.
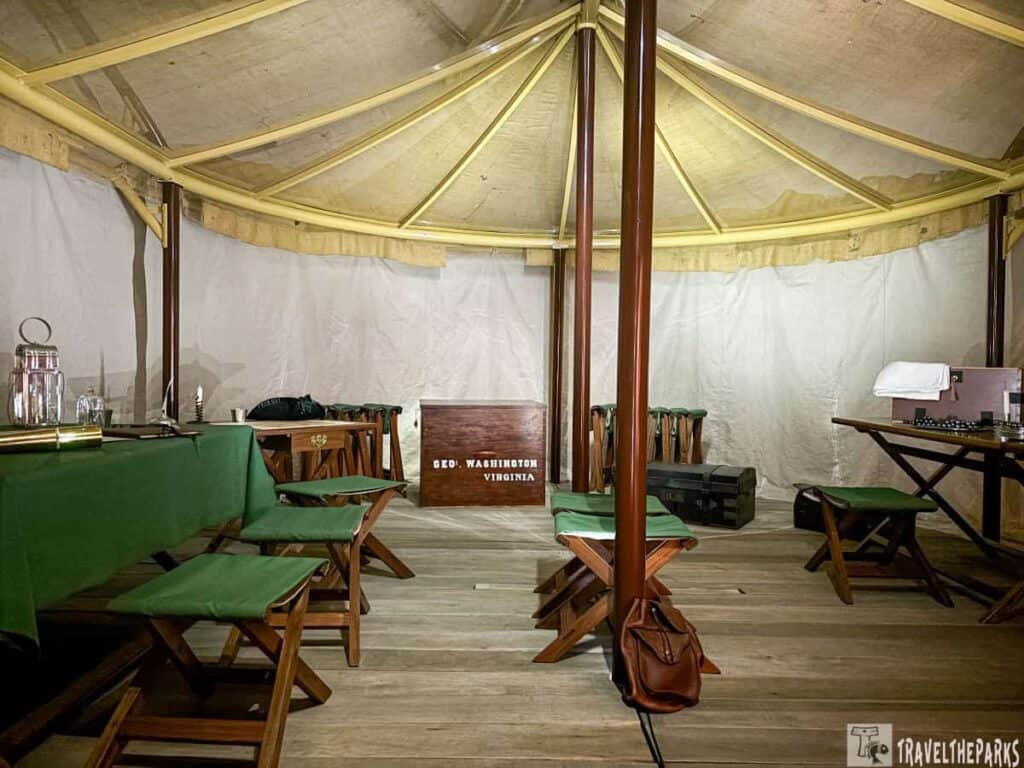
Stop H: General Washington’s Headquarters
A quick drive brings us to General Washington’s Headquarters. Key decisions were made here during the siege. The building is simple, not fancy, but it shows how much Washington valued teamwork and organization.
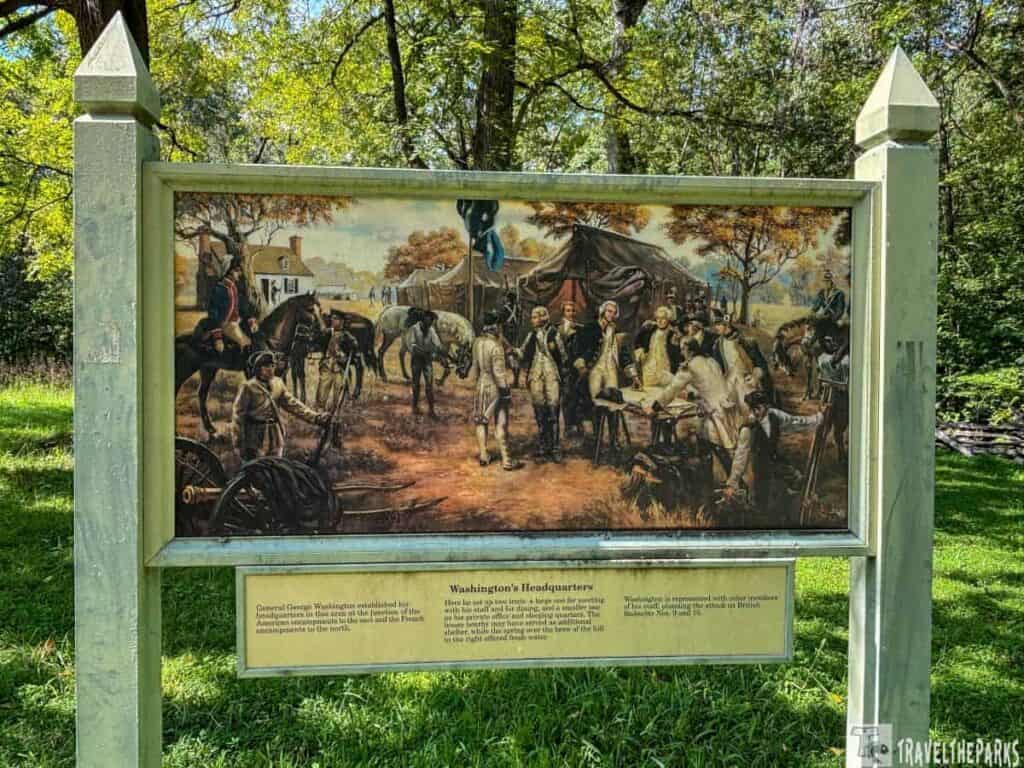
From this spot, we can see how closely he worked with the French officers. Coordinating the siege required steady communication and precise timing. Visiting here reminds us that Yorktown’s victory depended as much on planning and cooperation as it did on fighting.
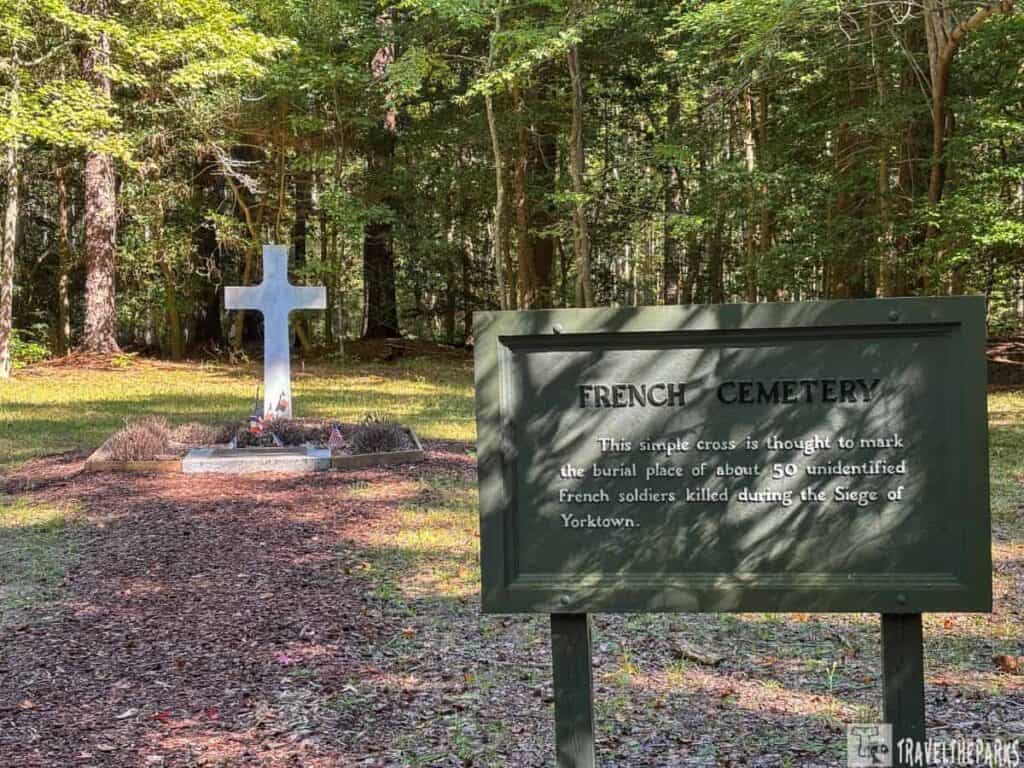
Stop, I: French Cemetery
The French Cemetery offers a quiet pause along the Yellow Tour. It honors French soldiers who died during the Yorktown campaign, many from illness rather than combat. Located a short distance south of the French Artillery Park, the site is believed to hold the remains of around 50 unknown French troops, according to long-held accounts.
Stopping here shifts our focus. It pulls us away from strategy and earthworks and toward the real cost of the siege. Not every loss came on the battlefield, and this small, peaceful site is a reminder of France’s sacrifice and commitment to the American cause.
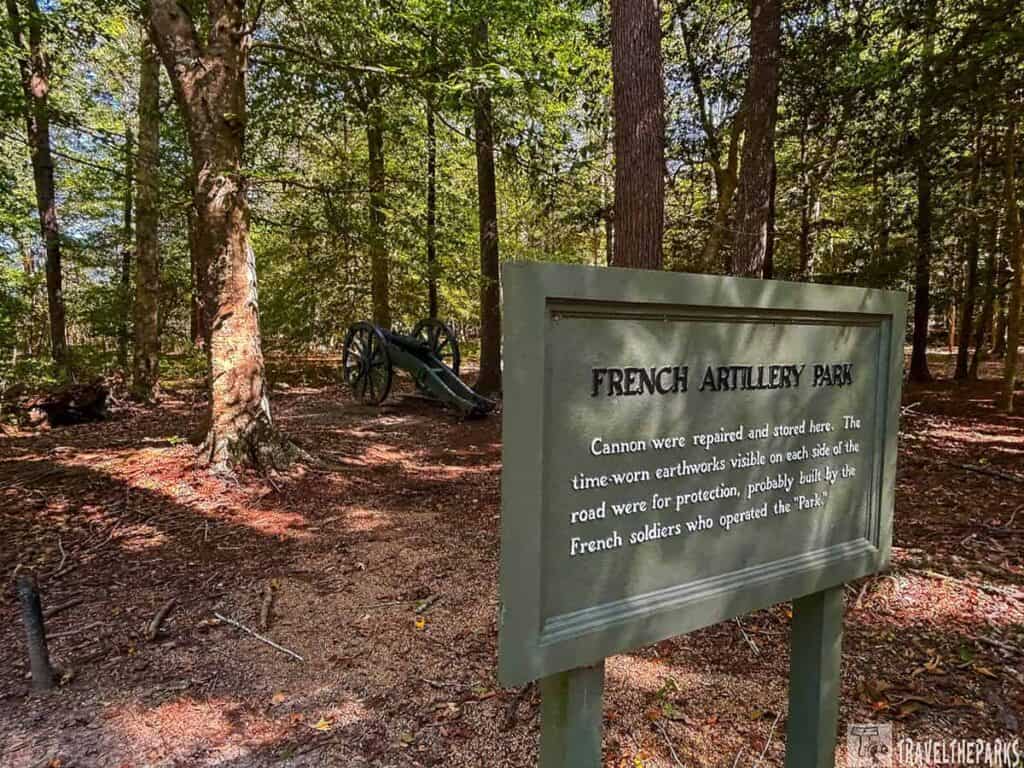
Stop J: French Artillery Park
Next, we reach the French Artillery Park, another key spot that helped the Allied advance. Like the American park, it shows how the French positioned their cannons to keep a steady fire on the British lines. The site held the heavy siege guns and mirrored the layout of the American battery.
Standing here, we can see how well the allies worked together. U.S. and French artillery supported each other, each strengthening the other’s firepower. This stop ties the battle steps we’ve seen into one clear, coordinated plan.
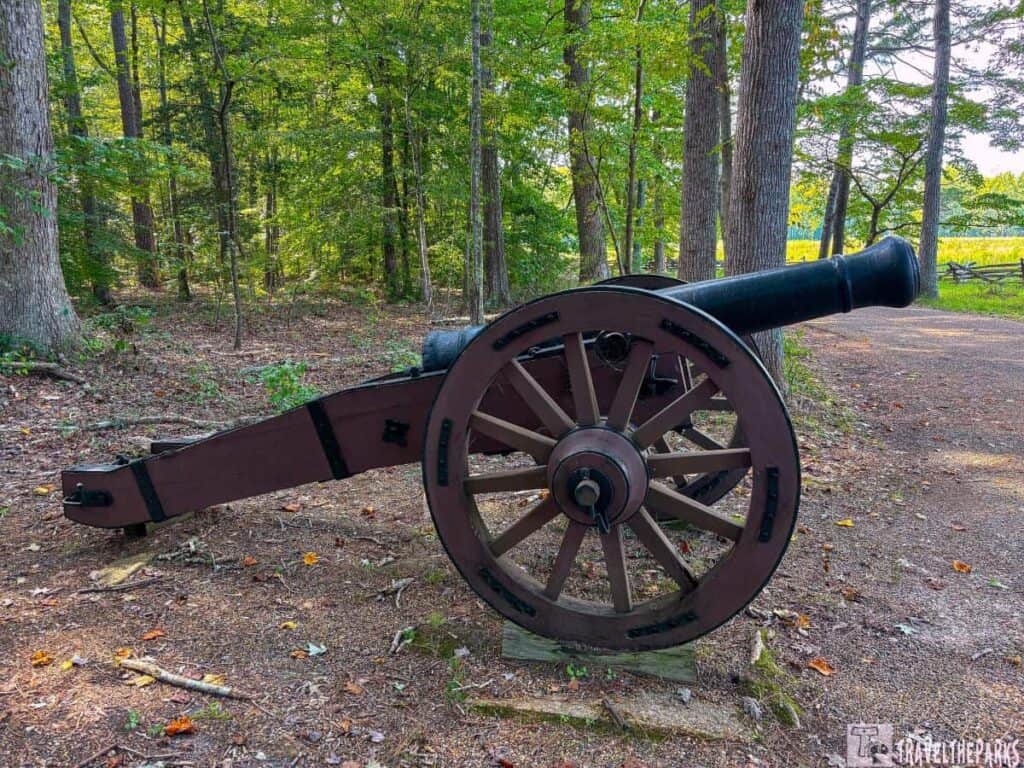
Stop K: French Encampment Area
At the French Encampment Area, the focus shifts from cannons to camp life. This site once held large numbers of French soldiers, mostly on the far left flank of the allied line. Comte de Rochambeau kept his headquarters nearby, close to Washington’s.
Walking through the area, we get a sense of the long waits during the siege. In this camp, soldiers would have maintained gear, stocked food, and stayed ready. It adds a personal side to the story, showing the routines and perseverance needed to keep a drawn-out campaign going.
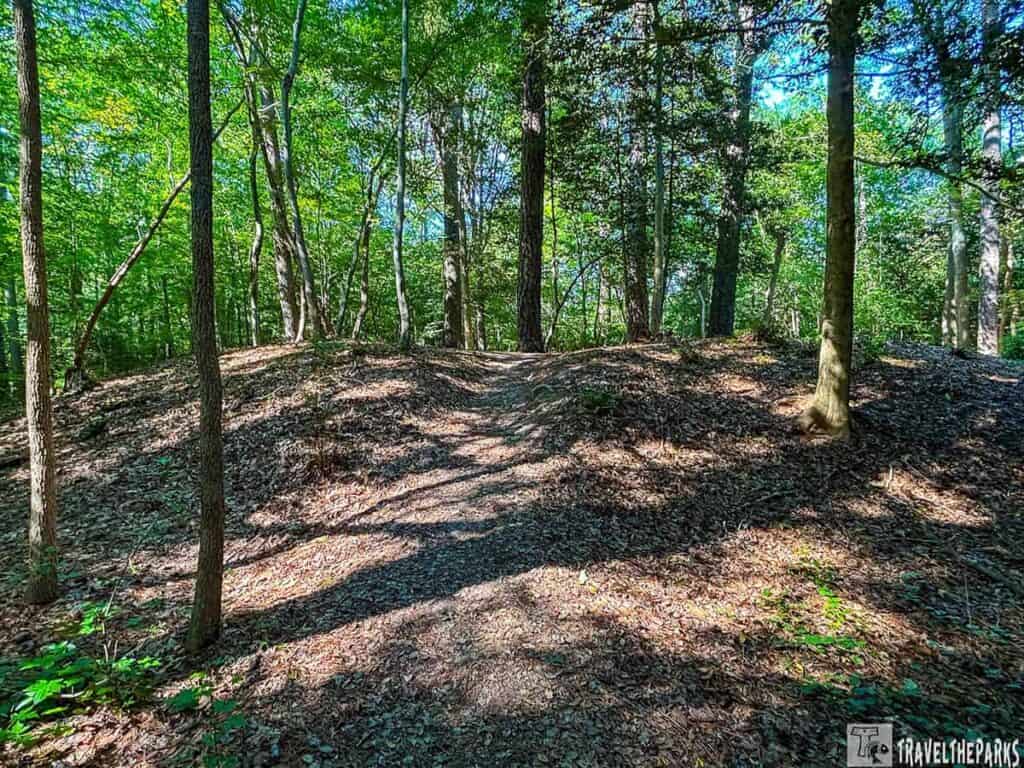
Stop L: Untouched Redoubt
The final stop on the Yellow Tour is the Untouched Redoubt, a preserved British defensive position that was never rebuilt. This was one of the original outer works, abandoned by Cornwallis on September 29, 1781, just after the Allied armies arrived. But to me, it looks like little more than a forest mound.
But then I quickly realize that this stop is especially striking. Without modern reconstruction, the redoubt feels authentic and immediate. It’s a natural place to pause and reflect, tying together everything we’ve seen on the Yellow Tour and showing how much of Yorktown’s story is still written in the land itself.
Making the Most of Your Driving Tour
- Red First, Yellow Second: If doing both, the Red Tour provides helpful context before the more interpretive Yellow Tour.
- Get Out of the Car: The magic happens when you step out. Walk into a redoubt, stand on a siege line, and look across the fields. The terrain tells the story.
- Look for the “Battlefield Trace”: In areas, you can see the preserved original siege road, worn down by countless soldiers and wagons.
- Combine with Historic Yorktown: After the tours, drive into Colonial National Historical Park’s Historic Yorktown to see the Nelson House (still bearing cannonball damage) and the Yorktown Victory Monument. It connects the battlefield to the town that witnessed it all.
- Read the landscape: Many features are subtle—low earthworks and open fields tell the story.
- Respect the Site: Earthworks are fragile—stay on marked paths and overlooks.
Final Thoughts: The Yorktown National Battlefield Driving Tours
The Red and Yellow Tours gave us two very different looks at Yorktown. If time is short, go with the Red Tour. Its stops offer more history and visible battlefield features. You can really see how the siege played out and why Yorktown changed everything.
The Yellow Tour is worth doing too, but it takes more imagination. Many of the old earthworks are gone, so the focus is on artillery, leaders, and camp life rather than what’s left on the ground.
Together, the two tours give the full picture. The Red Tour shows how the siege ended, and the Yellow Tour fills in the backstory. They helped us understand the scale, teamwork, and long waits that shaped Yorktown’s last days.
For a complete guide with tips and top spots beyond the driving tours, check out our full Visiting Yorktown National Battlefield post. Taken together, they give a deeper, more vivid feel of this historic site.
Ready to plan your full visit? Get all the practical tips, ticket info, and details on other must-see sites in our complete Guide to Yorktown National Battlefield Park.