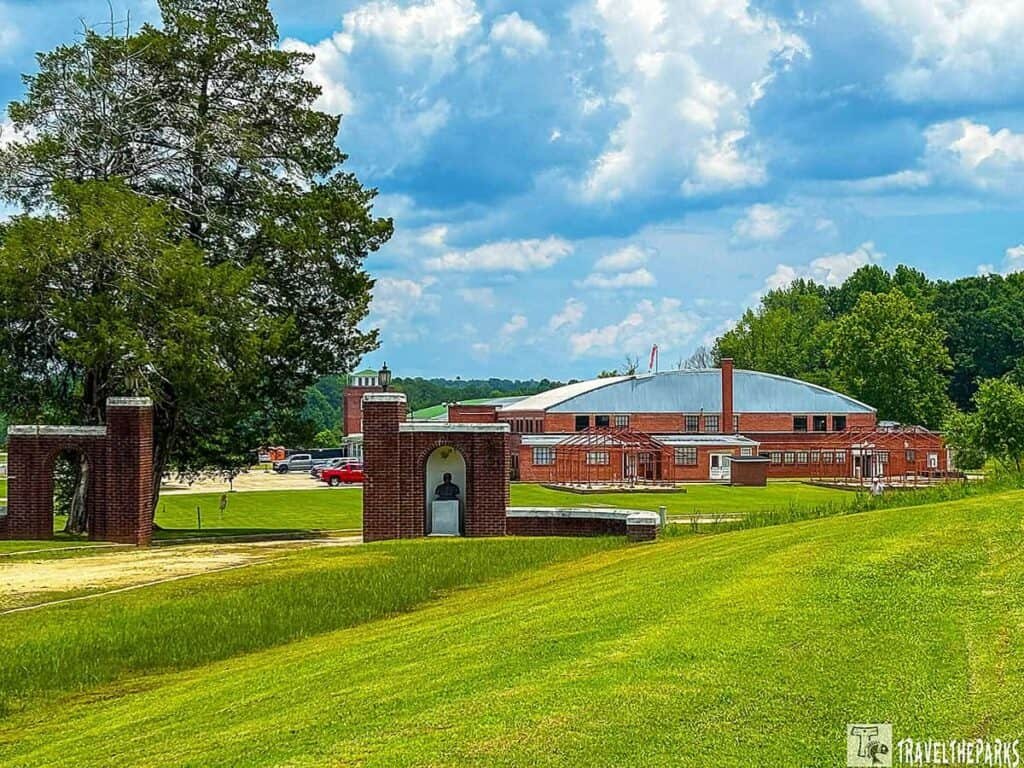
As we entered Shiloh National Military Park for the first time, we were not quite prepared for how quietly powerful a place this would be. No crowds, no noise—just rolling fields and old monuments in a stillness that encourages you to stop and think. If you are planning a road trip through Tennessee or Mississippi, a self-guided driving tour of the Shiloh Battlefield is one of those stops that will stick with you.
The Battle of Shiloh, fought over two brutal days in April 1862, was one of the bloodiest engagements of the Civil War. Today, the park preserves that ground remarkably well. The good news for road trippers? You can explore nearly all of it from your car, hopping out at the stops that call to you. In this guide, we’re walking you through everything you need to know — from logistics to a stop-by-stop breakdown of the 10-mile tour road — so you can make the most of every mile.
This post may contain affiliate links, meaning if you purchase something through one of these links, we may earn a small commission at no extra cost to you! Read the full disclosure policy here.
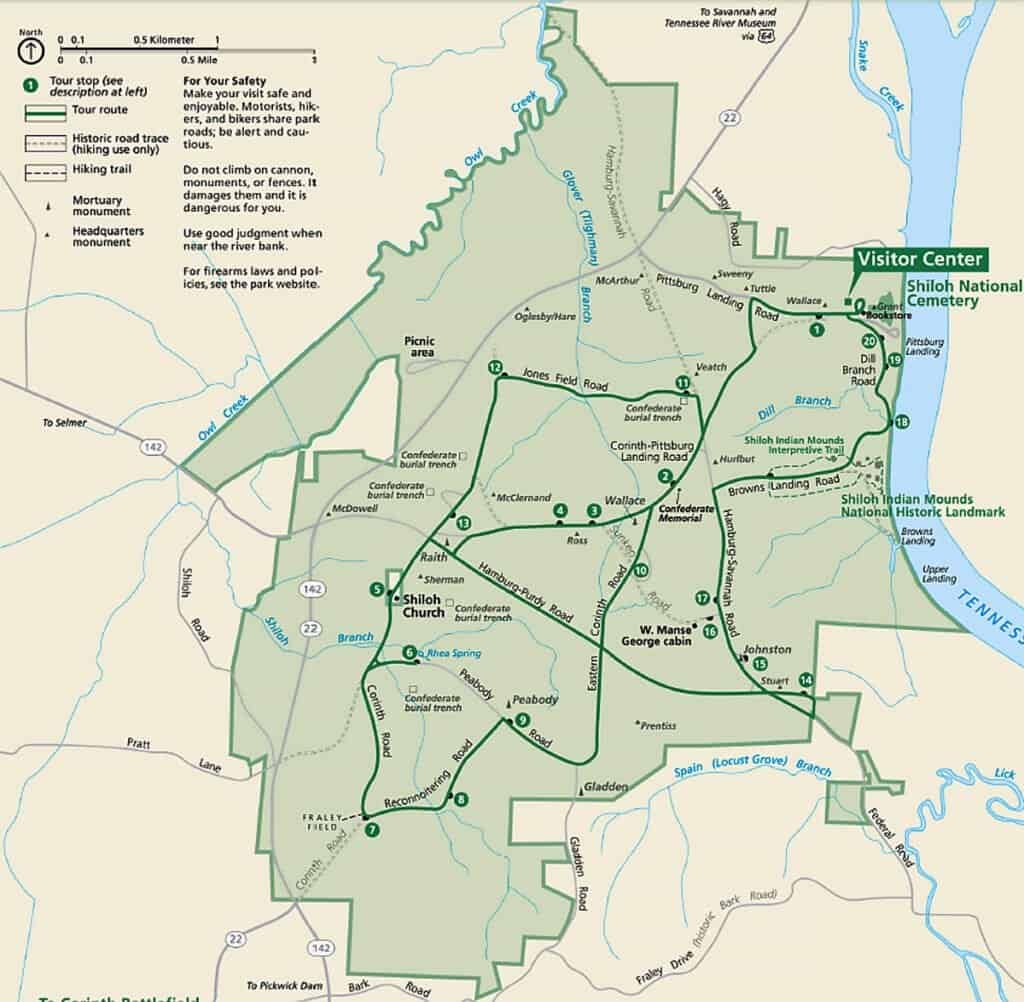
Table of Contents
Before You Go: Visitor Logistics for the Shiloh Battlefield Driving Tour
Before we get to the driving tour itself, let’s cover everything you need to know before you arrive. A little planning goes a long way at Shiloh — and trust us, you’ll want to spend your time soaking it in rather than figuring out the details in the parking lot.
- Shiloh National Military Park is in Hardin County, Tennessee, about 10 miles south of Savannah, TN, and roughly 100 miles east of Memphis. The address for your GPS: 1055 Pittsburg Landing Road, Shiloh, TN 38376.
- Park Hours: The park grounds are open daily year-round, though hours can vary seasonally. The Visitor Center typically operates: 8:00 AM—5:00 PM daily (Extended hours may apply in spring and summer). We recommend arriving early in the morning — the light is beautiful, it’s cooler, and you’ll likely have many of the stops to yourselves. Check the National Park Service website before you go for the most current hours, closures, or ranger-led programs. Closed on Thanksgiving Day, Christmas Day, and New Year’s Day.
- Entrance Fees: No entry fee is required for Shiloh National Military Park at either location, nor are passes needed for access.
- Pet Policy: if you’re traveling with a dog, you can absolutely bring them to Shiloh. Just stick to the tour road, keep them leashed, and skip the cemetery and indoor buildings.
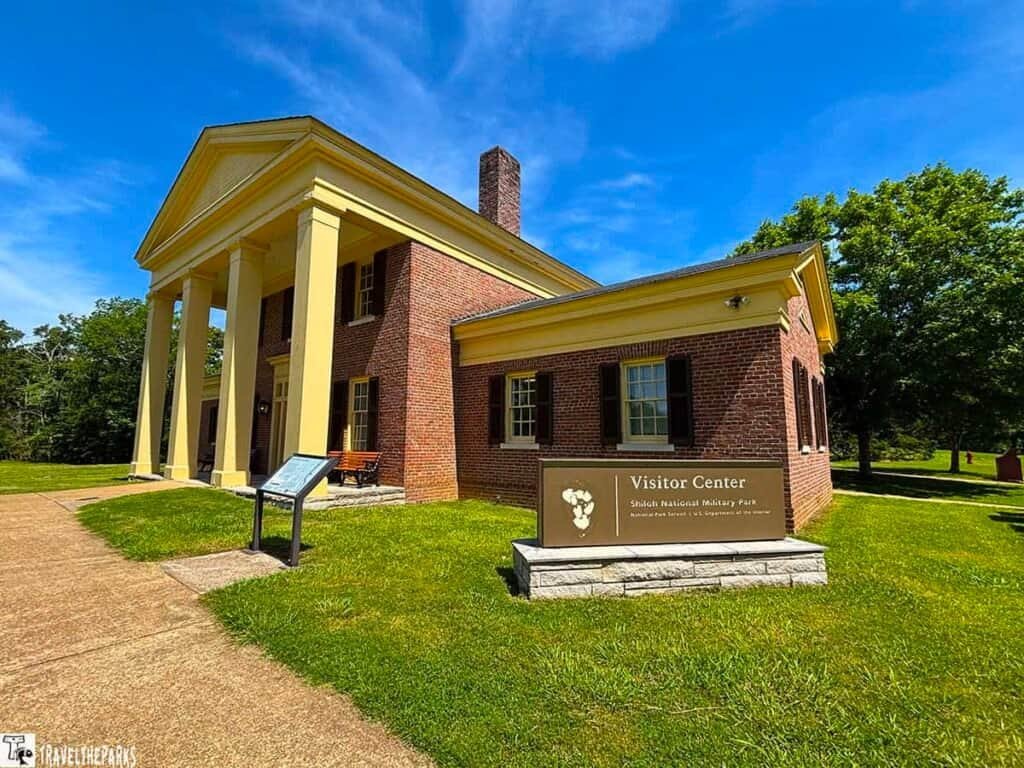
Shiloh Battlefield Driving Tour: The Visitor Center and Museum
Don’t even think about skipping this one.
We know, we know, you’re dying to get out there on the road. But really, a 45-minute delay is not that long. The museum tells you the entire story of the battle, and when you come out, you’ll see the landscape entirely differently. I know we did. There is a lot to these open fields where the thought of 24,000 casualties in two days is in your mind. Besides, the local restrooms here are the most dependable ones on the route. Make use of them prior to your drive.
PRO Tip: Grab the paper map at the Visitor Center before you head out. The stops are numbered and run in a logical order — it makes the whole route easy to follow without staring at your phone.

The Shiloh Battlefield Driving Tour: Stop by Stop
The tour road stretches just under 13 miles and covers 22 marked stops. You won’t feel rushed — this is a drive at-your-own-pace kind of experience, and that’s exactly what makes it so good. Some stops you’ll linger at for twenty minutes. Others you’ll read the marker, take a photo, and move on. Either way, here’s what we found at the stops that left the biggest impression on us.
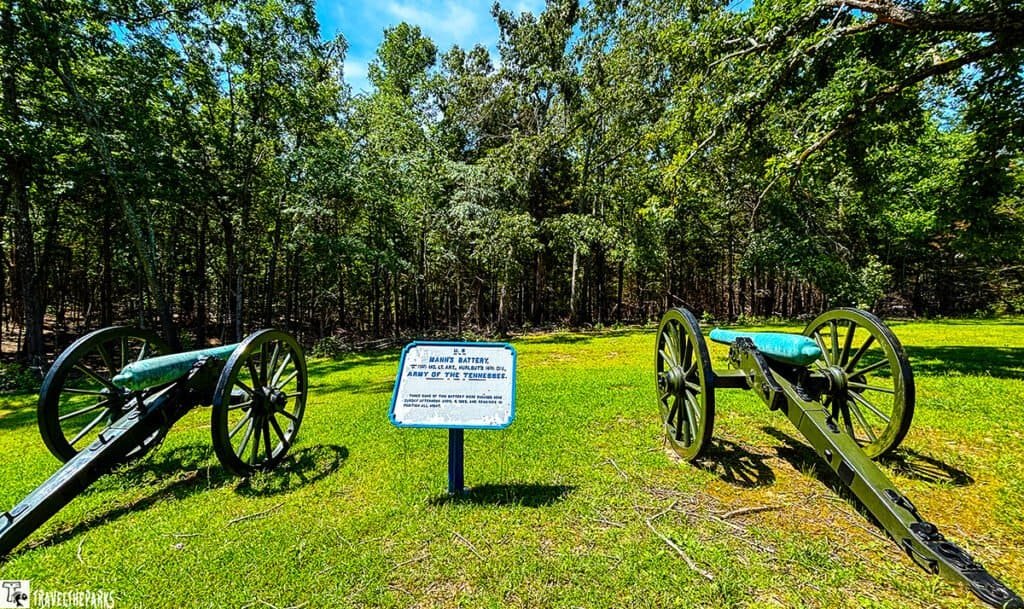
Stop 1: Grant’s Last Line—The night everything could have gone differently.
By the evening of April 6th, the Union Army was driven almost back to the river. Grant assembled what remained of his broken force, took a position on this ridge, and refused to retreat. Additional troops came during the night, and the following day the Union threw in a whole counterattack which altogether changed the battle. Being here, facing the Tennessee River, one can’t help but feel the enormity of that choice. This is one of those stops that rewards a few minutes of quiet thought.
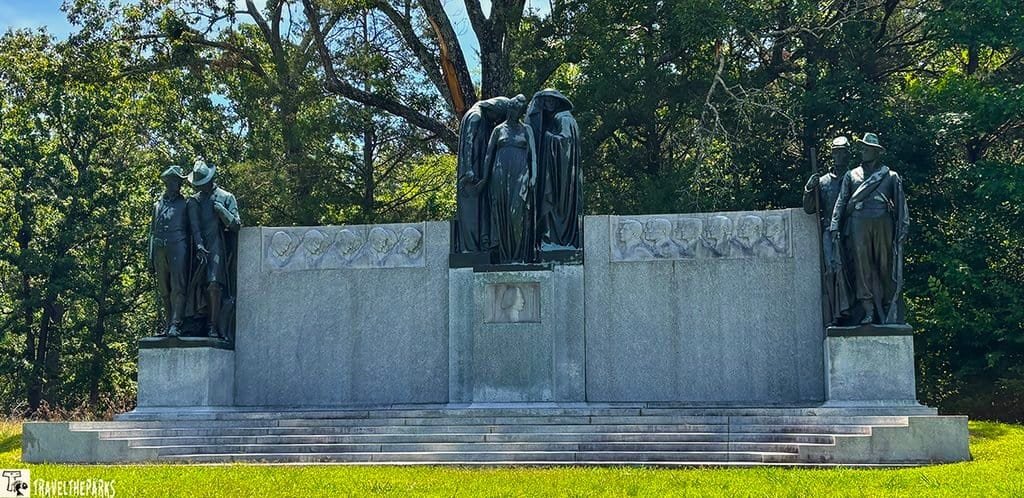
Stop 2: The Confederate Monument
This huge monument honors Confederate soldiers who battled and died at Shiloh. We appreciate that it did not glorify the war. It just salutes the men who fought. It’s worth a quick stop to read the words carved on it.
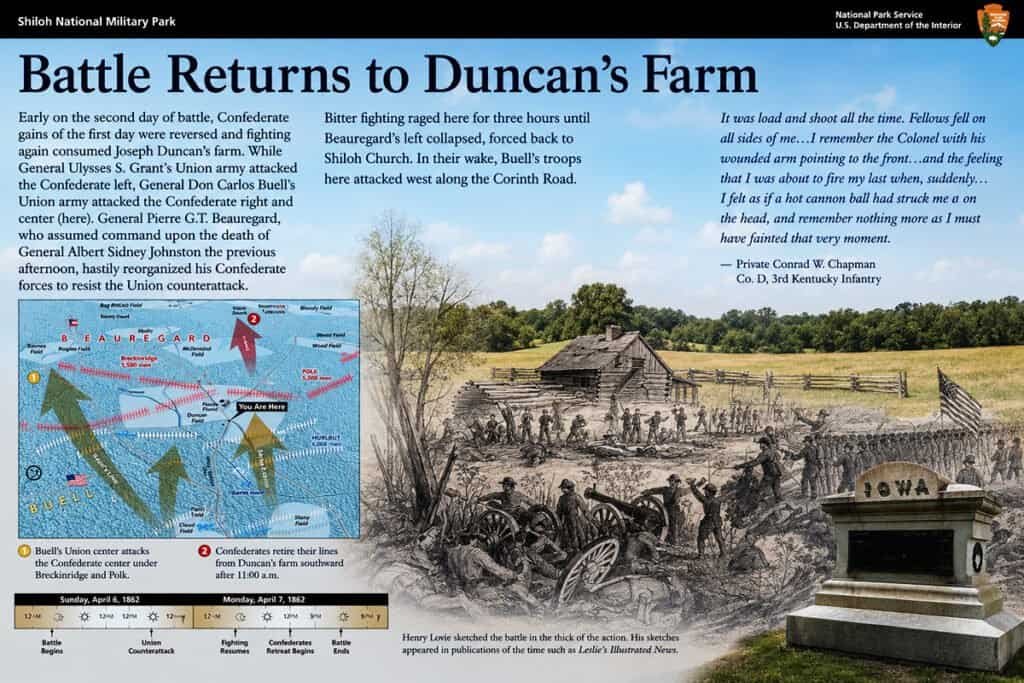
Stop 3: Duncan Field—Where the Union struggled to hold the line.
This is a wide-open piece of ground. I know that when you stand in the middle of it, you can really understand just how exposed those soldiers were. Under intense Confederate shelling, Union forces held their ground for hours, giving the army time to regroup. The cannon positions scattered about the field really help to give you an idea of the lines that were drawn. Worth a slow walk around.
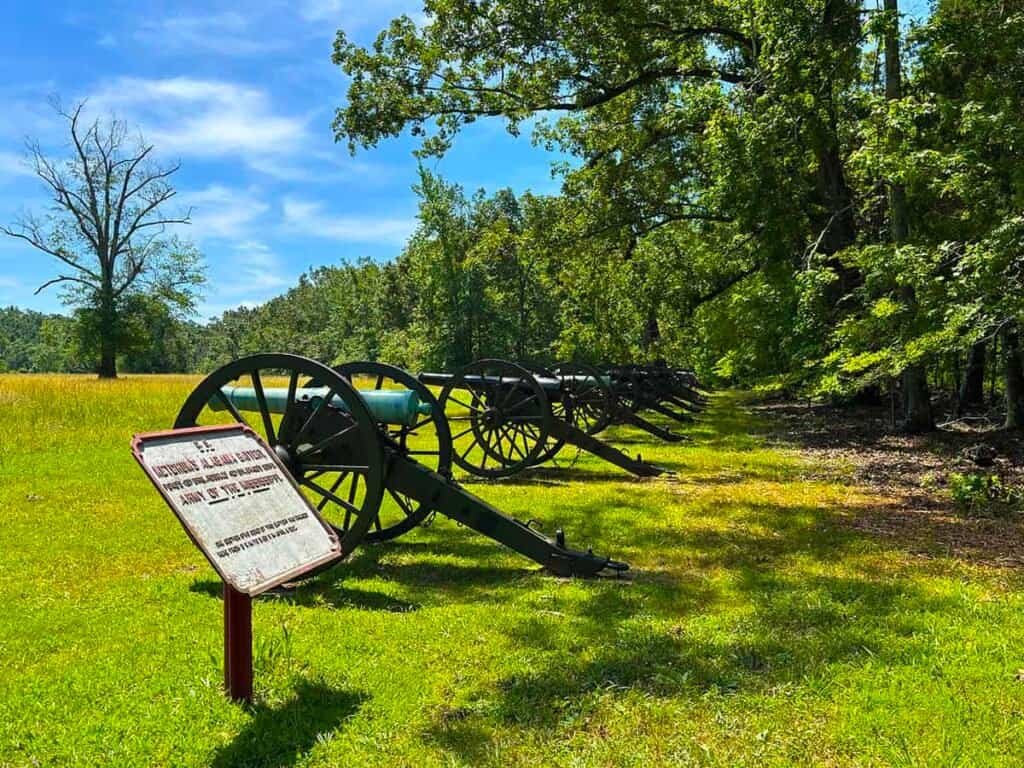
Stop 4: Ruggles’ Battery
At this location, Confederate General Daniel Ruggles gathered the greatest mass of artillery in the entire Civil War so far, having more than 60 cannons arranged to break the Union line at the Hornet’s Nest. If you stand here and gaze at the field, the sound of the cannons vibrating the earth becomes almost audible. Hardly any tour visitors realize this one is actually quite a good stop.
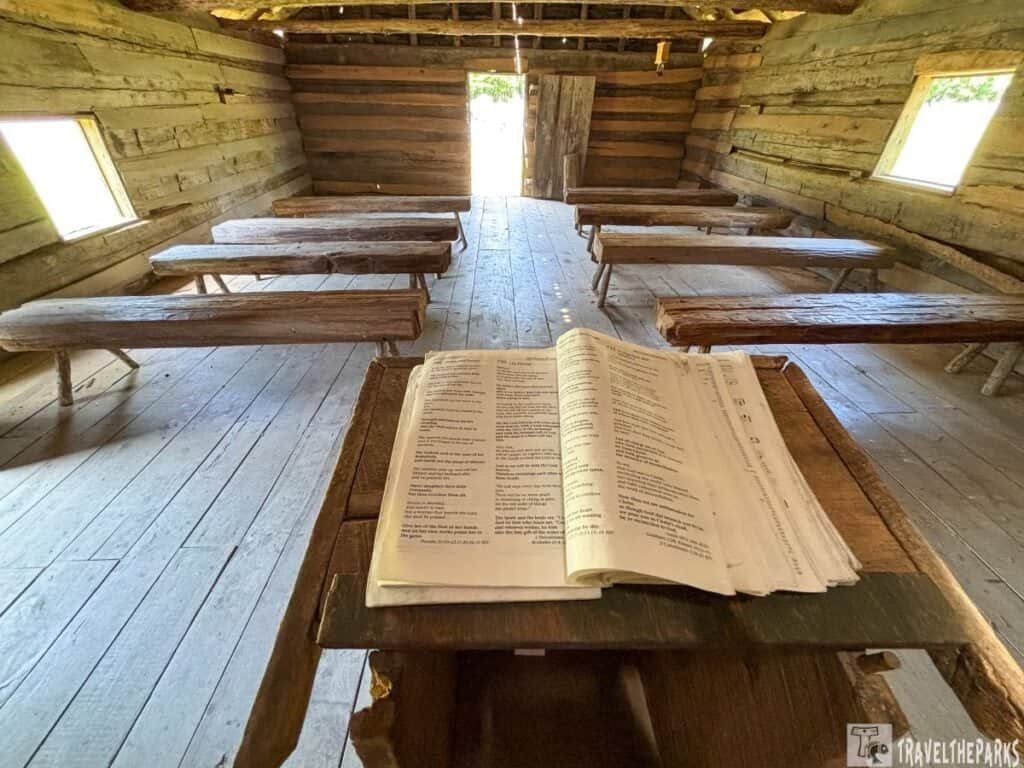
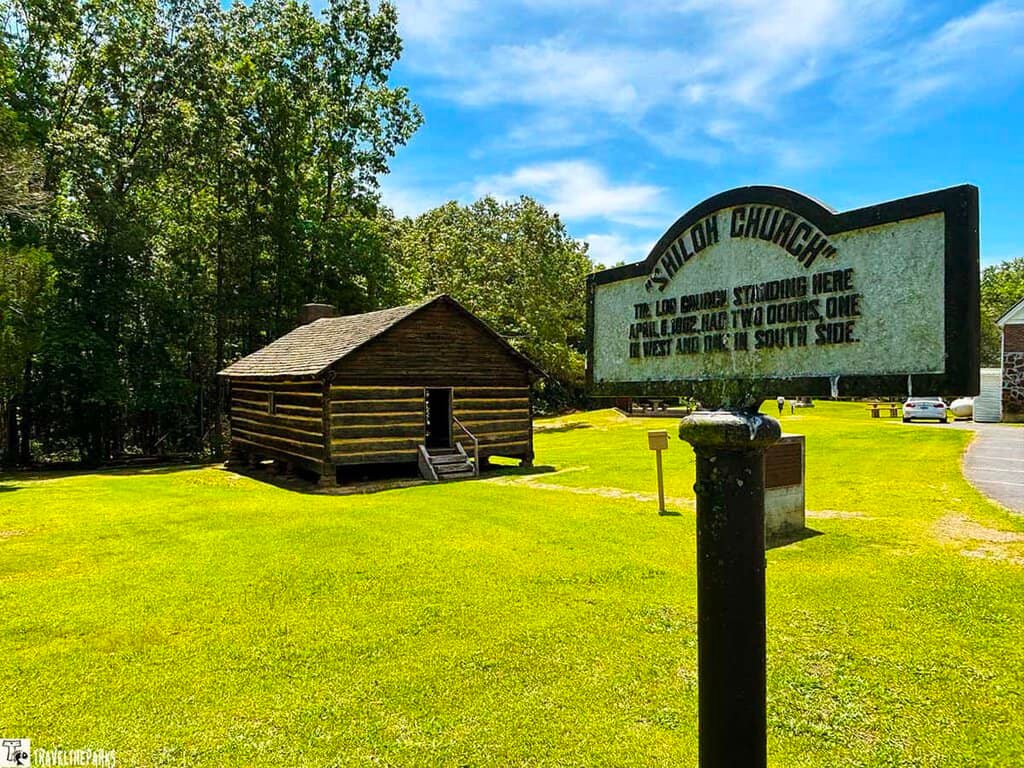
Stop 5: Shiloh Church—The name behind the battle.
The original log church is long gone. However, a replica now sits in its place. It is unassuming, almost invisible from the road unless one is paying attention. This was the central part of the Confederate opening assault, and the attack caught a division of Union troops under General Sherman unaware. It’s a humbling place, and one of the more picturesque stops on the tour.
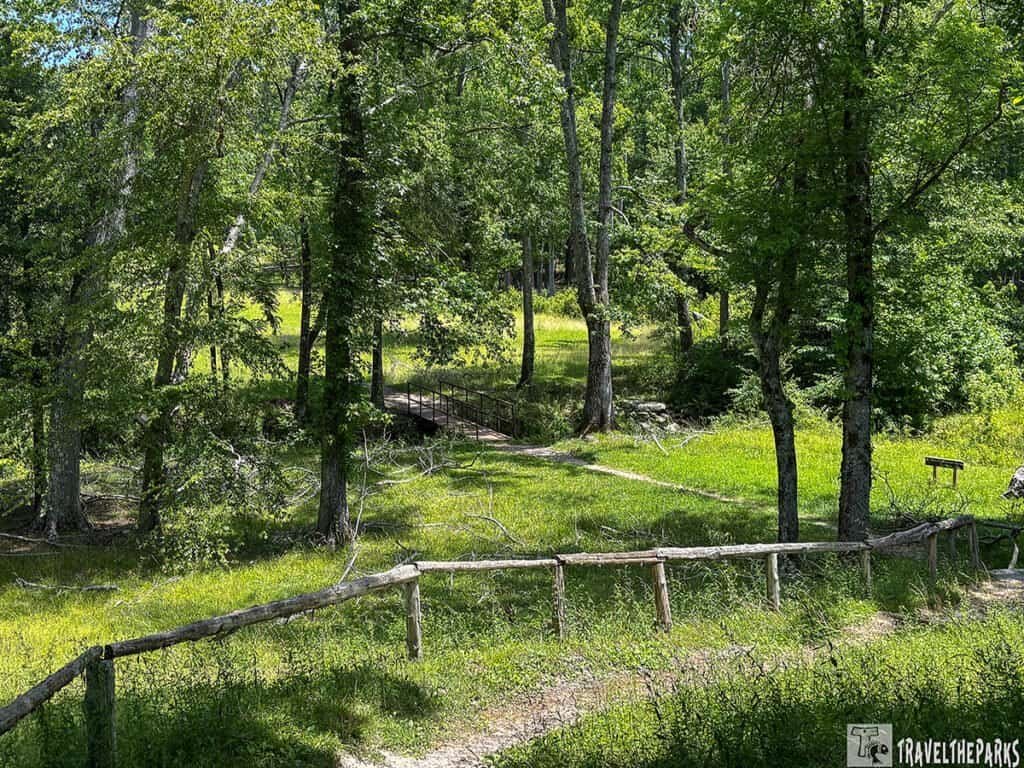
Stop 6: Rhea Field
One of the early flashpoints of the Shiloh battlefield driving tour, where Confederate troops pushed hard through the Union camps in the opening hours of April 6th. It’s a wide, open field now. It was easy to imagine how exposed the soldiers on both sides must have felt when the fighting swept through here.
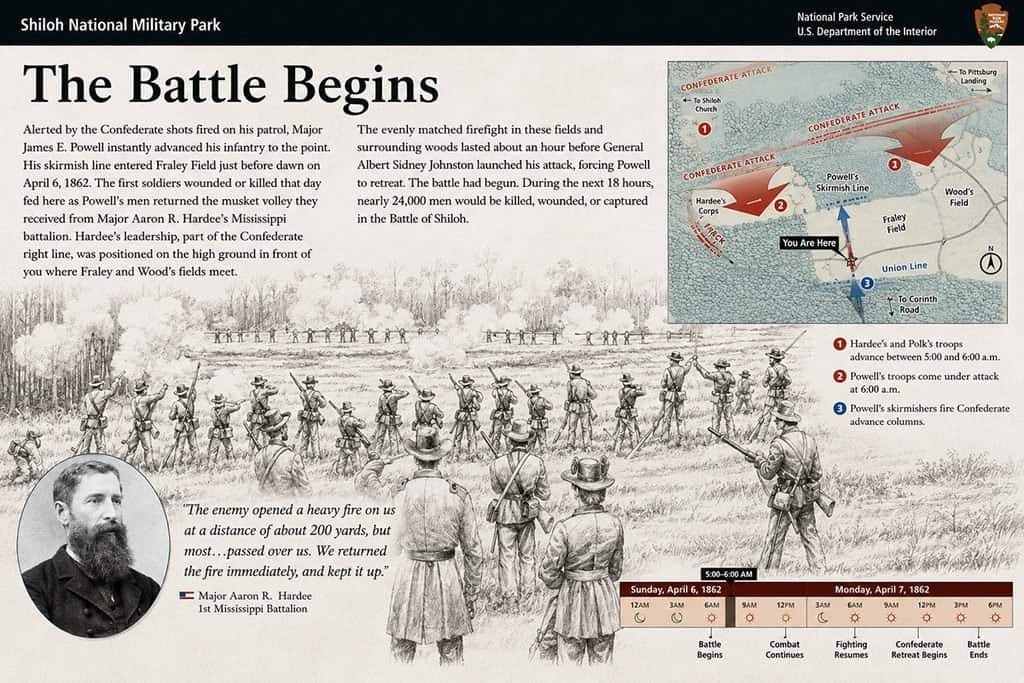
Stop 7: Fraley Field—where the first shots were fired.
It was still dark on the morning of April 6th, 1862, when a Union patrol encountered the leading edge of a massive Confederate force in this field, a Union outpost known as Fraley Field. The quiet in this field today is almost unsettling to think about what broke that quiet over 160 years ago. Stand at the treeline and look out across the grass. It doesn’t take much imagination.
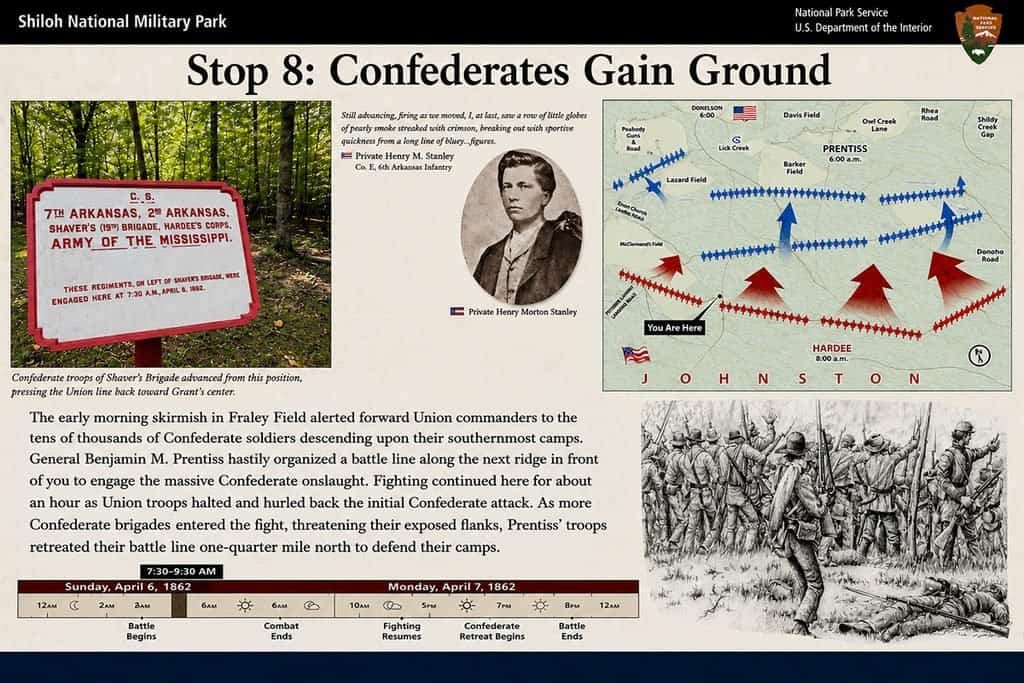
Stop 8: Confederates Gain Ground
This stop tells the story of the Confederate momentum in the early hours of the battle, when it genuinely looked like the Union Army might collapse entirely. The interpretive markers here do a good job of showing how quickly the situation was deteriorating. Good context for understanding everything that follows on the tour.
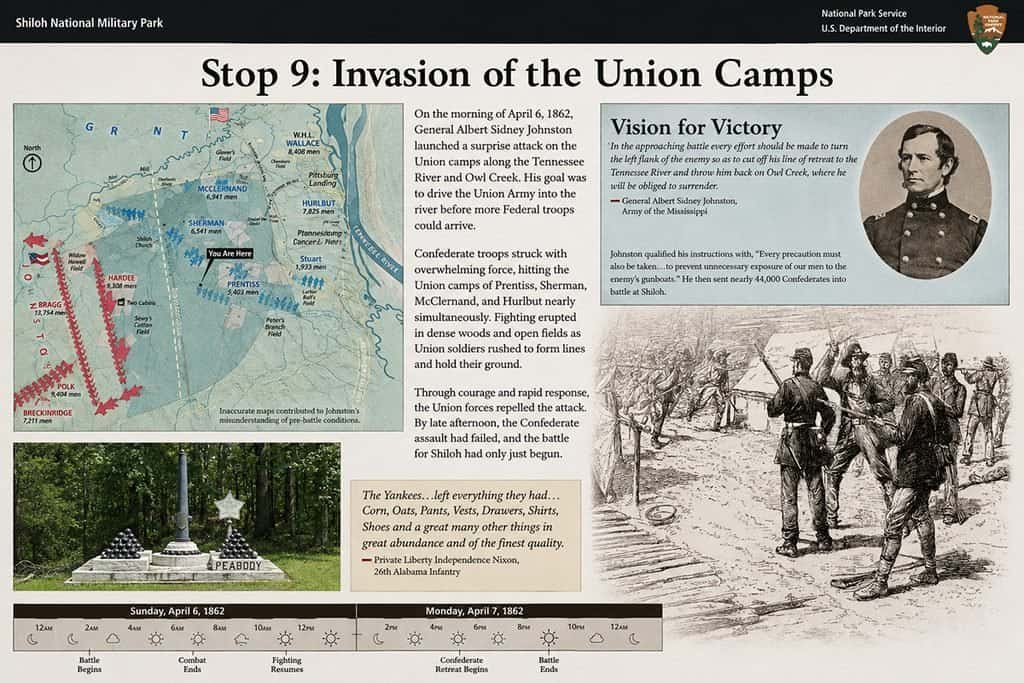
Stop 9: Invasion of the Union Camps
Walking through here, we kept thinking about how many of these soldiers woke up that Sunday morning with no idea what was coming. The Confederate surprise attack tore through the Union camps before breakfast. This stop puts a human face on that chaos in a way that really lands.
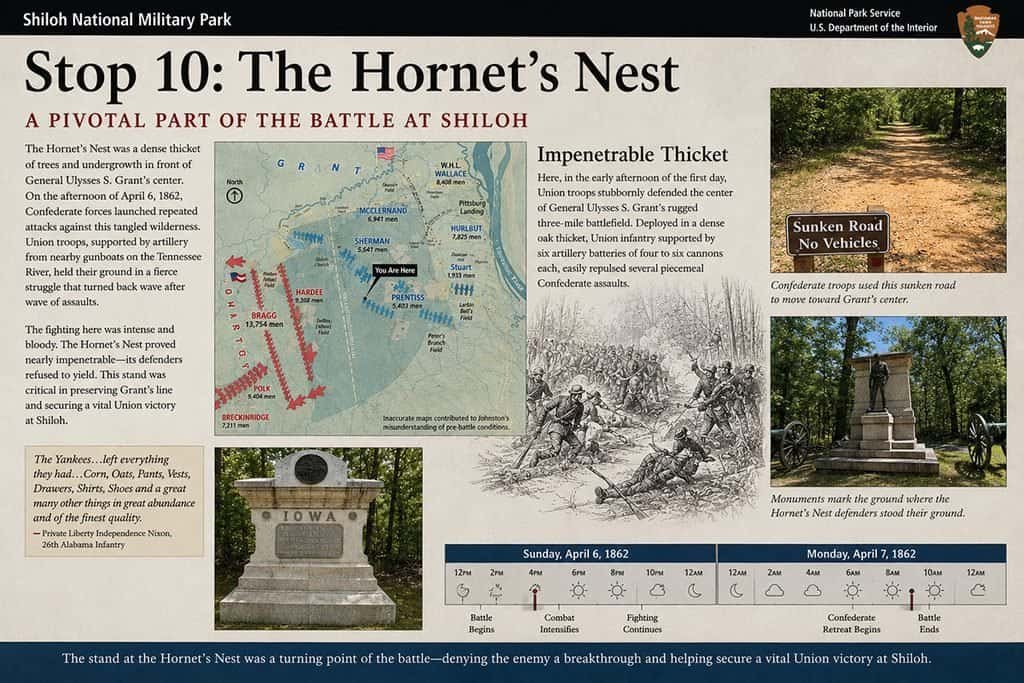
Stop 10: The Hornet’s Nest & Sunken Road—The stop that will stay with you the longest.
If we had to pick just one stop on the Shiloh battlefield driving tour, it would be this one — no contest. Union forces dug in at farm road to repel attacks from Confederate forces throughout the afternoon. Here is when the Confederates claimed the rifle firing was so incessant and so heavy that it resembled the buzzing of a hornet’s nest. The name of the road has been famous ever since. However, it gave Grant the time he needed.
Take your time walking along the Sunken Road. Check out the informational signs. It’s one of those stops where the ground itself feels like it has something to say.
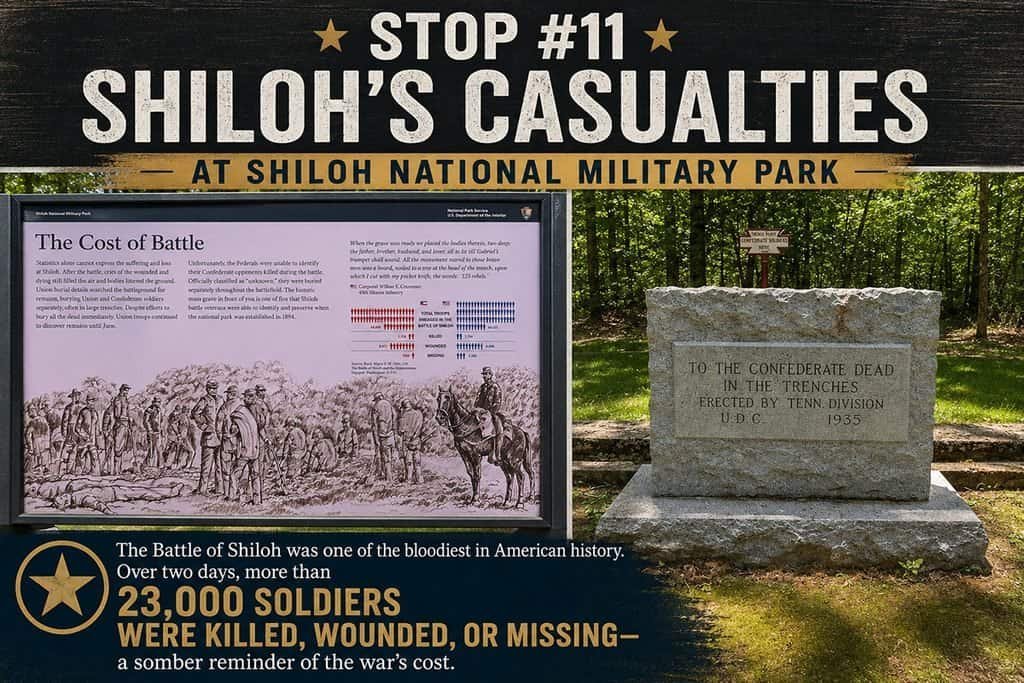
Stop 11: Shiloh Battlefield Driving Tour: Shiloh’s Casualties
A sobering pause in the middle of the tour. This stop steps back from the tactical details and focuses on the human cost — the numbers, the names, the letters home that never arrived. We found ourselves standing here longer than expected. It recalibrates the entire experience.
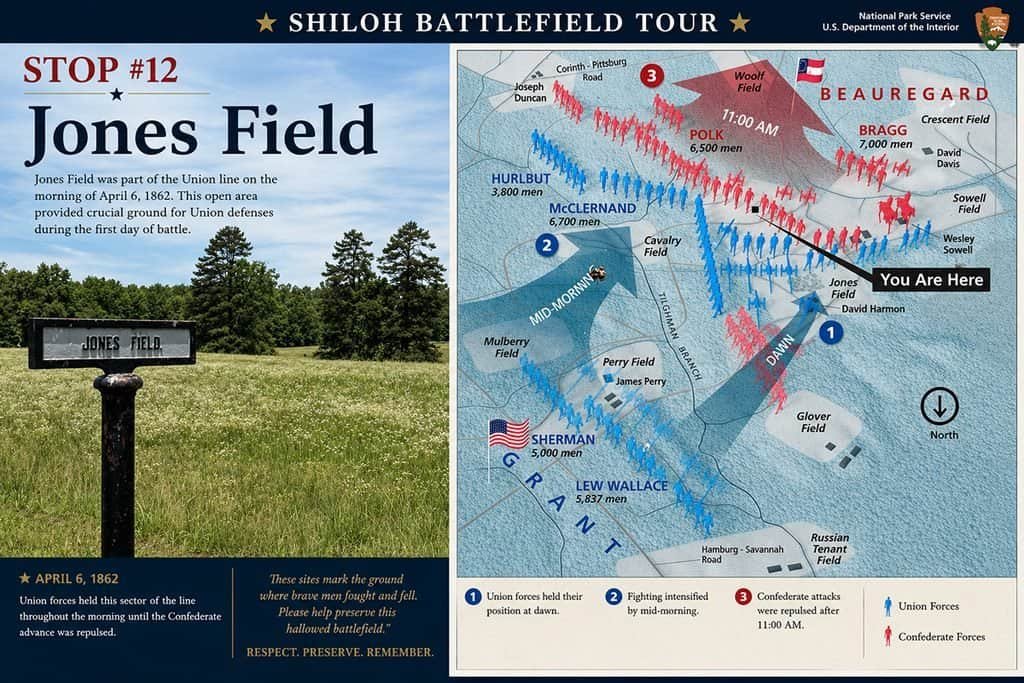
Stop 12: Jones Field
Another section of the battlefield where the fighting shifted back and forth across open ground. The field markers here help you track how fluid and chaotic the battle lines really were. Easy to drive past — don’t.
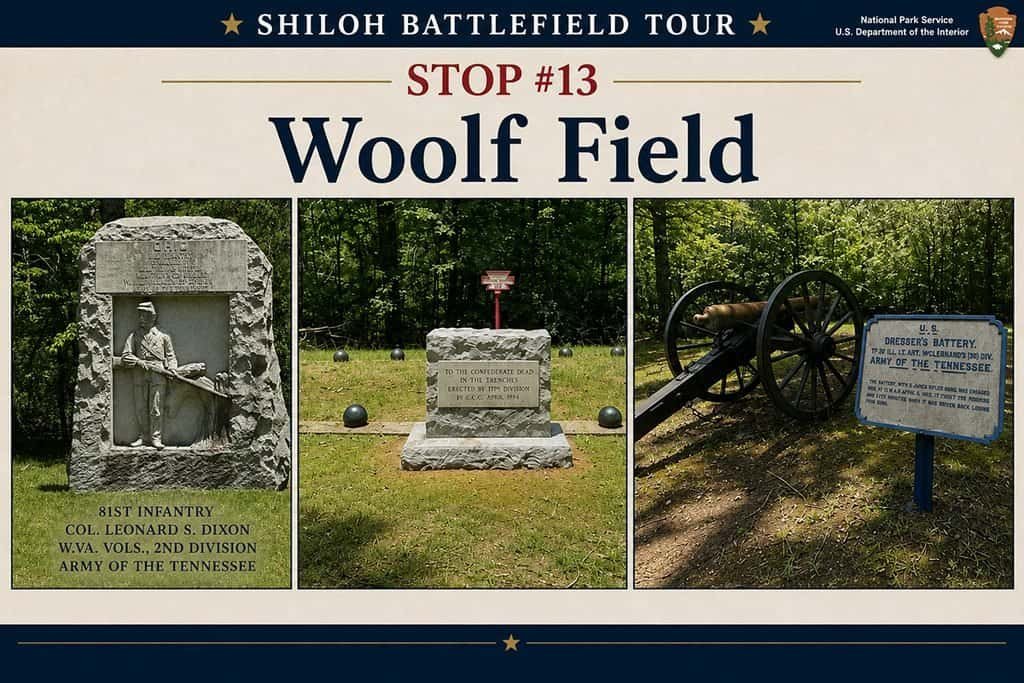
Stop 13: Woolf Field
A quieter stop that doesn’t get as much attention, but it fills in an important piece of the picture. This area saw significant action during the Confederate advance and helps connect the dots between several of the surrounding stops.
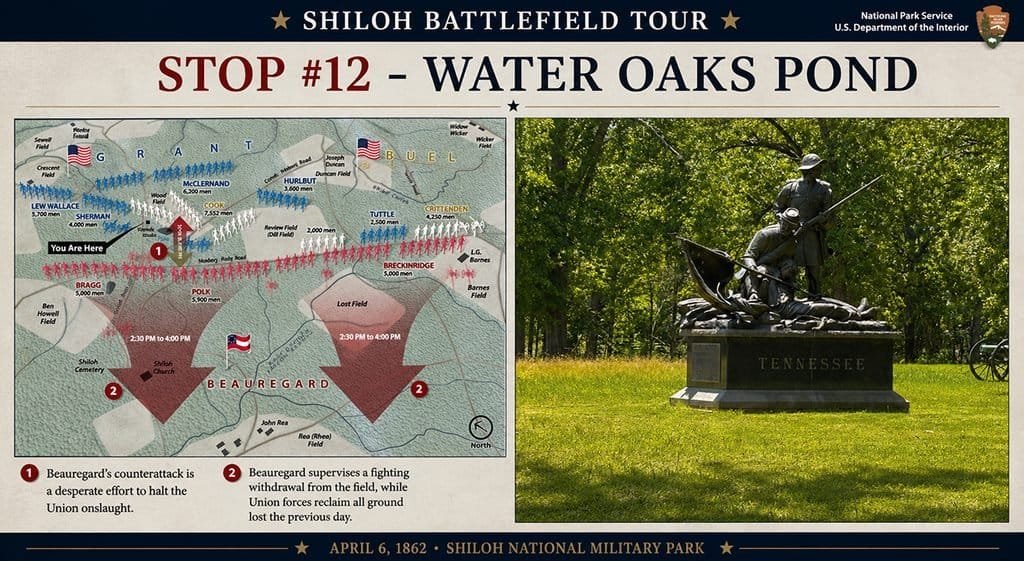
Stop 14: Water Oaks Pond on the Shiloh battlefield driving tour
This stop was easy to skip, but we’re glad we didn’t. This small pond sits quietly along the treeline. However, during the battle, natural landmarks like this one were how soldiers made sense of the surrounding chaos. It was a reference point in a landscape that smoke and noise had completely swallowed. We took a few minutes here just to marvel at how still it is now.
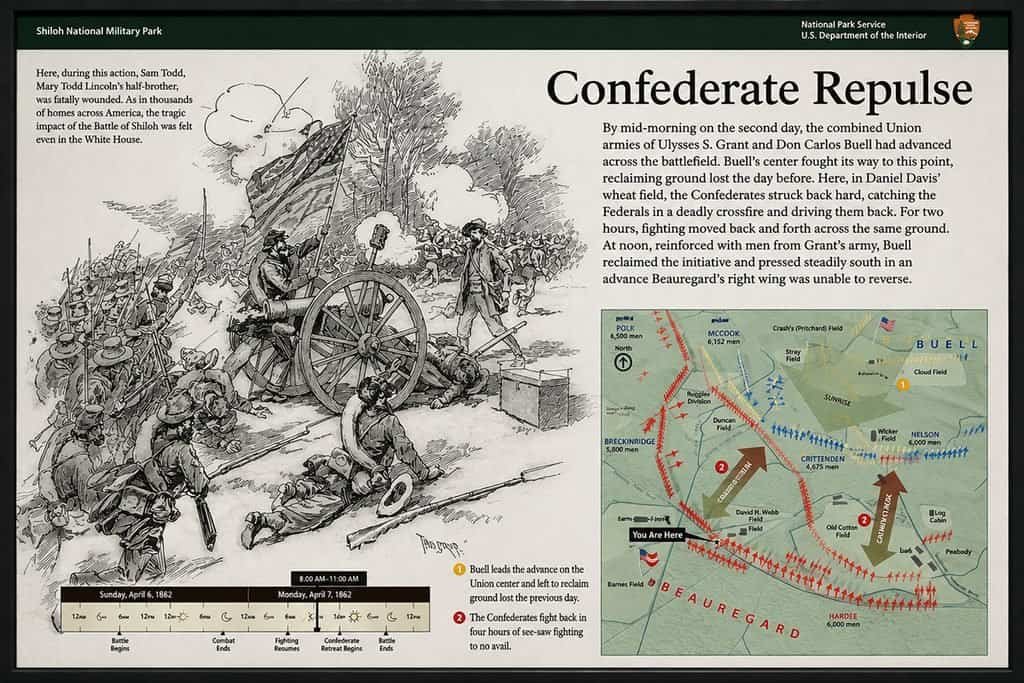
Stop 15: Daniel Davis Wheat Field
Something about this stop hit us in a way we didn’t expect. It’s just a field — the same kind you’d pass a hundred times on a road trip through the rural South. Just think, in April 1862 this was somebody’s farm, somebody’s livelihood, and within hours it became a killing ground. The battle didn’t happen in some far-off military installation. It happened here, in working fields, on family land. That’s worth sitting with for a minute.
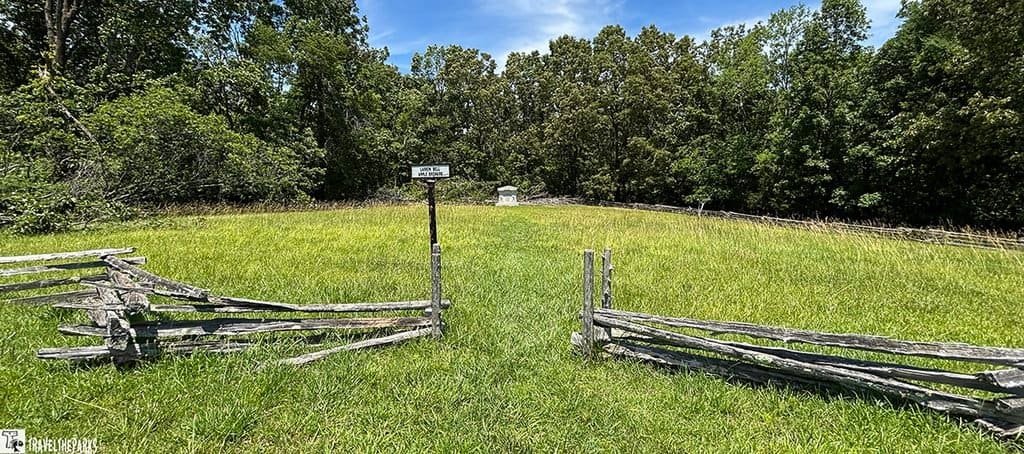
Stop 16: Field Hospital
One of the stops that tends to catch people off guard. This is where the wounded were brought. Sometimes by the thousands — and where surgeons worked around the clock in conditions, we can barely imagine today. It’s not a dramatic stop visually, but emotionally it’s one of the heaviest on the route.
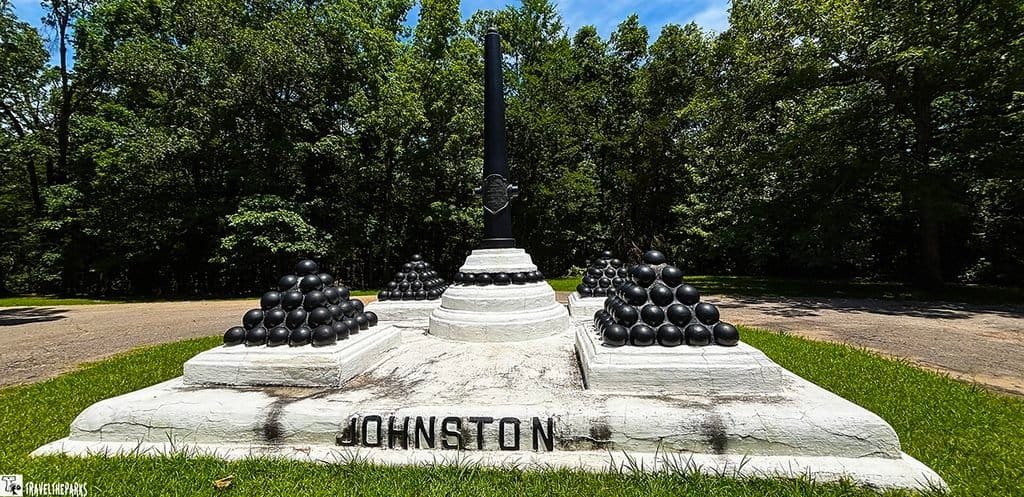
Stop 17: Death of General Johnston
Jefferson Davis called Confederate General Albert Sidney Johnston the finest general the Confederacy had. Interestingly enough, lots of people who studied the war agreed. But on April 6th, he was hit by a bullet here. The general stayed on his horse, unaware that the wound was as bad as it was. He bled to death in the saddle. We found ourselves at this stop longer than expected, just turning the question over—what does this war look like if he survives? It’s one of those moments in history where you think how different the war might have unfolded.
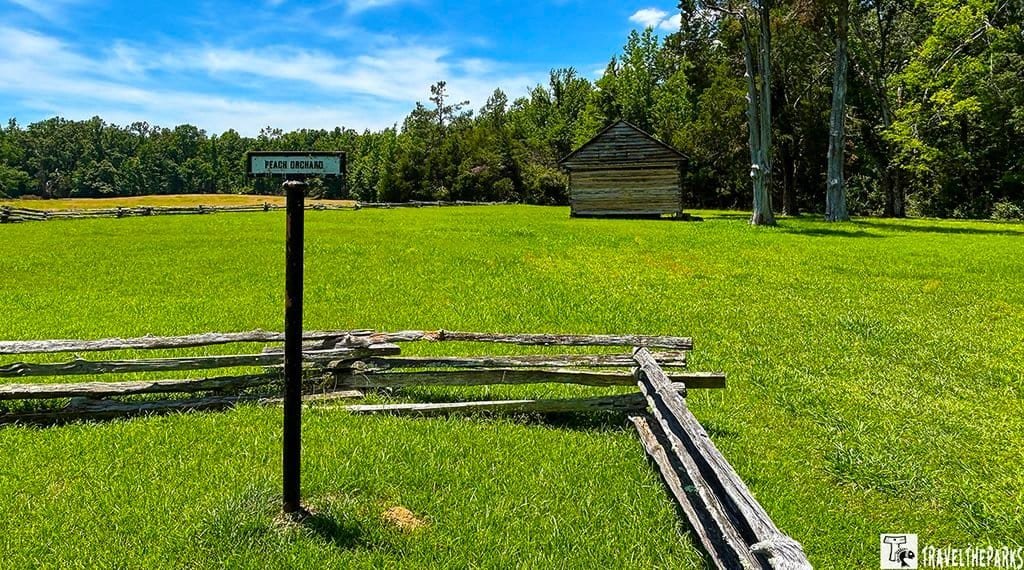
Stop 18: The Peach Orchard—Strange beauty in a brutal place.
The peach trees here were in full bloom when the fighting swept through in early April 1862. We were lucky to be here at the same spring timeframe. There’s something almost impossible about that image—pink blossoms, cannon fire, men dying in the grass. Today it’s peaceful. Honestly, it is one of the more striking spots on the tour visually. A good place to stop, stretch, and we just took in the scenery for a minute.
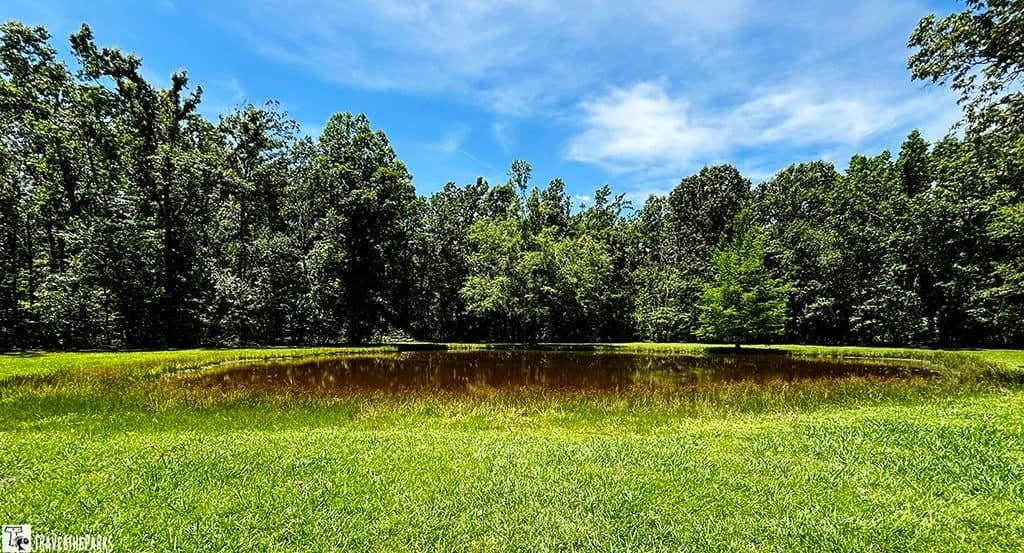
Stop 19: Bloody Pond—small, quiet, and deeply sobering.
We stood here longer than we expected. Nobody names a pond something like that without a reason. By the end of the first day of fighting, wounded soldiers from both sides — Union and Confederate — were crawling to this water on their own, desperate to drink and cool their wounds. Blood had so deeply soaked the soil around that the flowing water itself turned red. That’s no myth of the battlefield. That’s simply what unfolded here. If you stand at the edge of it nowadays, seeing how quiet and normal it appears, it’s one of those instances when the distance between that time and now seems very hard to comprehend. We didn’t say much at this stop. Didn’t really need to.
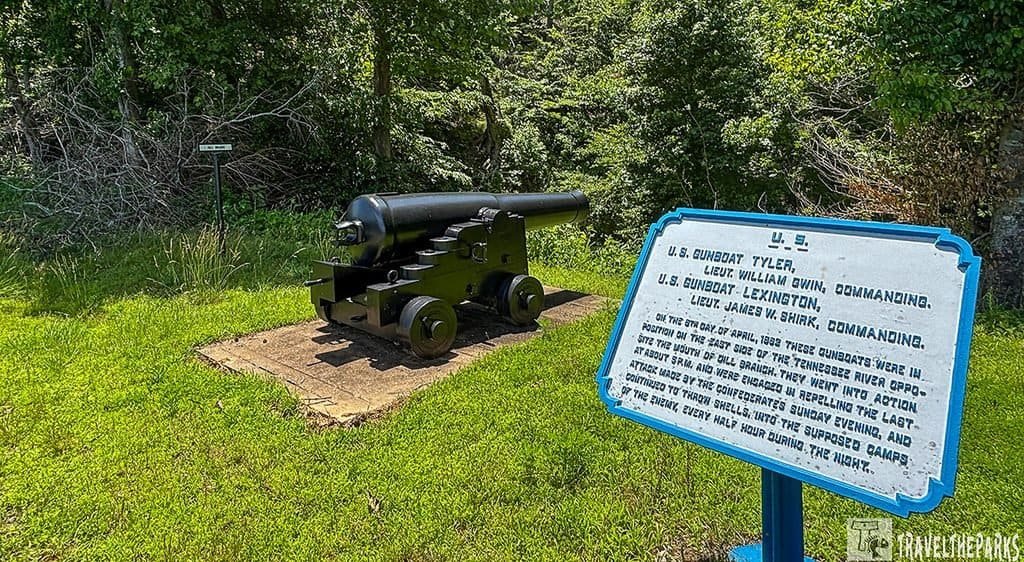
Stop 20: Dill Branch Ravine
This deep, heavily wooded ravine stopped the final Confederate push of April 6th cold. Union artillery pounded the Confederate troops from the bluffs above as they tried to push through. By nightfall, the attack stalled here—and the Union Army survived to fight the next day. A dramatic and often overlooked stop.
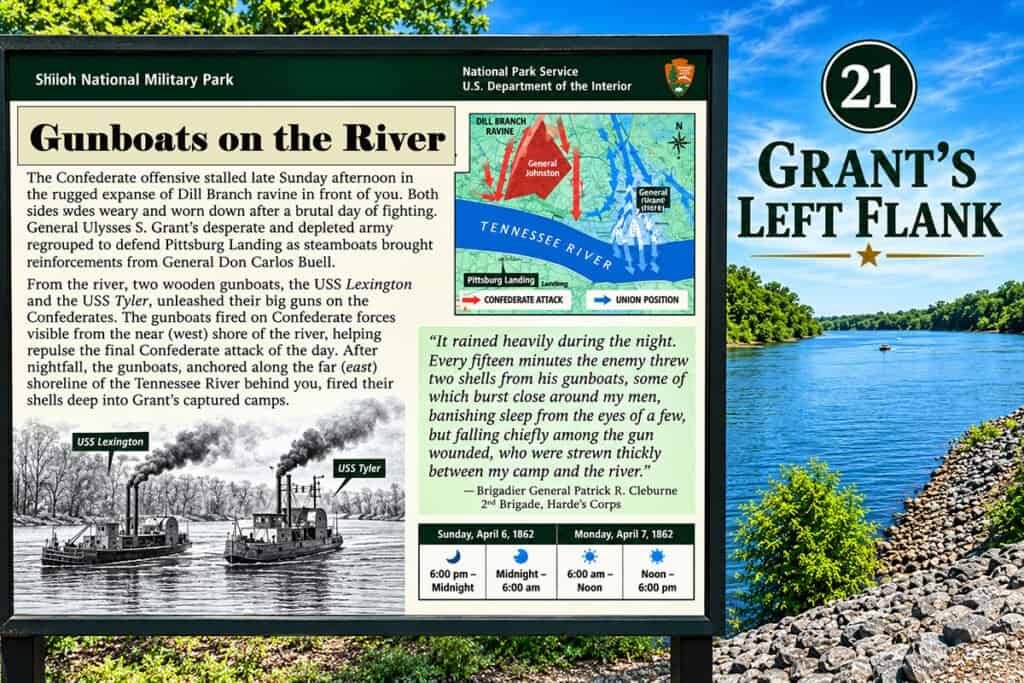
Stop 21: Grant’s Left Flank
The southern anchor of Grant’s Last Line on the night of April 6th. Standing here gives you a real sense of just how tight the Union perimeter had become by the end of that first brutal day. Combined with Stop 1, this one completes the picture of how Grant held his army together when everything was falling apart.
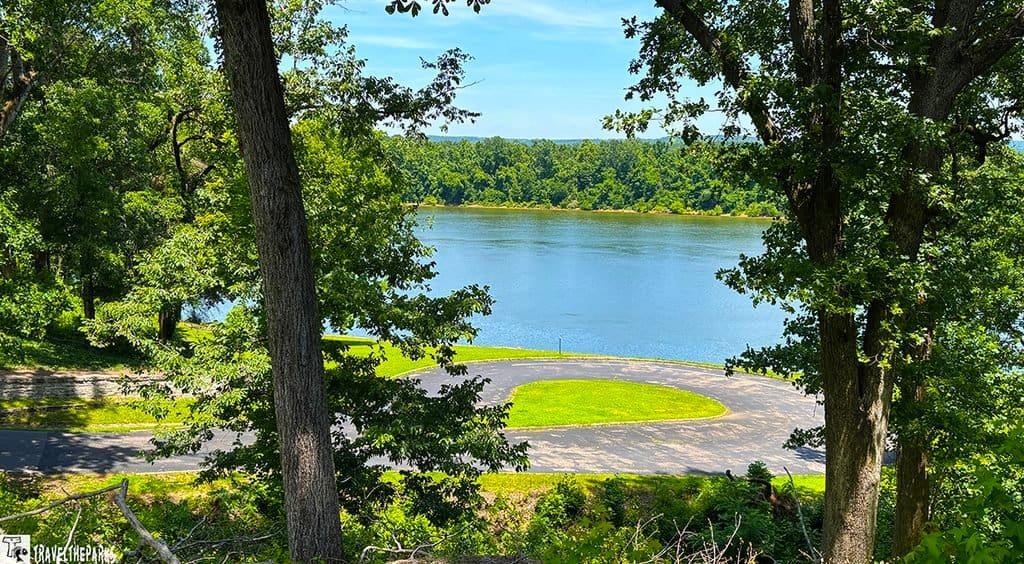
Stop 22: Pittsburg Landing: The last stop on Shiloh battlefield driving tour
The last stop on the Shiloh battlefield driving tour–and a fitting one. This is where the Union troops came ashore by steamboat. Here reinforcements landed overnight, which eventually turned the tide of the battle. Standing on the river’s edge and looking back at the bluffs, the whole two-day history suddenly makes geographic sense. A great place to close out the tour and reflect on everything you’ve just seen.
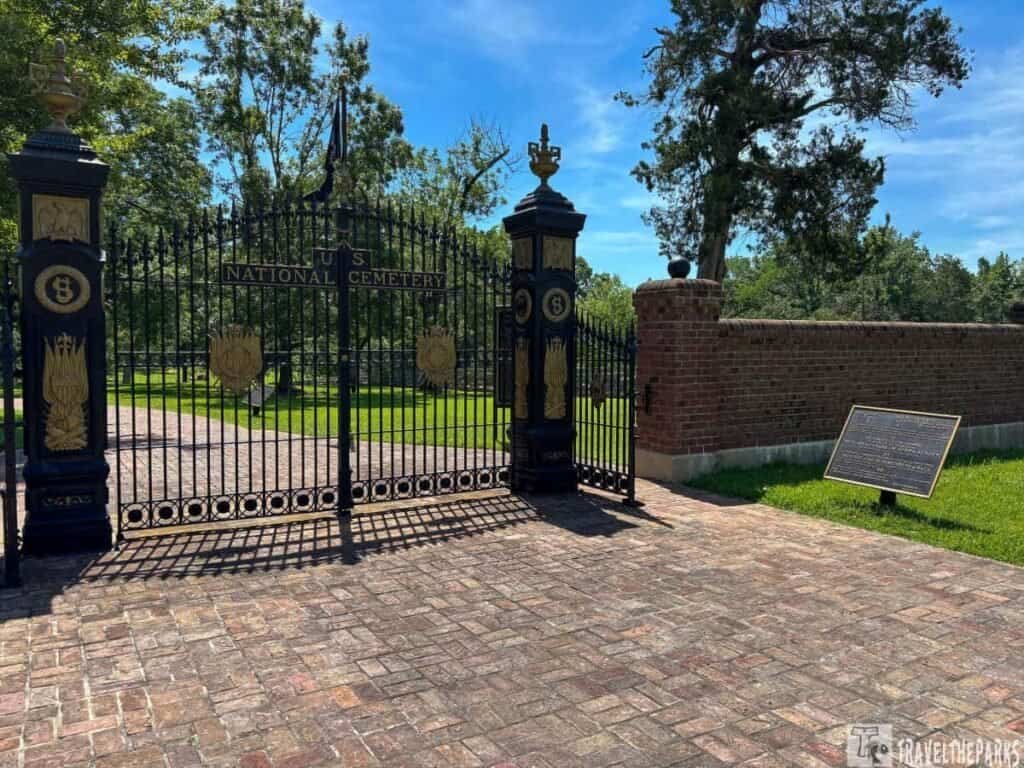
Shiloh National Cemetery—End here. Take your time.
Hours and hours of wandering the battlefield, reading the markers along the Sunken Road, stopping by Bloody Pond… So by the time we got to the cemetery, it was a unique feeling altogether.
So many of them only say “Unknown.” No name, no hometown, no regiment. Just a stone in the ground. The perfectly maintained grounds, in fact the whole place, has a kind of quiet that really feels like it has been earned. It’s not sad so much as it is honest. And if you’ve been on the entire tour before coming here, you can understand why it makes sense that it’s the end of it all.
Note: One heads-up if you’re traveling with a dog: pets aren’t allowed inside the cemetery, so plan accordingly.
Final Thoughts: Shiloh Battlefield Driving Tour
Shiloh wasn’t our first battlefield, and if you’re reading this, it probably wasn’t yours either. We’ve put a lot of miles on our boots over the years—walked the ridges at Gettysburg, stood in the cornfield at Antietam, followed the lines at Chickamauga, climbed Kennesaw Mountain in the Georgia heat, and spent more than one long day out at Vicksburg working through the siege trenches. Every one of those places left a mark on us in its own way.
What we liked most was how simple Shiloh Battlefield was to explore. You can knock out the self-guided driving tour in a couple of hours if you’re in a rush, but we kept pulling over anyway, just sitting with the quiet before heading to the next stop. The signs are easy to follow, the monuments don’t feel over the top like they do at some of the big Eastern battlefields, and the trails—especially the quick walk through the Hornet’s Nest—are totally worth hopping out of the car for, even if you’re usually the “let’s just drive it” type.
Battlefields like this one mean something different to everyone who visits. We’d love to hear what Shiloh meant to you — share it in the comments below.