Table of Contents
Updated august 2026
Advice for Navigating the Narrows comes from our own experience hiking this incredible canyon in Zion National Park. The Narrows is one of the most memorable hikes we have ever done, but it is also very different from a typical trail. If you’re preparing for the Narrows Trail in Zion, there are a few things you should know before stepping into the Virgin River.
You’ll be hiking through cold water, balancing on slippery rocks, and making your way between towering canyon walls. Having the right gear, checking conditions, and starting early can make a big difference in your experience.
In this guide, I’ll share our Narrows hiking advice, what we learned along the way, what we would do differently, and our best tips for hiking the Narrows safely and comfortably.
This post may contain affiliate links, meaning if you purchase something through one of these links, we may earn a small commission at no extra cost to you! Read the full disclosure policy here.
Know Before You Go: Advice for Navigating the Narrows
Before you head into the Narrows, there are a few important things to consider.
Check the Weather and Flash Flood Warnings
This is probably the most important piece of Narrows hiking advice I can give you.
Always check the weather, current river conditions, and flash flood warnings before starting your hike. Flash floods can happen quickly in narrow canyons, even when the weather looks fine where you are standing.
Do not enter the Narrows if there is a chance of dangerous weather or a flash flood warning.
Conditions in the canyon can change quickly, so pay attention to ranger recommendations and conditions at the trailhead.
Decide Which Route You Are Hiking
There are two main ways to hike the Narrows.
The Bottom-Up route begins at the Temple of Sinawava. This is the route most visitors choose for a day hike. You can hike upstream as far as you feel comfortable and then turn around and retrace your steps.
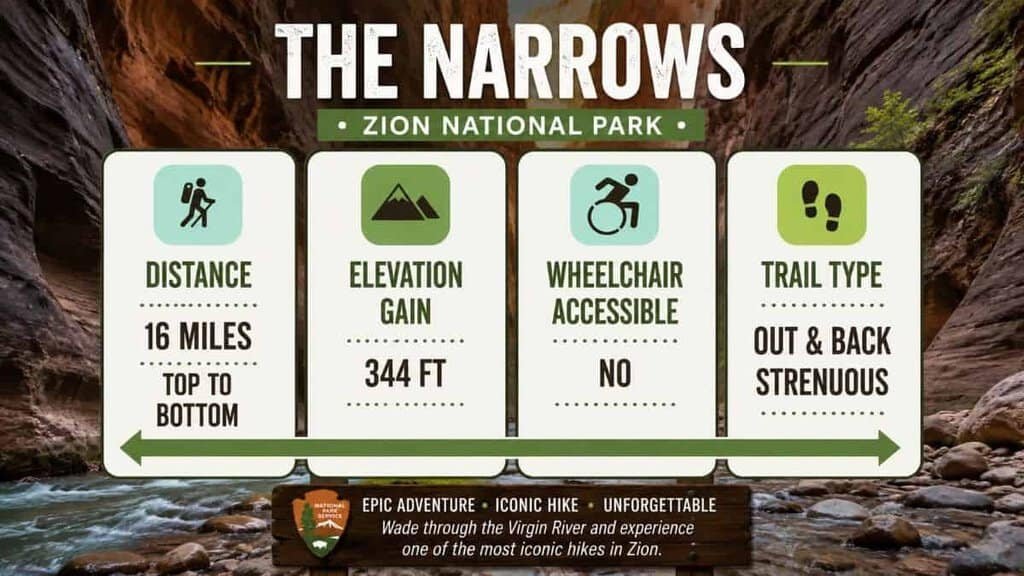
The Top-Down route begins at Chamberlain Ranch and ends at the Temple of Sinawava. It is a much longer and more demanding adventure and requires a permit.
For our hike, we chose the Bottom-Up route.
Permits for the Top-Down Narrows
If you plan to hike the Narrows from Chamberlain Ranch to the Temple of Sinawava, you will need a backcountry permit.
This route requires considerably more planning than the Bottom-Up hike. You will also need transportation to the trailhead and additional equipment if you plan to spend the night in the canyon.
Be Prepared for Cold Water
The Virgin River can be surprisingly cold.
The water temperature can be especially uncomfortable in early spring and late fall. Depending on the conditions and time of year, you may need additional protection such as neoprene socks, a wetsuit, or other appropriate gear.
Even on a warm day, remember that sunlight doesn’t reach the bottom of the canyon everywhere.
What to Wear and Bring for the Narrows
Having the right equipment can make a huge difference. The Narrows is not the place to discover that your shoes aren’t waterproof, your socks aren’t comfortable, or your backpack isn’t protecting your camera.
Wear the Right Clothing
Choose lightweight clothing that dries quickly, such as Tech Tee or Ridge Ripstop Pant.
We like moisture-wicking layers, especially because you will spend so much time in the water. I also prefer clothing that works both in and out of the river.
Bring a light jacket or sweater for the early morning. When we arrived around 6:45 a.m., it was chilly. The canyon stays shaded in many areas, and cool air moves through the canyon.
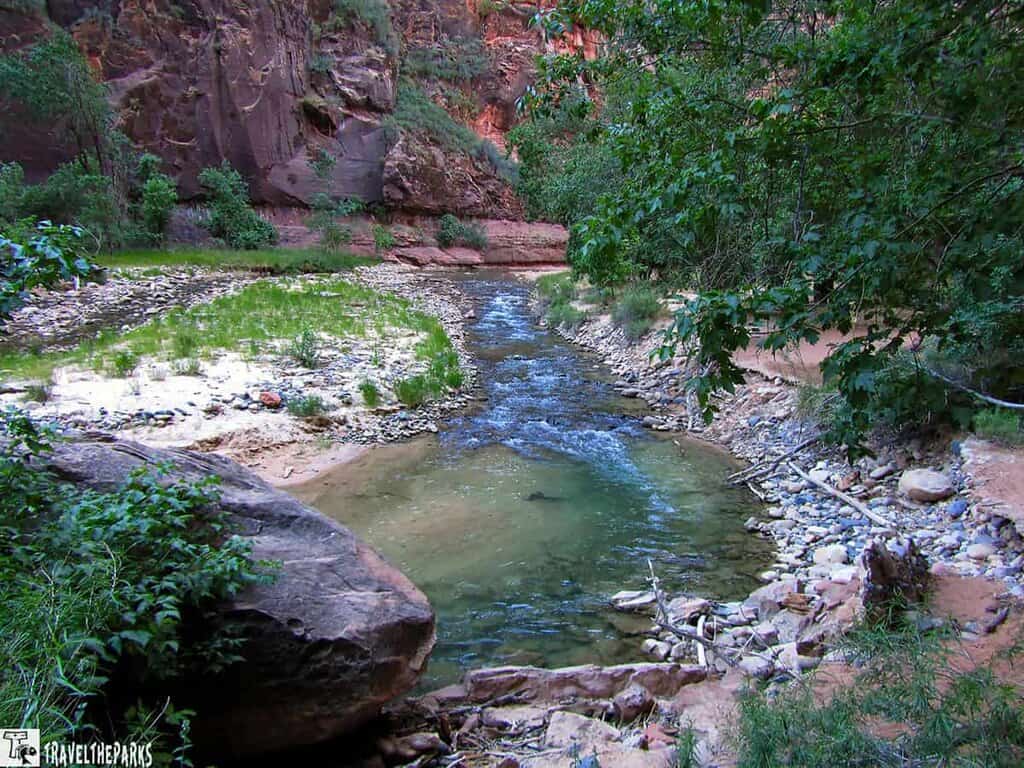
Choose Good Footwear
This is one lesson we learned the hard way.
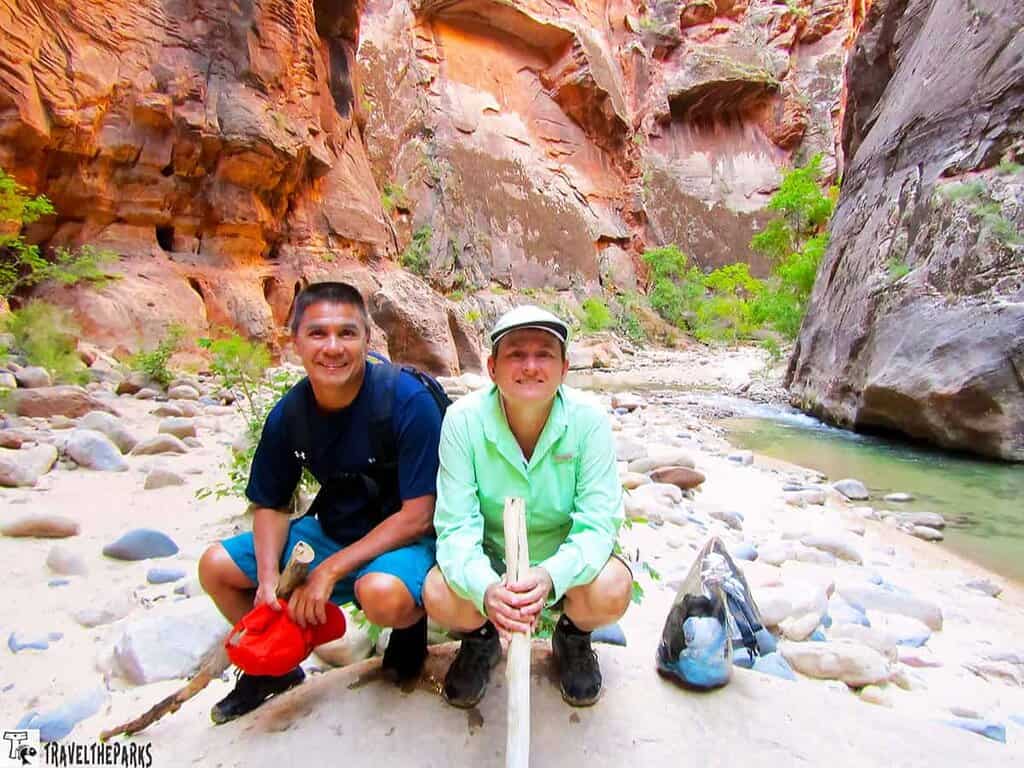
I had good wading boots, while Barry wore his hiking boots with neoprene socks. His boots worked fine on the way into the canyon.
On the way back, however, his hiking boots essentially disintegrated. The sole actually came off!
Luckily, he had trekking sandals with him.
That experience taught us an important lesson: don’t underestimate the river or the rocks.
The riverbed is filled with smooth rocks that can be slippery and uneven. Good traction and footwear that can handle water are essential.
You can also rent canyoneering shoes and neoprene socks in the Springdale area. If you plan to rent equipment, I recommend doing it the day before your hike so you aren’t wasting valuable morning time getting prepared.
Bring Trekking Poles or a Walking Stick
Good trekking poles or a sturdy walking stick can make a huge difference.
We found that having something to steady ourselves with helped tremendously while walking across the uneven riverbed. It also reduced some of the strain on our legs.
If you arrive early, you may find walking sticks that previous hikers have left near the beginning of the trail.
Protect Your Camera and Electronics
Just remember the Leave No Trace principle. Don’t leave trash or equipment behind when you’re finished.
Water is everywhere in the Narrows.
Keep your phone, camera, wallet, and other valuables in a waterproof bags or dry sack. A waterproof phone case is also a good idea if you want to take pictures along the way.
Trust me—you don’t want your phone spending the day at the bottom of the Virgin River.
Bring Water and Snacks
Even though you are surrounded by water, you still need to carry drinking water.
Bring enough water for your hike and pack high-energy snacks. We used one backpack for everything, which helped keep our hands free for balancing and maneuvering through the river.
A water filter can also reduce the amount of water you need to carry if you are comfortable filtering water from the river.
Getting to the Narrows: Riverside Walk
The adventure begins before you ever step into the river.
The Riverside Walk trailhead is located at the end of the Zion Canyon Scenic Drive. During shuttle season, you can take the Zion Canyon shuttle to the Temple of Sinawava stop.
We were staying in the park, so we took the 7:00 a.m. shuttle. We wanted to get an early start before the crowds arrived.
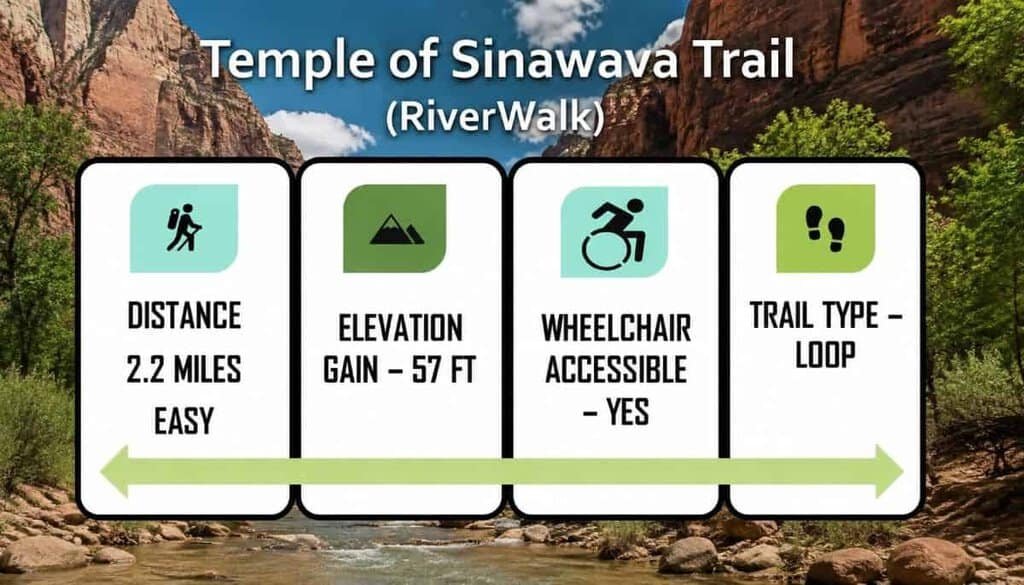
The Riverside Walk is about 2.2 miles round trip and is paved, making it accessible to a wide range of visitors.
The Riverside Walk Is Part of the Experience
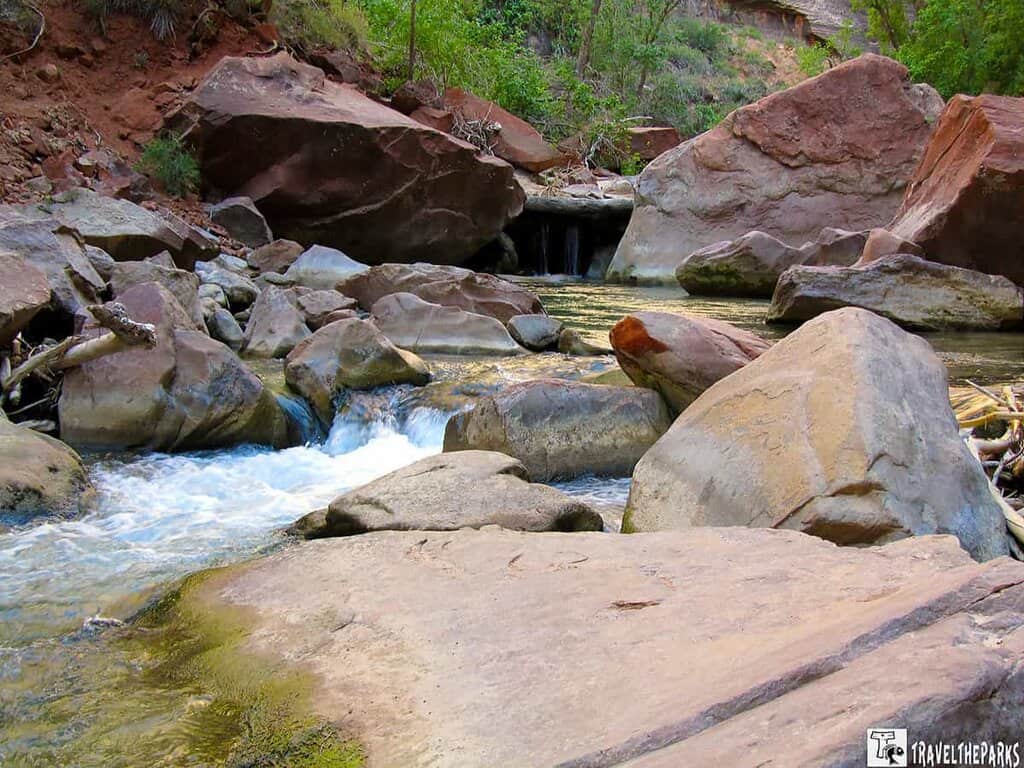
The paved Riverside Walk follows the Virgin River toward the Temple of Sinawava.
As we walked, the canyon walls slowly began closing in around us. It felt like the landscape was giving us a preview of what was ahead.
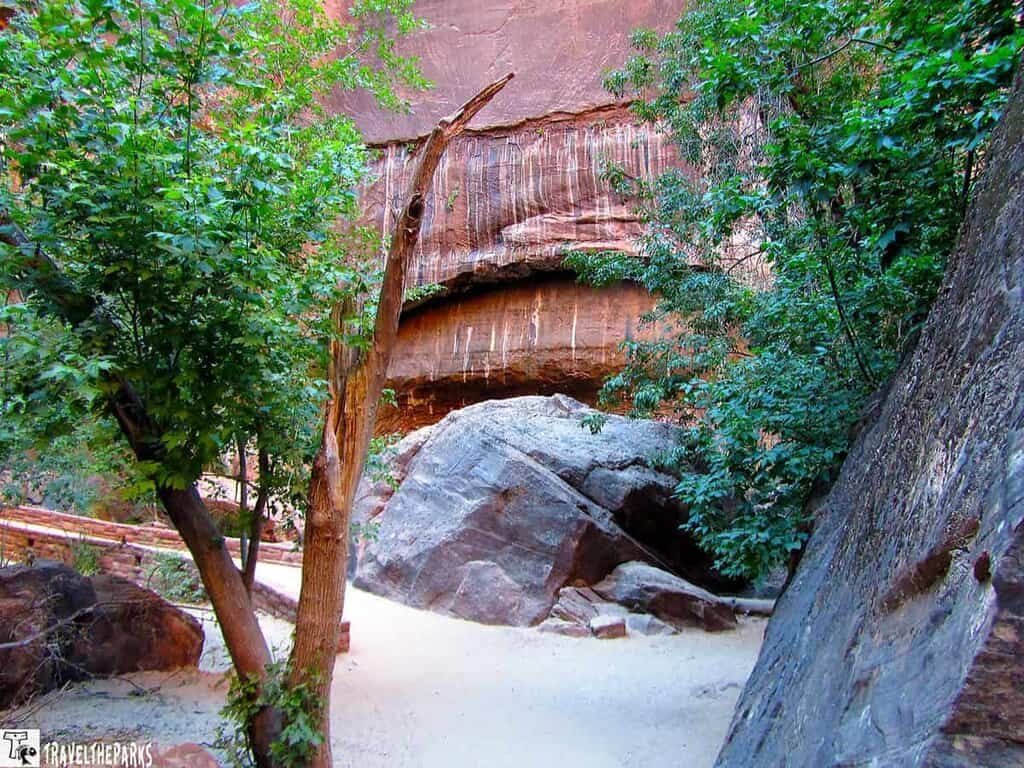
The trail is lined with large cottonwood trees, and the sound of the Virgin River makes the walk incredibly peaceful.
Keep your eyes open for wildlife, too. We spotted rock squirrels perched on the rocks and trees along the trail.
Water draining down the canyon walls also creates hanging gardens along the canyon.
At the end of the Riverside Walk, you reach the Temple of Sinawava.
And this is where things get interesting.
The Temple of Sinawava: Where the Narrows Begins
The Temple of Sinawava is a natural amphitheater surrounded by towering, curved sandstone walls.
Take a minute to look around before heading into the river. The walls are enormous, and the scale of the canyon is difficult to appreciate in photographs.
Then the paved trail ends.
The river becomes the trail.
Hiking Into the Narrows
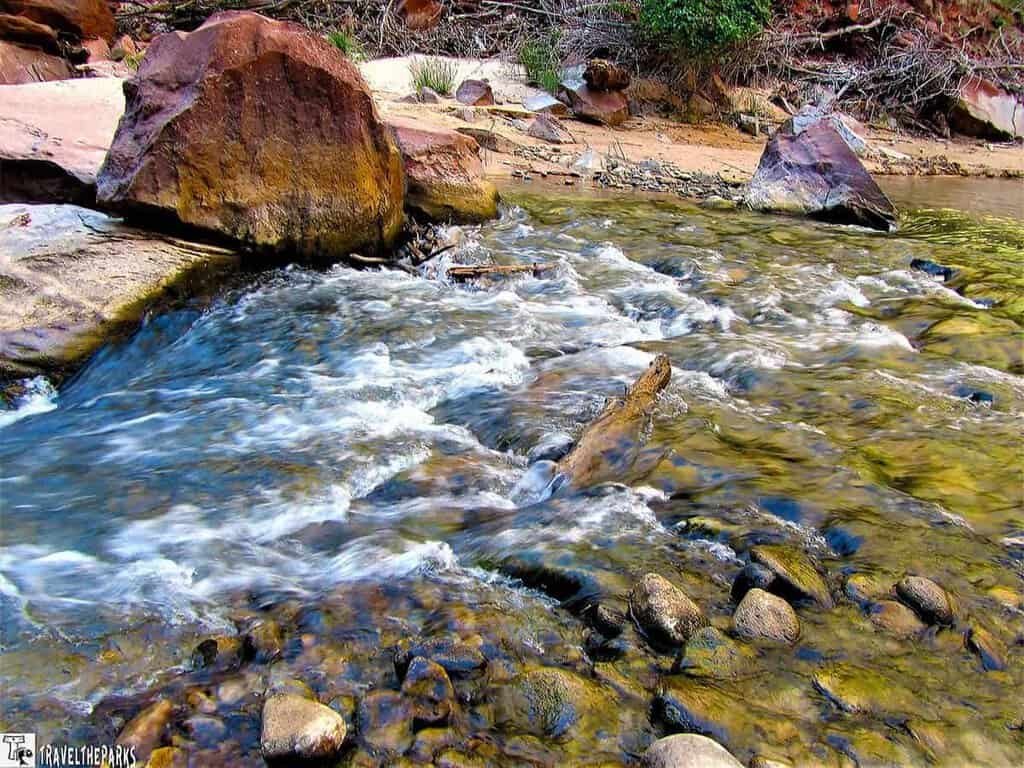
Leaving the Riverside Walk behind, we stepped into the cold water of the North Fork of the Virgin River.
This is the moment when the adventure really begins.
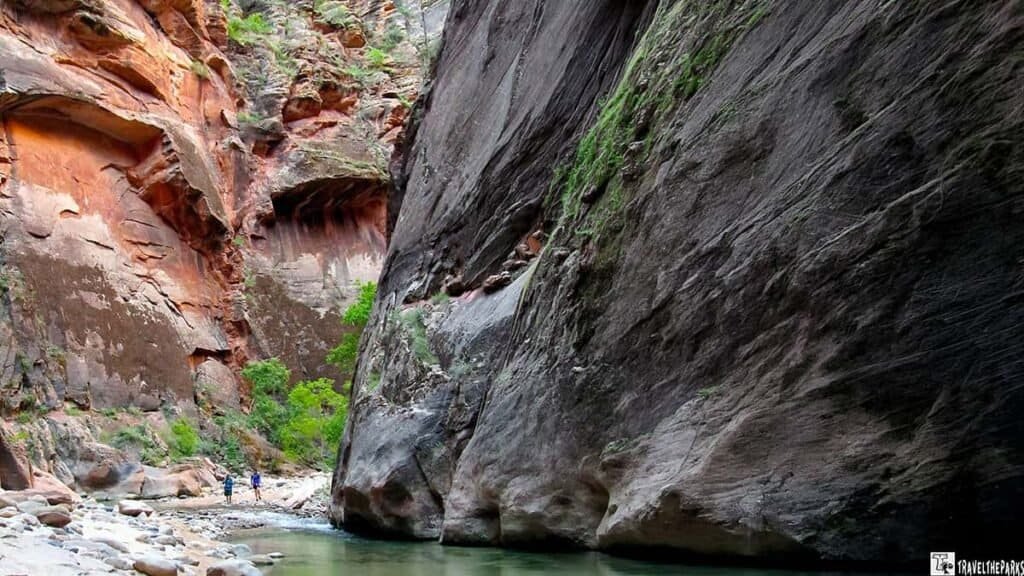
We started hiking upstream through the Narrows, surrounded by towering cliffs and spectacular sandstone formations.
At first, it feels a little strange to think that the river is now your trail. But before long, you get into a rhythm.
Step.
Balance.
Look for a good place to put your foot.
Repeat.
Our Experience Hiking the Narrows
The Narrows is one of the most popular hikes in Zion National Park, and it’s easy to understand why.
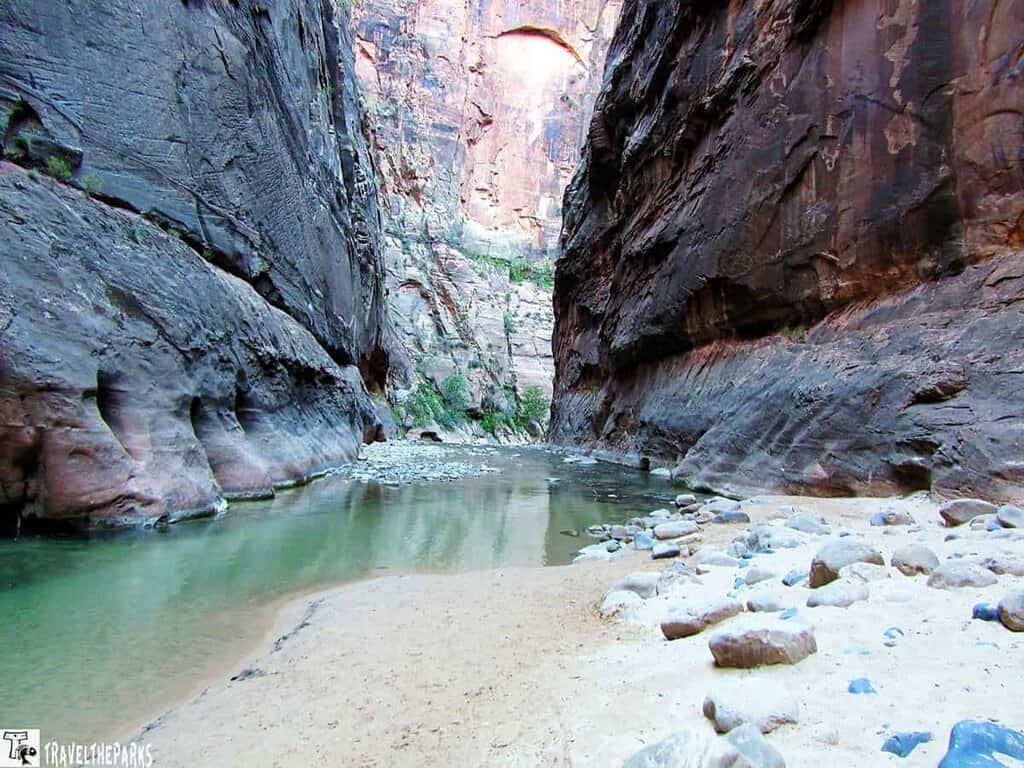
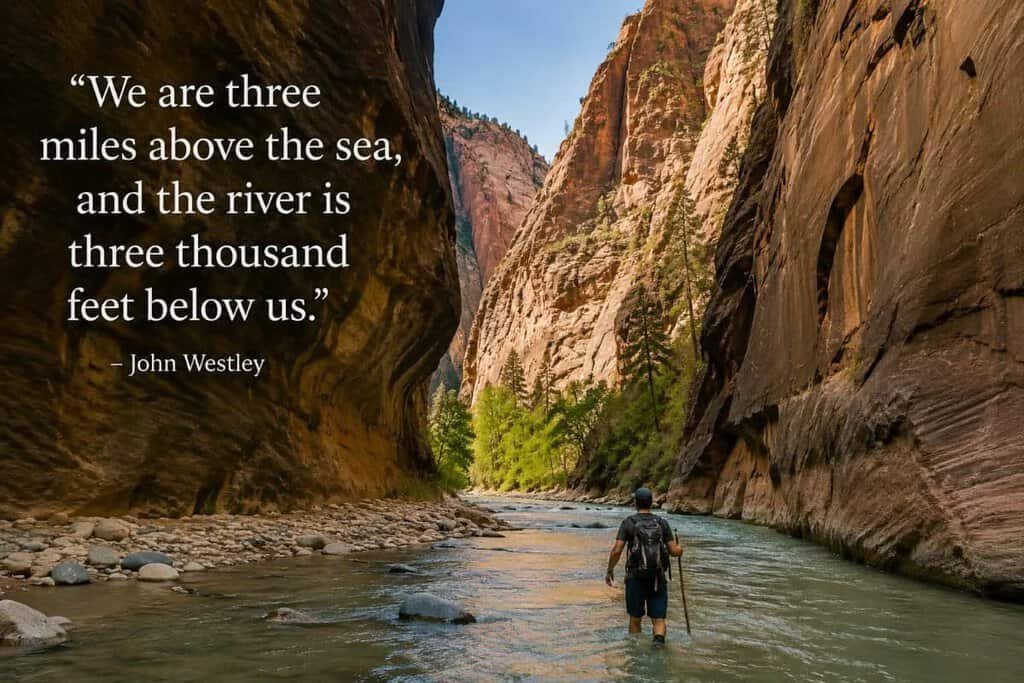
You spend much of the hike walking directly in the river. The water level can vary considerably depending on the season and current conditions.
When we visited, the water was mostly manageable, although we encountered sections that were around waist deep.
There were also areas where the water covered the canyon floor completely. In early spring, we had to wade—and in a few places swim—to continue upstream.
The current was strong, and the water was cold.
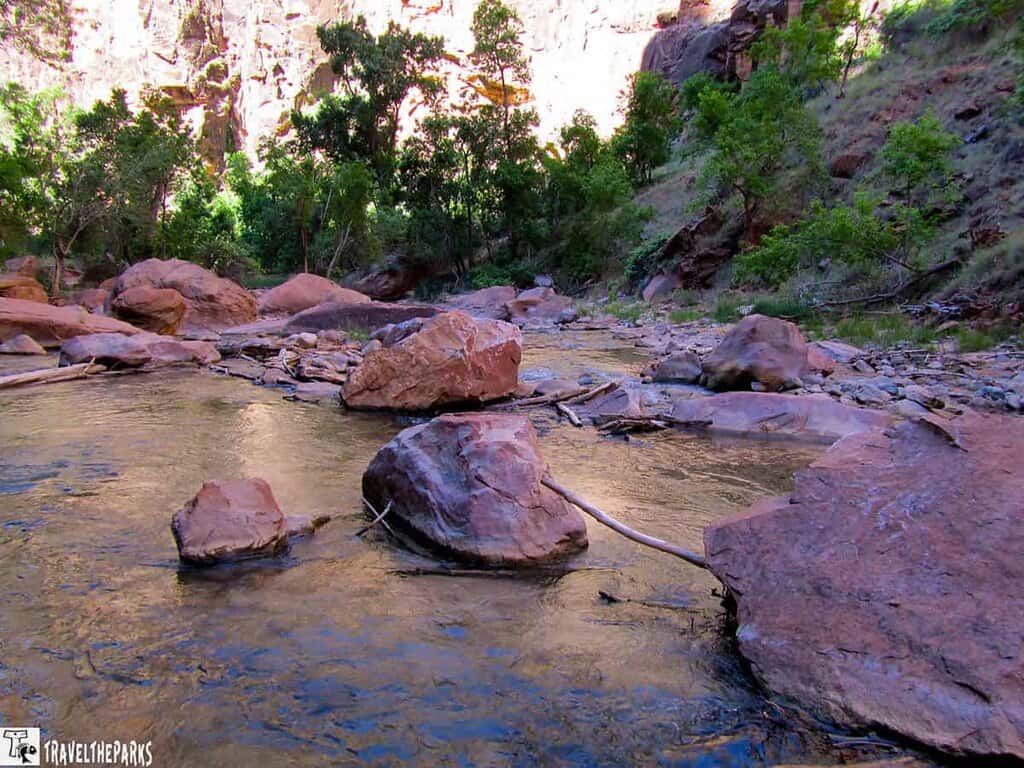
Every step required attention because the riverbed is made up of smooth rocks that can shift beneath your feet.
Take Your Time
One of my biggest pieces of advice for navigating the Narrows is not to rush.
There is no prize for getting upstream quickly.
Watch where you place your feet. Test rocks before putting your full weight on them. Use your walking stick or trekking poles for balance.
The canyon can also become crowded, especially later in the morning. Be considerate of other hikers when you reach narrow sections where passing is difficult.
Look Up!
It is easy to spend the entire hike staring at the river trying not to fall.
Don’t.
Make sure you look up.
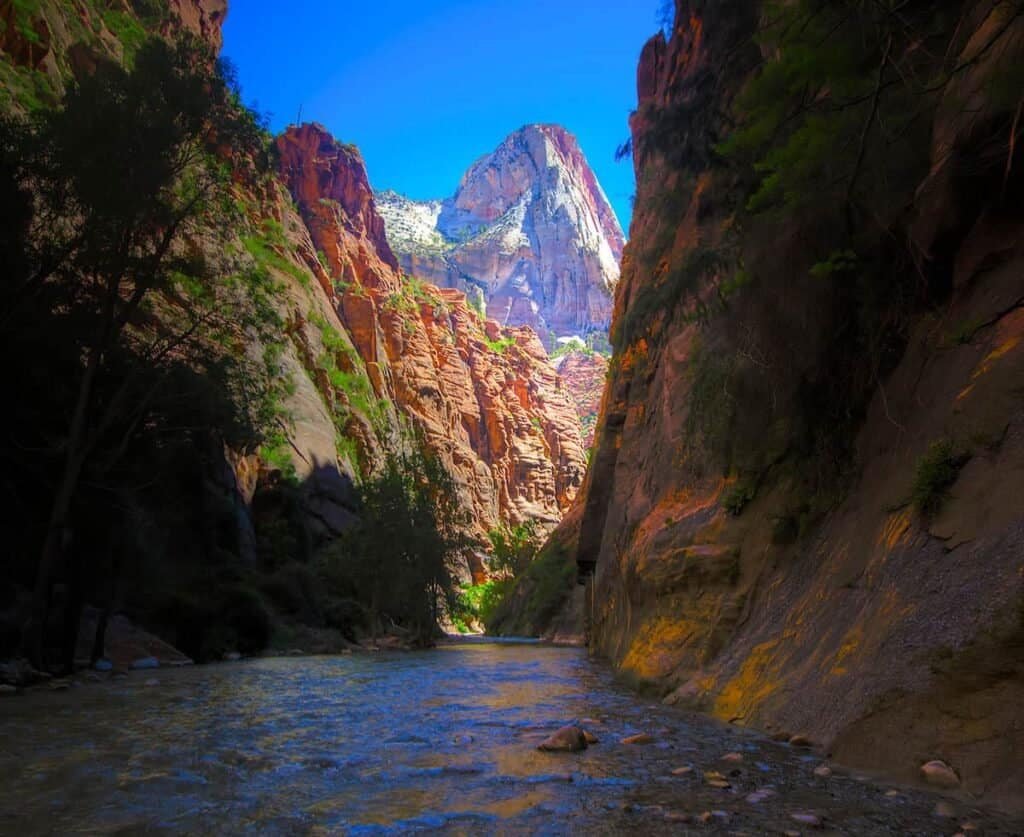
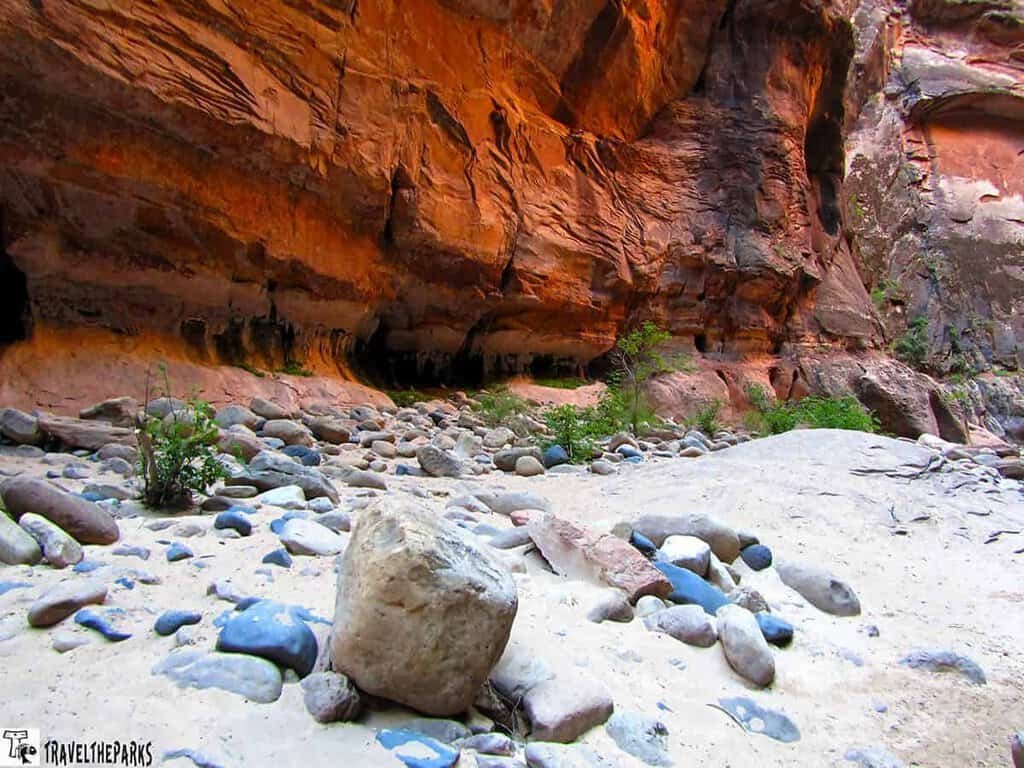
As you move farther into the Narrows, the canyon walls rise dramatically around you. Some sections tower more than a thousand feet above the river.
The narrow canyon makes you feel incredibly small.
Sunlight filters down through openings overhead, illuminating the sculpted sandstone walls. In other sections, the canyon becomes darker and more mysterious.
This is one of those hikes where the scenery changes constantly.
Watch for Pools and Wildlife
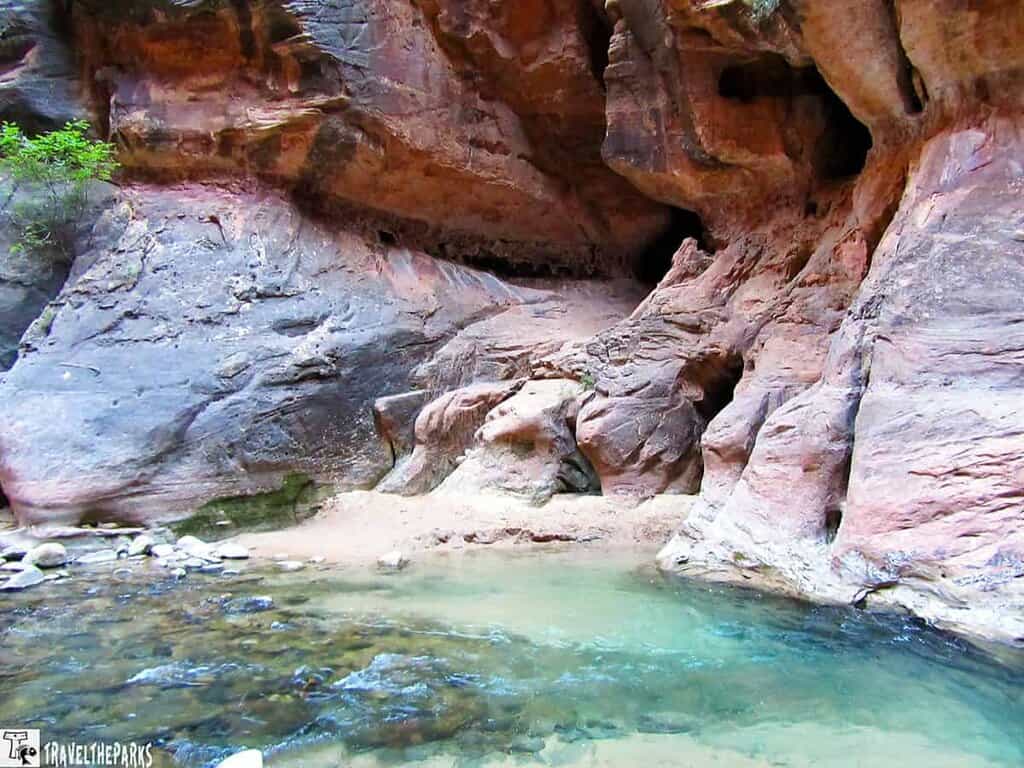
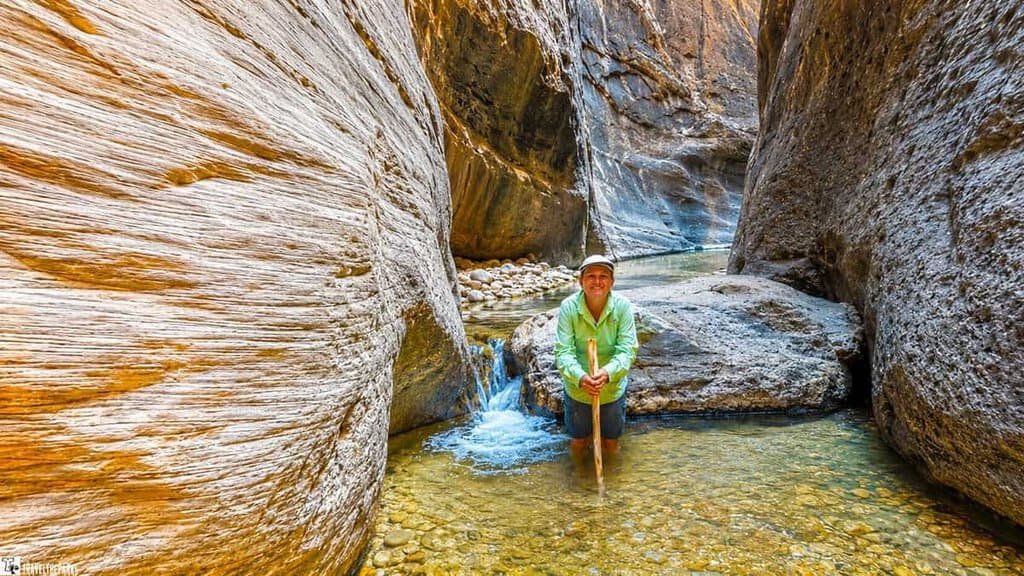
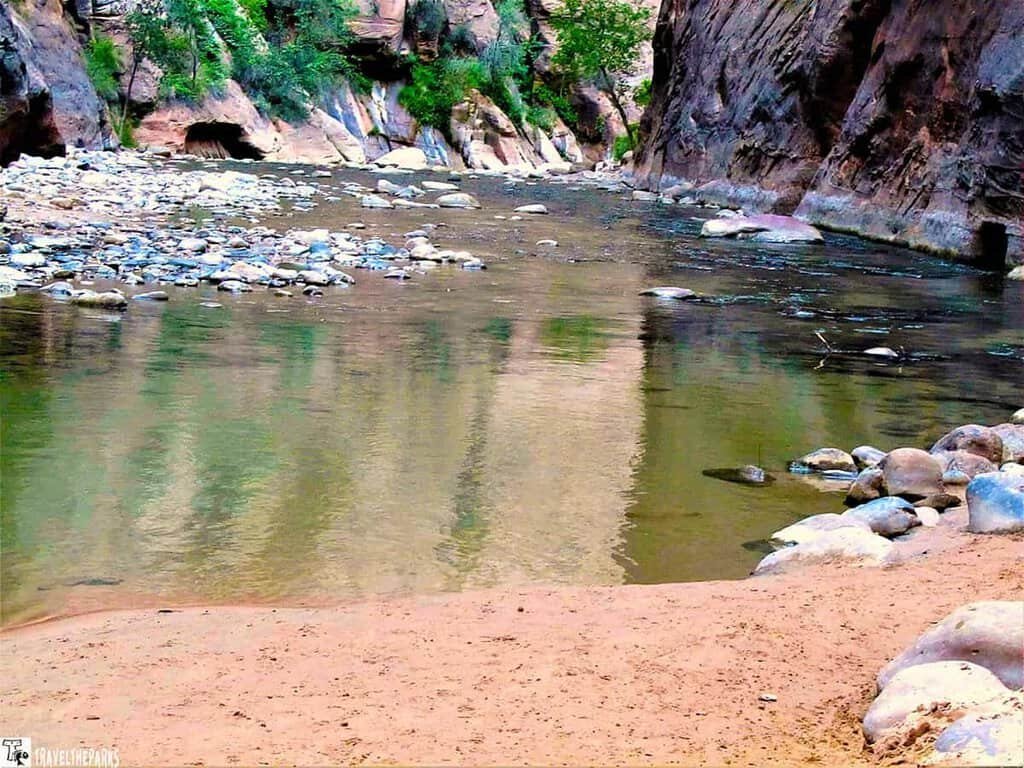
We found peaceful stretches where the river widened into deeper pools and small sandy beaches.
These areas made perfect places to stop, cool off, and enjoy the canyon.
If you enter the river early, you may even spot sucker fish swimming in the clear pools.
We noticed that the water became much murkier as more hikers entered the river. All those feet stirring up the riverbed make it harder to see the fish.
Getting an early start has another advantage!
Hiking to Orderville Canyon
As you continue upstream, you eventually reach Orderville Canyon.
Orderville is a tributary of the Virgin River and provides another opportunity to explore the canyon.
The side canyon becomes narrower, with hanging gardens and impressive rock formations.
Some areas require careful maneuvering through tight spaces. We found ourselves squeezing between the canyon walls in places, which added another level of adventure to the hike.
If conditions and your abilities allow, exploring toward Orderville can be an unforgettable part of the Narrows experience.
For a day hike, you can turn around and retrace your steps when you’re ready.
Those same sections that seemed challenging going upstream can feel completely different on the way back.
The Top-Down Narrows Hike
The Bottom-Up hike isn’t the only way to experience the Narrows.
The Top-Down route begins at Chamberlain Ranch and continues approximately 16 miles to the Temple of Sinawava.
This is a much more serious wilderness adventure.
The route is physically demanding and requires stamina, balance, and agility. You’ll encounter water crossings, waterfalls, and challenging terrain.
A permit is required, and you’ll need to arrange transportation to Chamberlain Ranch.
Overnight trips require even more planning, including camping equipment and the appropriate permits.
We haven’t done the Top-Down route yet, but it’s definitely on my list. Maybe next time!
This is one of the most popular hikes in Zion Park, and one of the world’s best canyon hikes. You will hike through river water almost the entire time. We marveled at the river’s crystal-clear flow and luckily the water was only waist high. Depending on the season, always check the ranger recommendations for water levels at the trailhead.
We used one backpack for everything. Pack sweaters or a light jacket because it can be chilly at 6:45 am when you arrive. Sunlight does not reach the bottom of the canyon in some places, and a breeze blows down the canyon in the early morning.
Our Best Advice for Navigating the Narrows
After experiencing the Narrows ourselves, these are the things we would emphasize most:
- Leave No Trace. Take everything you bring into the canyon back out with you.
- Start early. You’ll beat some of the crowds and may have clearer water for spotting fish.
- Check the weather and river conditions. Never ignore flash flood warnings.
- Wear footwear with good traction. The rocks are slippery and uneven.
- Bring a walking stick or trekking poles. They made a big difference for us.
- Protect your electronics. Waterproof bags are worth it.
- Dress for cold water. The canyon can be chilly even on a warm day.
- Take your time. Watch every step and don’t rush.
- Know your limits. If the water or conditions make you uncomfortable, turn around.
- Pack light but smart. Everything you bring has to go through the river with you.
Final Thoughts & Advice for Navigating the Narrows Zion National Park
The Narrows is one of those places that is difficult to describe until you’ve actually been there.
You aren’t simply walking through a canyon. You’re walking through a river while towering sandstone walls surround you.
It’s challenging, wet, cold, slippery, and absolutely incredible.
Our hike from the Temple of Sinawava upstream toward Orderville was one of the most memorable experiences we had in Zion National Park.
The biggest lesson we took away is that preparation matters. Have the right gear, check the conditions, start early, and know when it’s time to turn around.
If you’re planning a first visit to the park, be sure to check out our The Best 1-Day Itinerary for Zion National Park for ideas on how to make the most of your time. And if you’re looking for more trails to explore, our 12 Favorite Zion National Park Hiking Trails You Will Love covers more of the park’s best hikes and what to expect on each one.
With a little preparation and a healthy respect for the canyon, the Narrows can be an unforgettable Zion experience.
Have you hiked the Narrows? If so, what was your favorite part? Share your experience in the comments!