Table of Contents
Updated August 2026
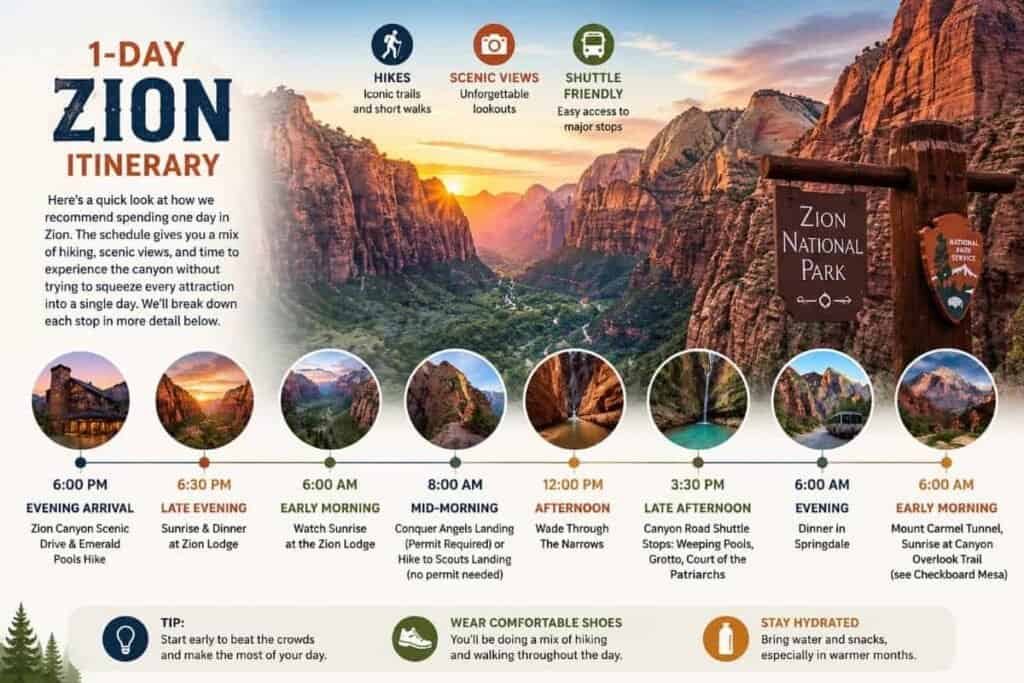
If you only have 1-day in Zion National Park, don’t stress—you can still see some of the park’s most spectacular scenery, tackle a memorable hike, and get a real feel for what makes Zion so special. Zion deserves several days, but sometimes a road trip doesn’t give you that luxury. With an early start, a little planning, and a stay at Zion Lodge, you can fit a lot into 24 hours.
We kicked off our Grand Circle Tour with a full day in Zion National Park, and it was quite an introduction to Utah’s red-rock country. We spent the day exploring Zion Canyon, hiking along the Virgin River, and taking in the towering sandstone cliffs before continuing toward Bryce Canyon through the Mount Carmel Highway.

If you’re planning a Zion National Park day trip, this guide will show you how we spent our day, the hikes and sights we think are worth your time, where we stayed, and what we learned along the way. I’ll also point out the places where you may want to spend more time if you have more than one day.
And if Zion is part of a larger Utah road trip, be sure to visit our Grand Circle Tour itinerary, which connects Zion with Bryce Canyon, Grand Canyon, Capitol Reef, Arches, Canyonlands, and other spectacular stops throughout the Southwest.
This post may contain affiliate links, meaning if you purchase something through one of these links, we may earn a small commission at no extra cost to you! Read the full disclosure policy here.
How to Get to Zion National Park
Zion National Park is an easy drive from both Las Vegas and Salt Lake City, making it a popular stop on a Utah road trip.
From Las Vegas: Take I-15 north toward St. George, then follow UT-9 through Hurricane and Springdale to the park. The drive takes roughly 2½ to 3 hours, depending on traffic and stops along the way.
From Salt Lake City: Take I-15 south toward St. George and exit at Toquerville onto UT-17. Continue to UT-9 and follow the signs toward Springdale and Zion National Park. The drive is approximately 4½ to 5 hours.
Springdale is the main gateway to Zion and is located immediately outside the park’s south entrance. If you’re staying in Springdale, you’ll find plenty of places to eat, shop, and stay, as well as access to the park’s shuttle system.
Our Drive Into Zion
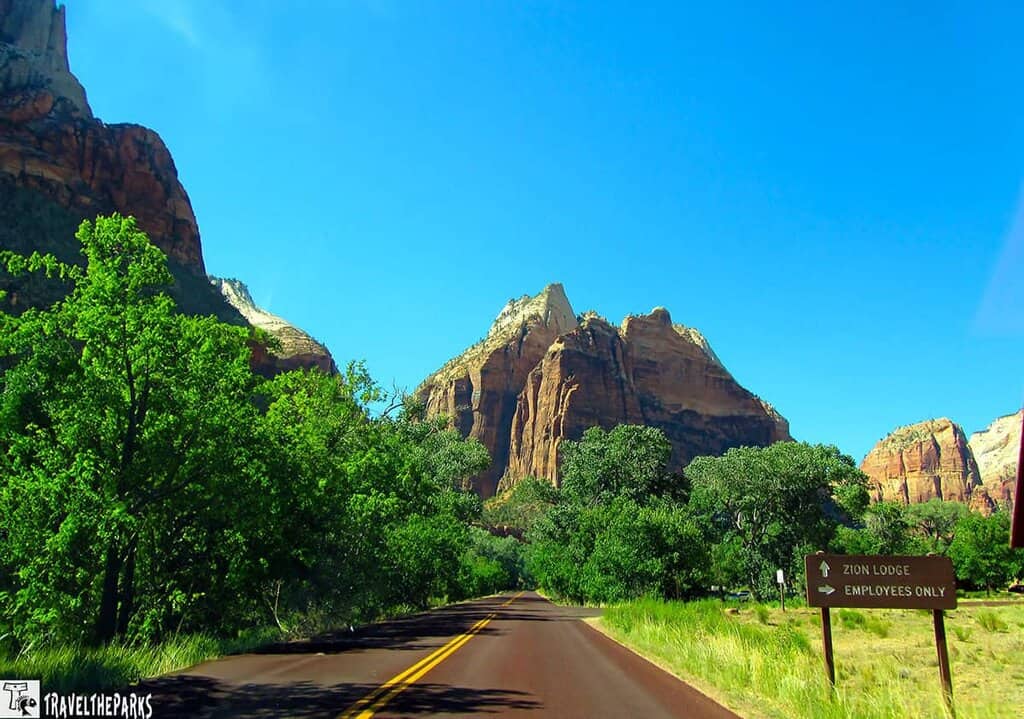
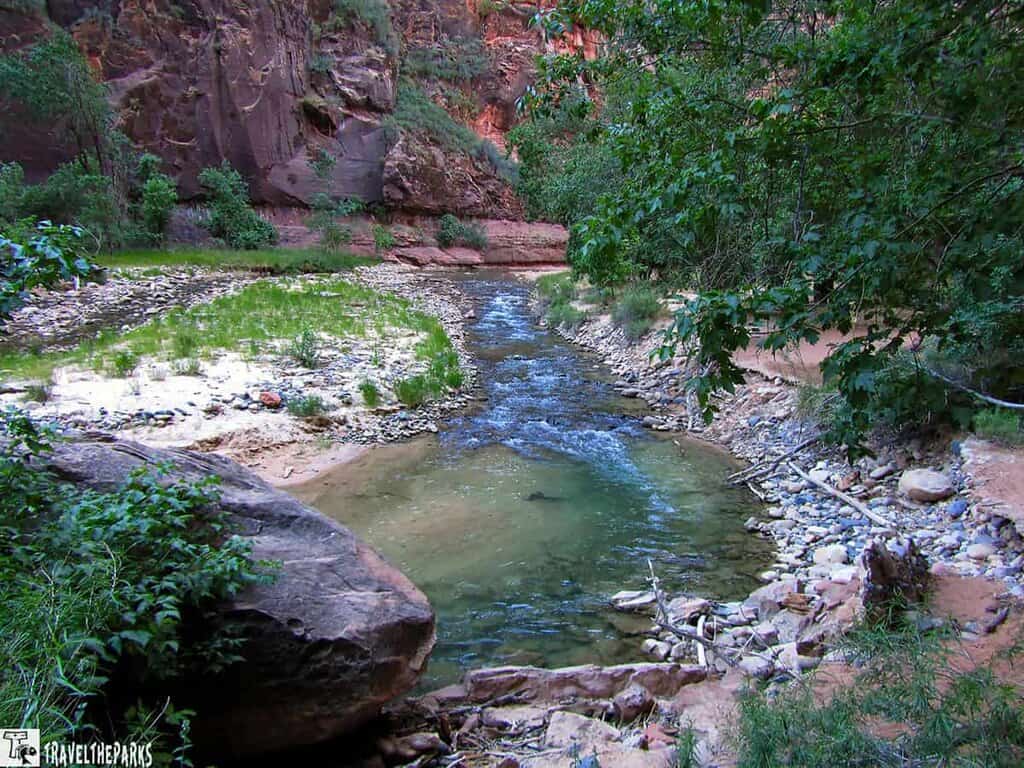
As we drove into Zion, the canyon walls caught our attention almost immediately. The colors seemed to change as the sunlight moved across the cliffs—rusty reds, golden yellows, and deep purples that made the landscape look completely different from one moment to the next.
We also spotted mule deer grazing along the Virgin River. They seemed completely unfazed by all the visitors passing through, calmly eating the grass as if they had the canyon to themselves.
That drive into Zion was part of what made our first visit so memorable. Before we’d even reached our first trail, the canyon had already made an impression.

Planning Your 1-Day Zion National Park Itinerary: Know Before You Go
When you only have one day in Zion, a little planning can make a big difference.
- Park Hours: Zion National Park is open 24 hours a day, year-round. Facility hours vary by season, so check the current schedule before your visit. The Zion Canyon Visitor Center is generally open from 8 a.m., with longer hours during the busier season.
- Entrance Fees: Zion charges an entrance fee, and the pass is generally valid for seven consecutive days. Current fees and America the Beautiful Pass information are available from the National Park Service.
- Reservations and Timed Entry: You do not need a reservation to enter Zion National Park or to ride the park shuttle. However, some activities require permits. The most important for a one-day visit is Angels Landing, where a permit is required for the section beyond Scout Lookout.
- Shuttle Info: During shuttle season, no private cars on the Scenic Drive. The free shuttle runs to all major trailheads—schedule changes, so peek at it ahead of time.
- Start Early: Seriously. Parking fills up fast, and shuttle lines get long. The early bird gets the canyon.
- Best Time to Visit: Spring and fall = perfect weather. Summer = hot and crowded. Winter = quiet but chilly, with possible trail closures. Always check conditions..
- Pets: Allowed on the Pa’rus Trail and developed areas (on leash), but not on most trails or shuttles. Check NPS rules before bringing your furry sidekick.
Our Best Tip for Visiting Zion in One Day: Stay as close to the park as possible and start early. We stayed at Zion Lodge, which put us right in the canyon and saved valuable time in the morning. When you only have 24 hours, those extra minutes can make a big difference.
Essential Tips for Visiting Zion National Park in One Day
When you only have one day in Zion, a little planning can make a big difference. These are the things we found most helpful during our visit.
- Stay Near the Park: If your budget allows, staying at Zion Lodge is a great way to maximize your time. We loved being right in the canyon.
- Your Hikes Before You Arrive: With only one day, you won’t have time to hike everything. Decide ahead of time which trail is most important to you.
- Check the Shuttle Schedule: During shuttle season, you’ll need to use the Zion Canyon Shuttle to reach most of the trailheads along the scenic drive. Allow extra time during busy periods.
- Carry Plenty of Water: Zion can get extremely hot, particularly in summer. Bring plenty of water and use the refill stations in the park.
- Check Trail Conditions: Weather and water conditions can change quickly. Check current trail closures, weather, and warnings before heading out, especially for The Narrows.
- Don’t Try to See Everything: Zion has far more to offer than you can experience in a single day. Pick a few highlights and give yourself time to enjoy them rather than rushing from one stop to another.
- Allow Time to Enjoy the Canyon: Some of our favorite moments weren’t on a trail. Sitting near the lodge, watching mule deer, and seeing the canyon walls change color as the light moved across them are memories we still remember.
One More Tip From Us
If you’re visiting Zion for only one day, build your itinerary around your priority hike—not around trying to check off every shuttle stop. Once you know which hike matters most to you, you can build the rest of the day around it.
Where to Stay for Your One-Day Zion National Park Itinerary
If you’re visiting Zion National Park for only one day, staying inside the park can make a big difference. Zion Lodge is the only hotel located within Zion Canyon, putting you right in the heart of the park and close to several of the most popular trails and shuttle stops.
The lodge fills quickly, so you’ll want to reserve your room well in advance. For us, staying at Zion Lodge was part of what made our visit so enjoyable. Instead of spending time driving into the park in the morning, we could step outside and immediately be surrounded by the towering canyon walls.
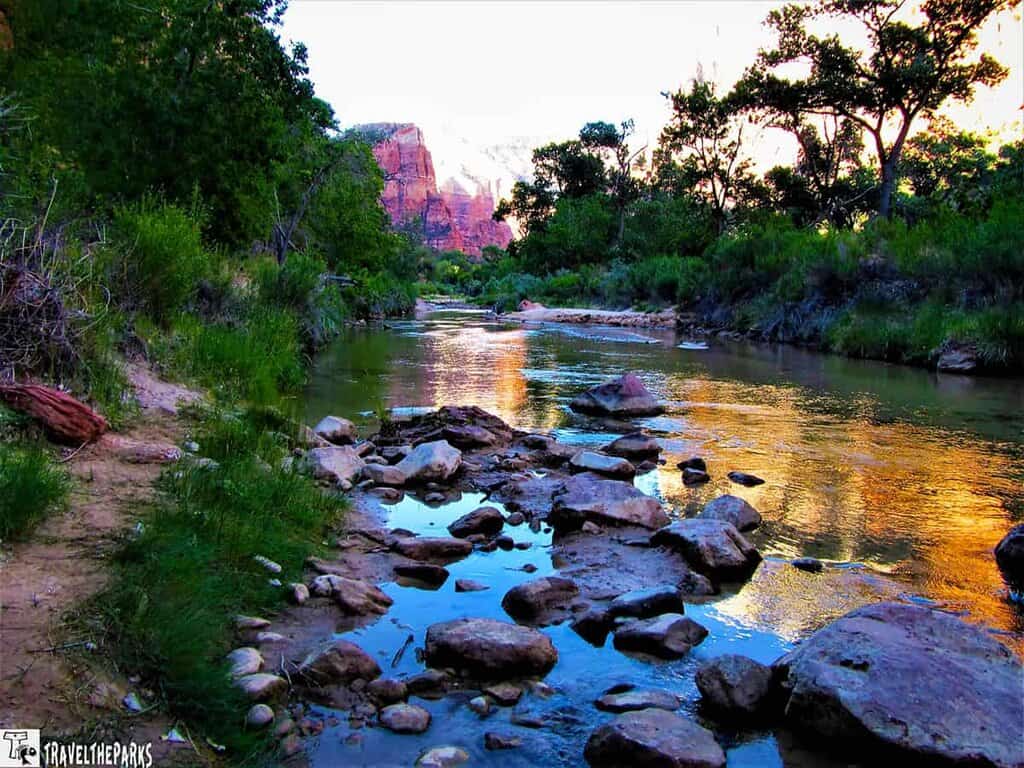
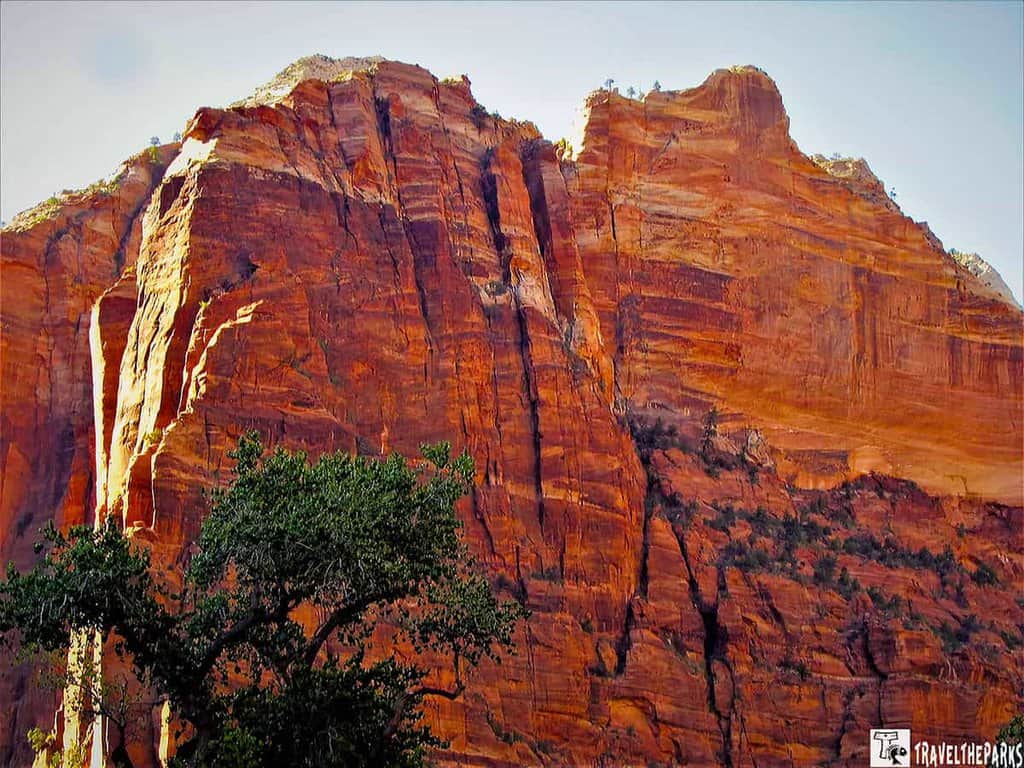
The setting is beautiful, too. The lodge sits beneath the massive sandstone cliffs, and the landscape changes dramatically as the sunlight moves across the canyon. In the evening, the cliffs take on warm shades of red and gold, making it a wonderful place to slow down after a day of hiking.
A Little Zion Lodge History
Zion Lodge was designed by architect Gilbert Stanley Underwood in the 1920s as part of the development of the park. The original lodge was destroyed by fire in 1966, but it was rebuilt and continues to serve as an important gathering place within Zion Canyon.
PRO TIP: If you’re trying to make the most of a 1-day itinerary for Zion National Park, staying at Zion Lodge is one of the best ways to save time. You can get an early start without first driving into the park, and you’ll already be in the canyon when the day begins.
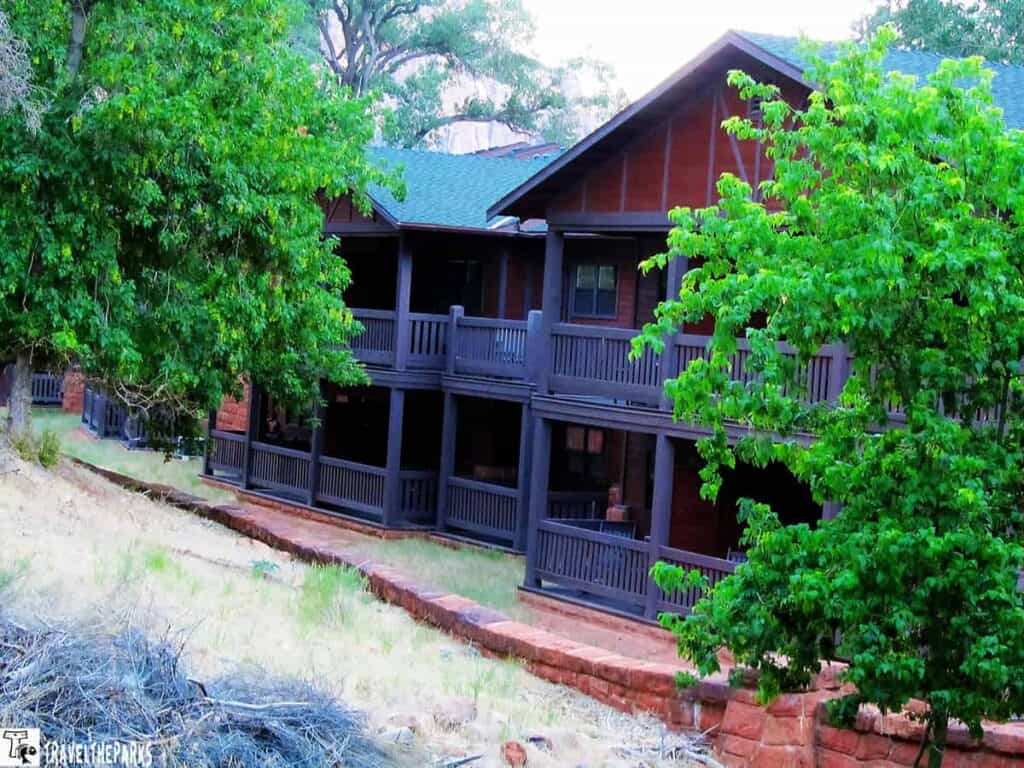
Our Stay at Zion Lodge
Our room at Zion Lodge was comfortable and spacious, with two standard double beds, a private bathroom, refrigerator, microwave, and single-serve coffee maker. The lodge uses large bottles of toiletries attached to the bathroom wall rather than providing individual containers, which is a sensible approach from an environmental standpoint.
The best part of our room was the balcony, where we could sit and look straight up at the massive cliff face rising above us. We could also open the windows and let the cool evening air drift into the room, which was especially welcome after a hot day in the canyon.
When we arrived, temperatures were in the high 90s, but by evening the temperature dropped into the low 70s. Sitting outside on the veranda as the canyon cooled down was one of those simple moments that made staying inside the park worthwhile.
After dark, the sky seemed to come alive with stars. With the canyon walls surrounding us and very little artificial light, it was a beautiful way to end the day.
The Zion Lodge Grounds
The open area in front of the lodge is a popular gathering spot where visitors relax, eat lunch, or stop for ice cream. The grounds blend nicely with the surrounding landscape, with native plants and plenty of space to sit and take in the canyon.
In the evening, the lighting is intentionally subdued, which adds to the peaceful atmosphere. Bring a small flashlight or headlamp if you’re walking around after dark.

The Watchman Building at Zion Lodge
Still on Eastern time, I was up early the next morning and found myself on the balcony, wrapped in a jacket, watching a mule deer nibble on a sage bush near the canyon wall. At 40 degrees, the air felt brisk—especially for this Florida girl—but after the desert heat of the previous evening, it was a welcome change.
The crisp morning air was invigorating, and the quiet stillness of the canyon made the moment even more memorable. There were no crowds yet, just the deer, the towering cliffs, and the soft light of early morning.
As the sun began to rise, the light spilled across the cliffs, slowly changing the sandstone from muted gray and pink to warm shades of gold and amber. It was one of those Zion mornings you don’t forget.
Where to Eat During Your One-Day Visit to Zion
If you’re spending the entire day in Zion, you’ll want to think about meals ahead of time. Dining options inside the park are limited compared with Springdale, but staying at Zion Lodge gives you the advantage of being able to eat without leaving the canyon.
If you’re staying at the lodge, Red Rock Grill and Castle Dome Café are the most convenient options. Springdale has a much larger selection of restaurants, and the Springdale shuttle makes it possible to get into town without moving your car.
Breakfast and Dinner at Red Rock Grill
We had breakfast at the Red Rock Grill during our stay at Zion Lodge. The buffet was well stocked with French toast, pancakes, breakfast potatoes, oatmeal, yogurt, fresh fruit, and granola.
If you can, ask for a window table. The large windows look out toward the canyon, making breakfast much more enjoyable than simply grabbing something and heading out.
We also had dinner at the Red Rock Grill. We looked at the menu before our trip and decided to make a reservation ahead of time. I ordered the bison meatloaf with demi-glacé, garlic mashed potatoes, carrots, and broccoli. It was very good. Barry ordered the bison burger and enjoyed it as well.
Overall, we were happy with both the food and the setting. Being able to sit down to a meal while surrounded by Zion’s towering cliffs was part of the experience.
A Quick Meal at Castle Dome Café
Castle Dome Café is another convenient option at Zion Lodge when you don’t want a full sit-down meal. It offers casual food such as burgers, sandwiches, salads, fries, and other quick options, along with coffee and drinks.
There is outdoor seating on the patio, although it can be difficult to find a table during busy periods. The setting, however, is hard to beat. You can grab a quick meal and sit outside surrounded by the canyon.
Eating in Springdale: Bit & Spur Restaurant & Saloon
Springdale is the main gateway town outside Zion National Park and offers many more dining choices than you’ll find inside the park. If you’re spending more than one day in Zion, it’s worth taking some time to explore the town and try one of its restaurants.
We ate one evening at Bit & Spur Restaurant & Saloon, a longtime Springdale restaurant known for its Southwestern and Mexican-inspired menu.
The atmosphere was one of the things we enjoyed most. We sat outside on the veranda, where hummingbirds darted between the feeders. As evening settled in, we even watched a fox hunting on the lawn. Those unexpected wildlife encounters made the dinner feel like part of our Zion experience rather than simply a meal after a day of hiking.
Inside, the restaurant has an eclectic Southwestern feel, with local wood sculptures and colorful artwork. Our server was friendly and helpful, and the food arrived quickly even as the restaurant began filling up.
What We Ordered
I ordered the fish tacos, and the fish was fresh and perfectly cooked. The crisp tortillas and salsa complemented the fish nicely.
Barry ordered the Carnitas Flautas Verde. We were accustomed to flautas being small, tightly rolled tortillas, but these were much larger—closer to a small burrito—and then fried. They came with rice and beans, and Barry thought they were delicious.
The food was well presented, the service was attentive, and we enjoyed the relaxed outdoor setting. If you’re staying in Springdale for more than a day, Bit & Spur is a restaurant we’d happily return to.
One Day in Zion National Park: What to Include in Your Itinerary
Zion National Park is one of those places that can leave you wondering how so much beauty fits into one canyon. Towering red cliffs, narrow canyons, rushing water, and scenic trails make Zion an unforgettable stop. If you only have one day, a little planning will help you make the most of your time.
We recommend starting your day at the Zion Canyon Visitor Center before heading into the canyon. From there, you can use the park shuttle to reach some of Zion’s most popular sights and trails. Here’s how we would spend a perfect day in Zion.
First Stop on Our 1-Day Itinerary for Zion National Park: The Visitor Center
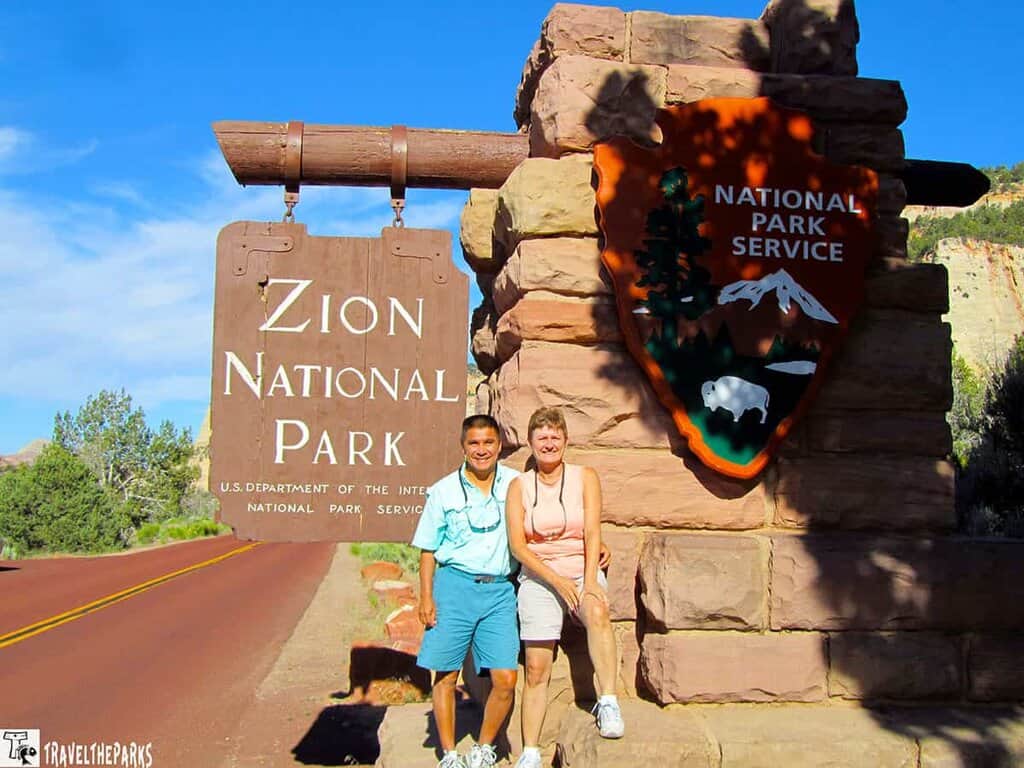
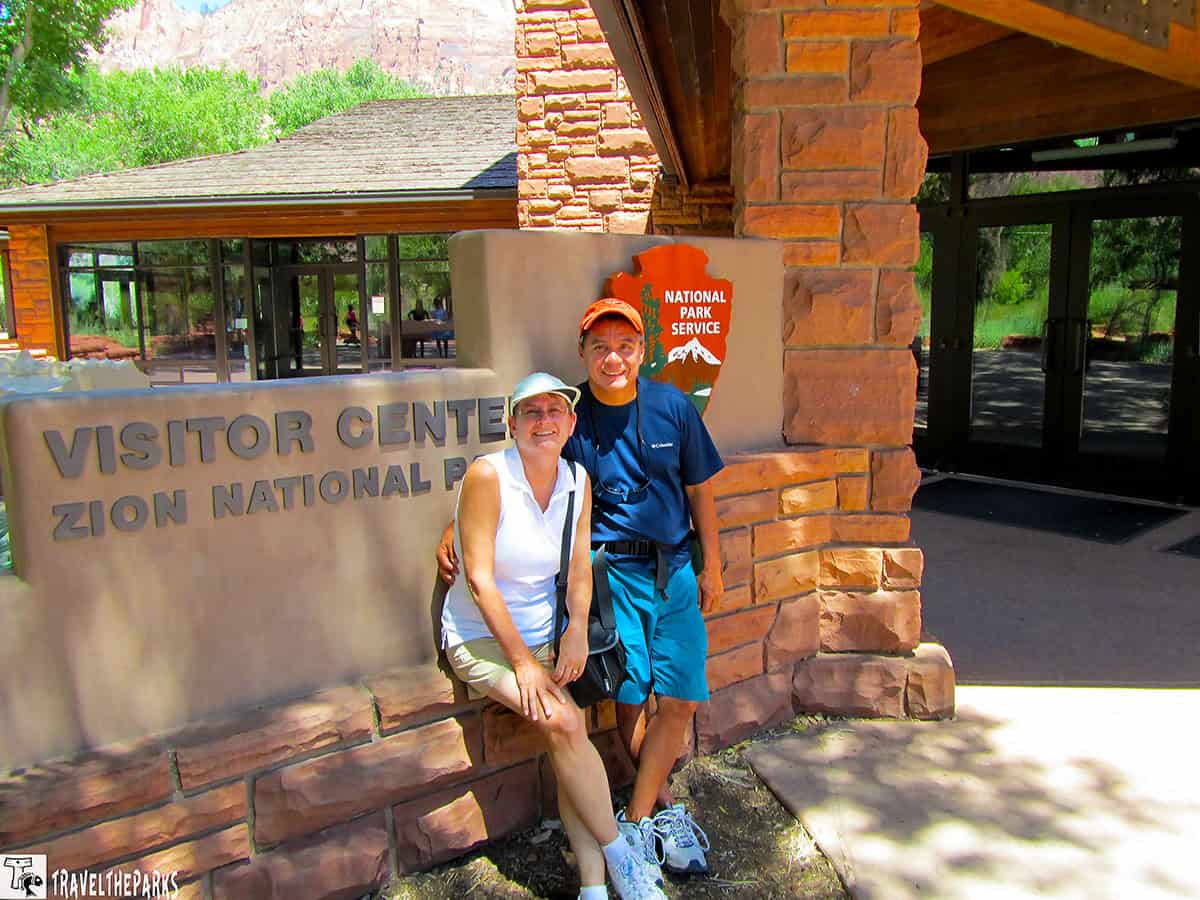
Here’s our golden rule for any national park adventure—and Zion is no exception: always start at the visitor center. It’s more than just a quick stop. It’s your headquarters for the day. Grab a map, talk with a ranger, check current trail conditions, and get the information you need to make the most of your time in the park.
The Zion Canyon Visitor Center is located near the park’s south entrance and serves as the starting point for the free Zion Canyon shuttle during shuttle season. If you’re staying outside the park, this is a good place to leave your car and hop on the shuttle. Let someone else handle the driving while you sit back and take in those incredible canyon views.
The visitor center has everything you need to get your day started, including restrooms, picnic areas, exhibits, and a large gift shop and bookstore. You can pick up maps, books, T-shirts, and other souvenirs before heading into the canyon.
We also never pass up the chance to get our National Parks Passport stamped. If you collect park stamps like we do, be sure to bring your passport along.
Traveling with kids? Ask about the Junior Ranger Program. It’s a fun way for younger visitors to learn about Zion, explore the park, and earn a Junior Ranger badge along the way. Honestly, we’re a little jealous that adults don’t get one too!
Zion National Park Must-See Spots: Human History Museum
After you’ve gathered all that information at the visitor center, make your way over to the Zion Human History Museum. It’s located near Shuttle Stop #1, making it an easy stop to add to your 1-Day Itinerary for Zion National Park.
We think it’s worth the time, especially if this is your first visit to Zion. The museum gives you a fascinating look at the stories behind the landscape, including Native American cultures, pioneer life, and the incredible role water has played in shaping Zion Canyon.
Once you understand how this landscape was formed and learn about the people who have called this area home, those towering red cliffs take on a whole new meaning. You’re not just looking at beautiful scenery—you’re seeing the result of millions of years of geological change and centuries of human history.
There’s also a 22-minute film about Zion that provides a great introduction to the park. If you’re visiting Zion National Park in a day, it may be tempting to skip anything that isn’t a hike. But if you have the time, we recommend watching the film. The background information will give you a better appreciation for everything you see throughout the rest of the day.
And here’s the best part: admission is free.
It’s a short stop, but we think it adds a lot to your Zion National Park day trip. By the time you leave, you’ll have a better understanding of the canyon you’re about to explore—and that makes the scenery even more impressive.
Navigating Zion: Shuttle Stops, Trailheads, and Tips You Need to Know
Before you head deeper into Zion Canyon, it’s important to understand how the shuttle system works. Knowing where to get off and which shuttle stop serves each trailhead can save you a lot of time—and a lot of unnecessary walking.
During the shuttle season, private vehicles are generally not allowed on the Zion Canyon Scenic Drive beyond the Canyon Junction area. There are limited exceptions, including guests staying at Zion Lodge, who can drive to the lodge with their lodging reservation. For most visitors, though, the shuttle is the easiest way to explore Zion Canyon.
There are two shuttle systems you should know about:
Zion Canyon Shuttle
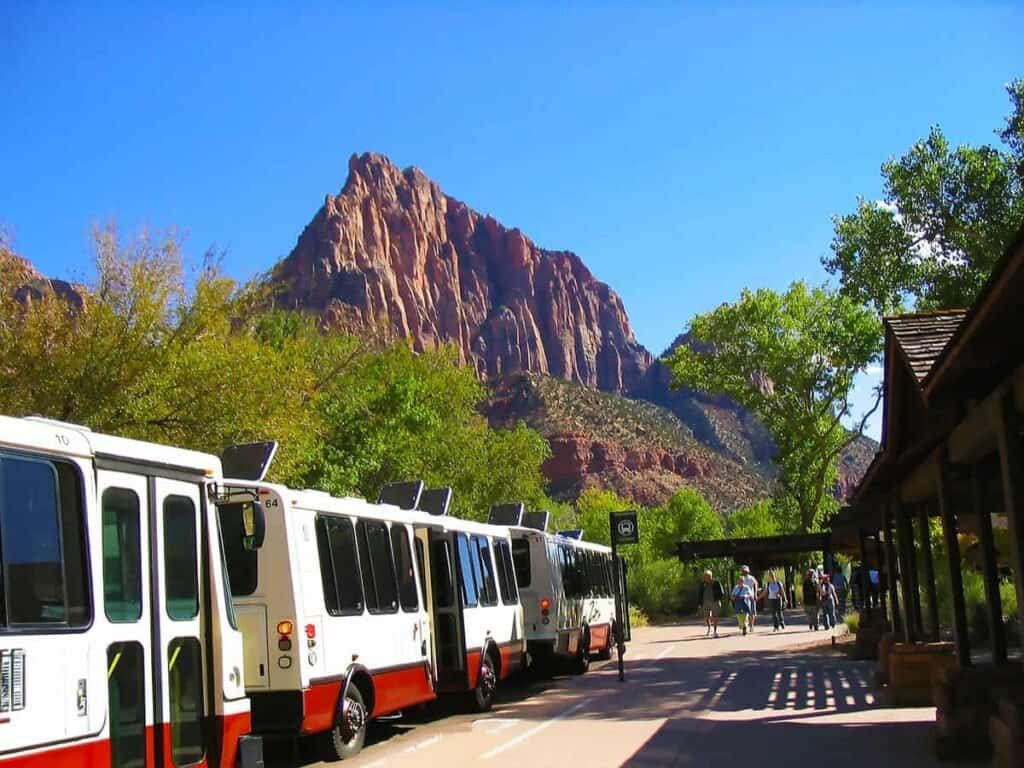
The Zion Canyon Shuttle begins at the Zion Canyon Visitor Center and travels along the Scenic Drive, making stops at the park’s major attractions and trailheads.
This is the shuttle you’ll use to reach many of Zion’s most popular hikes and must-see spots. You can get off at the stop you need, explore, and then catch a later shuttle when you’re ready to continue.
Springdale Shuttle
Staying in Springdale? The Springdale Shuttle can save you the headache of finding parking at the park entrance. It runs through town and connects visitors with the pedestrian entrance to Zion near the Visitor Center.
If you’re staying outside the park, this can be a great option. Park your car at your lodging or another designated location in Springdale and let the shuttle handle the trip to the park.
Once you’re on the shuttle, you can get off at the stops you want to visit and continue riding when you’re ready. We recommend picking up a shuttle map at the Visitor Center and taking a few minutes to familiarize yourself with the stops before you head out.
One More Important Tip: Bring Water
Before leaving the Visitor Center, fill your water bottles. Zion’s trails can be hot and exposed, especially during the warmer months, and staying hydrated is essential.
There are water-filling stations at the Visitor Center and Zion Lodge, so take advantage of them when you have the opportunity.
A little planning before you board the shuttle will make your Zion National Park day trip much smoother. Once you know which stops you need, you can spend the rest of the day enjoying the canyon instead of worrying about how to get from one trailhead to the next.
Zion National Park Must-See Spots: Court of the Patriarchs
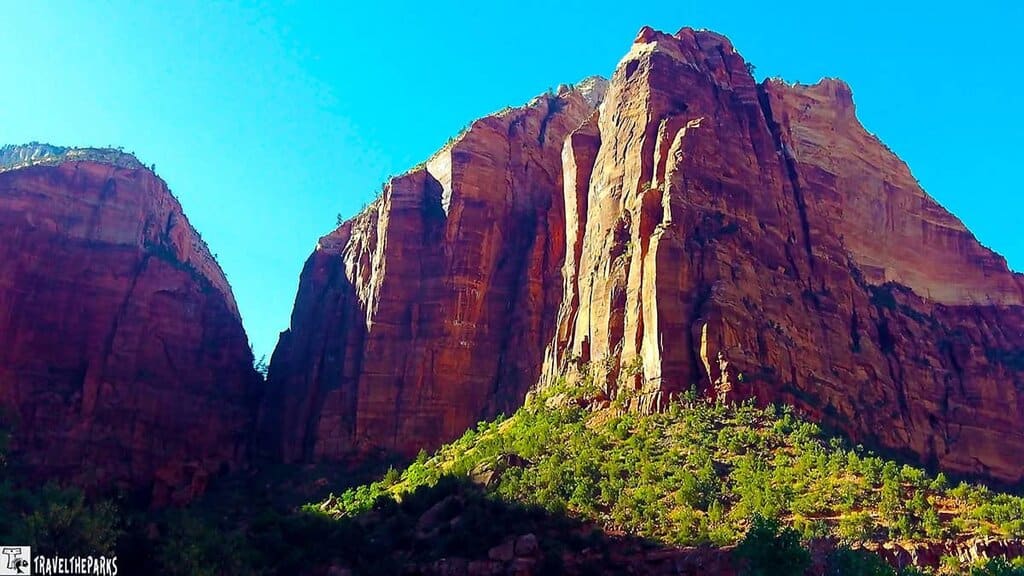
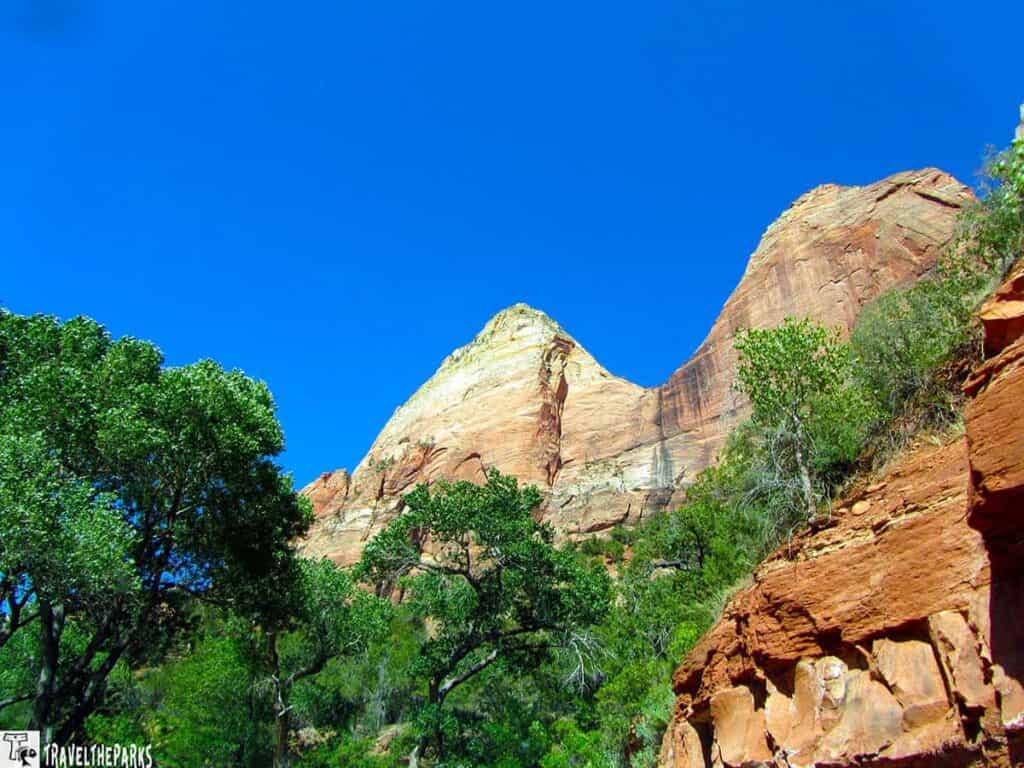
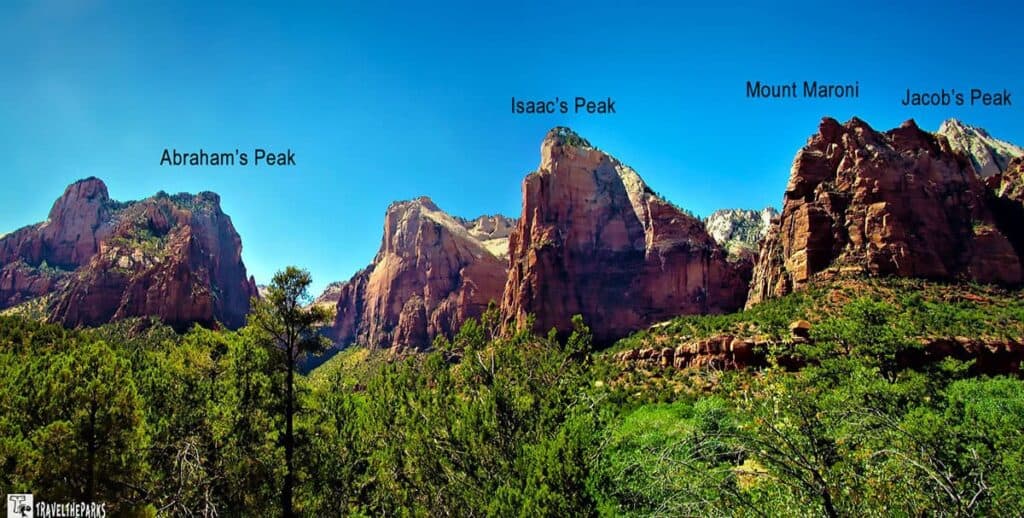
Hop off at Shuttle Stop 4 and get ready to feel very small—in the best possible way. This is the Court of the Patriarchs, where towering sandstone cliffs rise dramatically above the canyon.
If you enjoy a little history with your scenery, take a few minutes to read the interpretive sign. The three main peaks were named after Old Testament figures: Abraham, Isaac, and Jacob. The smaller peak in front of Jacob is Mount Moroni, named after a Book of Mormon prophet.
The names date back to 1916, when Methodist minister Frederick Vining Fisher gave the formations their biblical names. It’s a fun bit of history that adds another layer to this already impressive view.
And these peaks are massive:
- Abraham Peak: 6,890 feet
- Isaac Peak: 6,825 feet
- Jacob Peak: 6,831 feet
- Mount Moroni: 5,690 feet
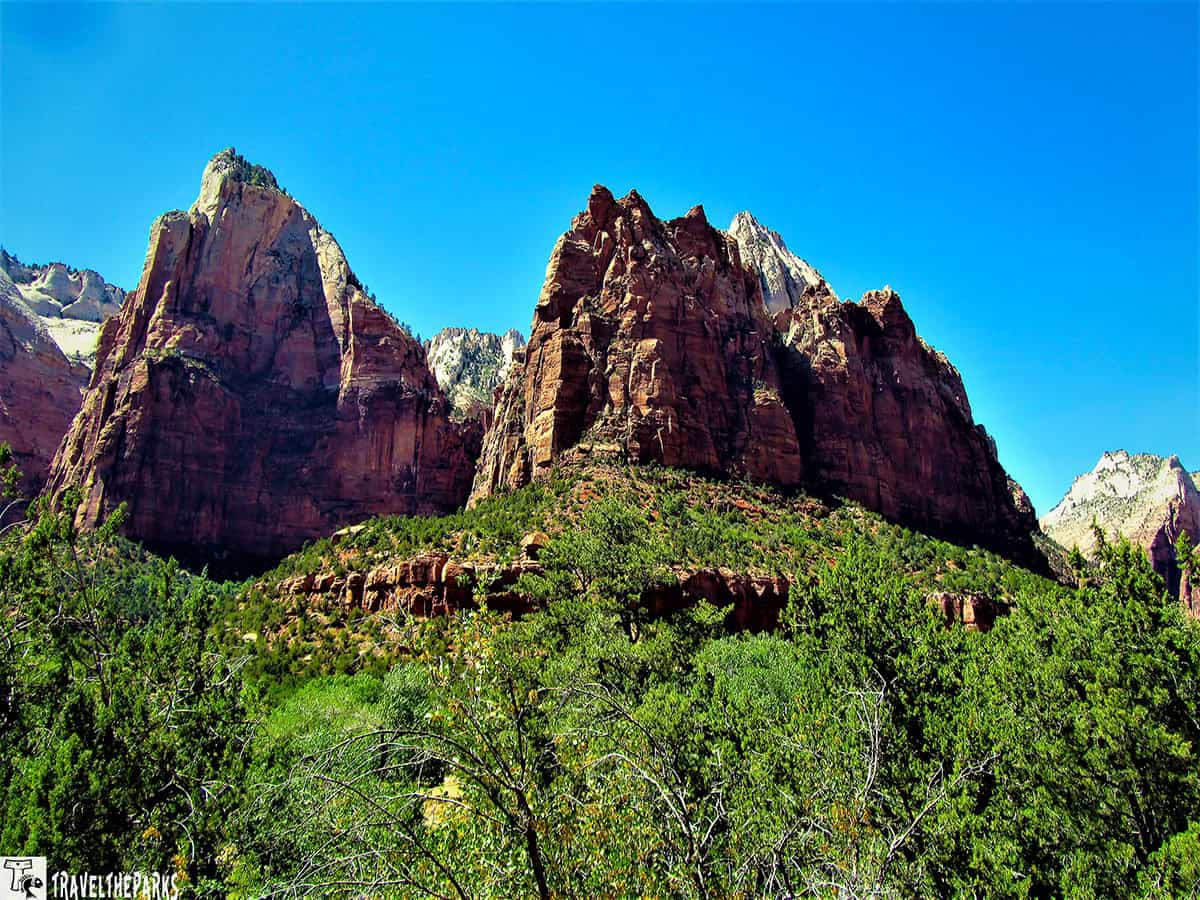
From the viewpoint, you can also look across the canyon toward The Sentinel, another enormous sandstone formation rising above the valley.
But our favorite part of the Court of the Patriarchs is the geology. These dramatic cliffs are made of Navajo Sandstone, a rock formation created from ancient sand dunes roughly 180 million years ago. Look closely at the rock layers and you can see the patterns left behind by those ancient dunes.
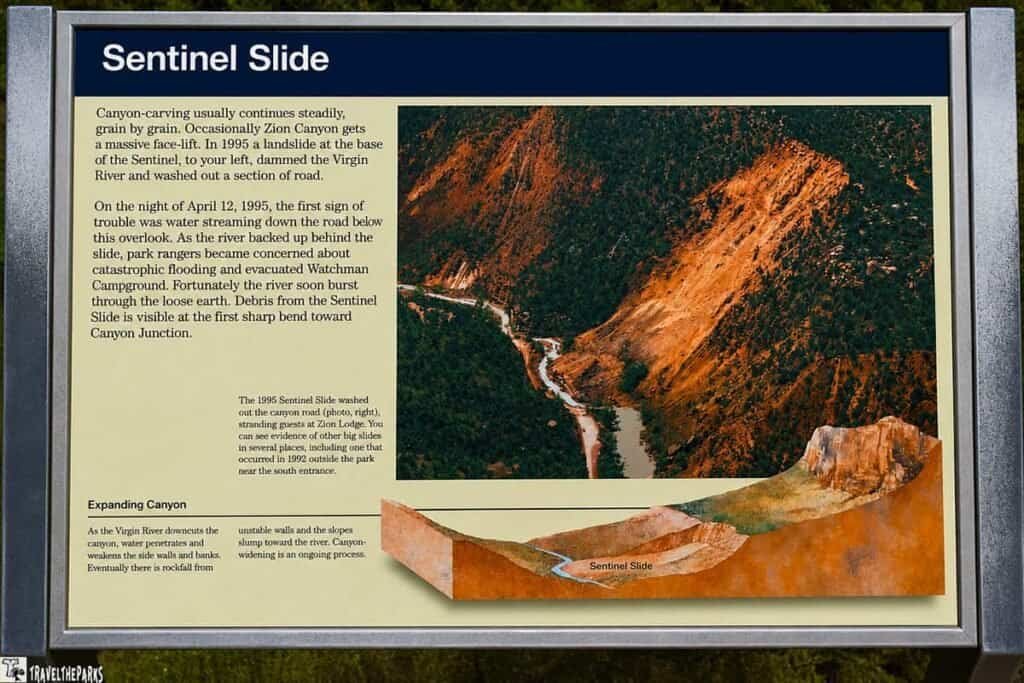
It’s hard not to stand there and think about just how old this landscape really is. The cliffs you’re looking at have been here for millions of years, long before Zion became a national park or people ever traveled through this canyon.
The Court of the Patriarchs is a relatively quick stop, but don’t rush it. Take a few photos, read the signs, look up at those enormous cliffs, and give yourself a minute to appreciate just how small we are in a landscape this old and powerful.
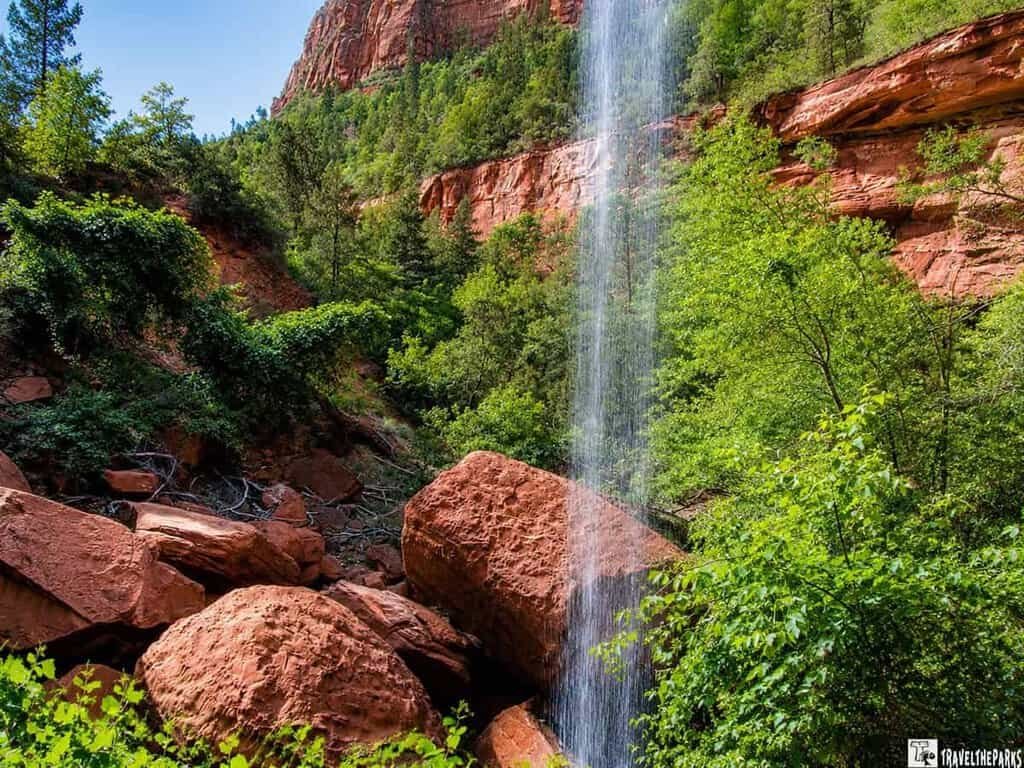
Zion National Park Day Hike: Emerald Pools
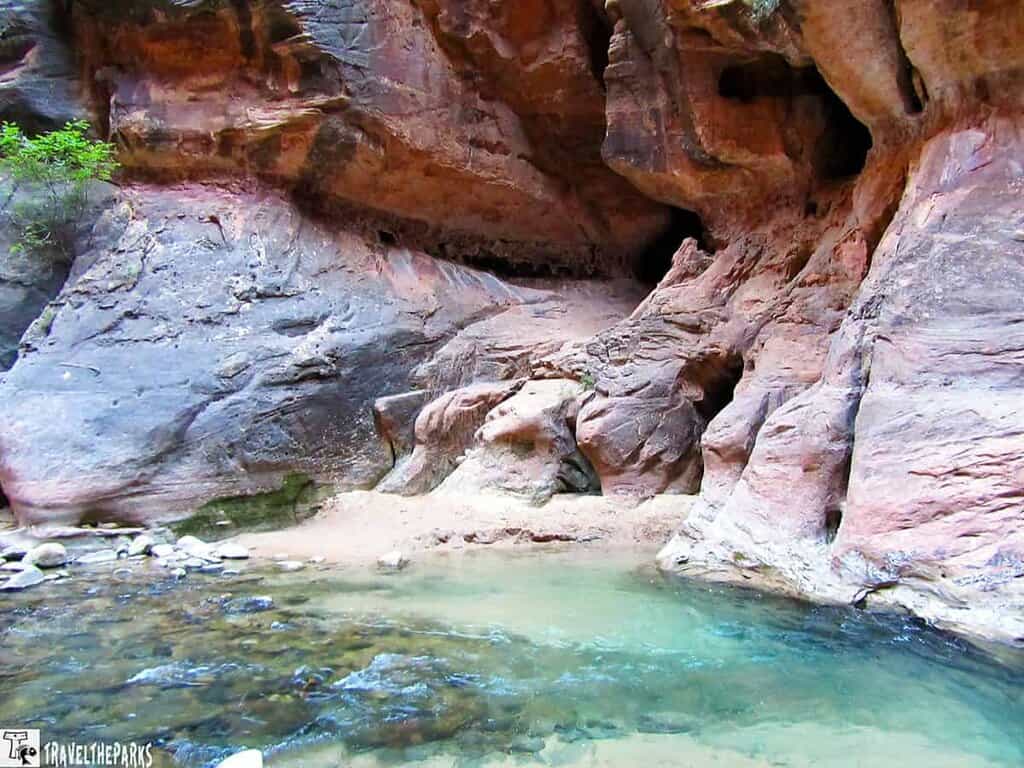
If you have only one day in Zion, the Emerald Pools Trail is a great choice when you want to combine hiking with some of the park’s classic scenery. Waterfalls, hanging gardens, red-rock cliffs, and pools make this one of Zion’s most popular hikes.
The trail begins near Shuttle Stop #5 and crosses the Virgin River before heading into the canyon. One thing we like about Emerald Pools is that you don’t have to tackle the entire trail to enjoy it. There are several sections, so you can choose how far you want to hike based on your time, energy, and trail conditions.

Lower Emerald Pool
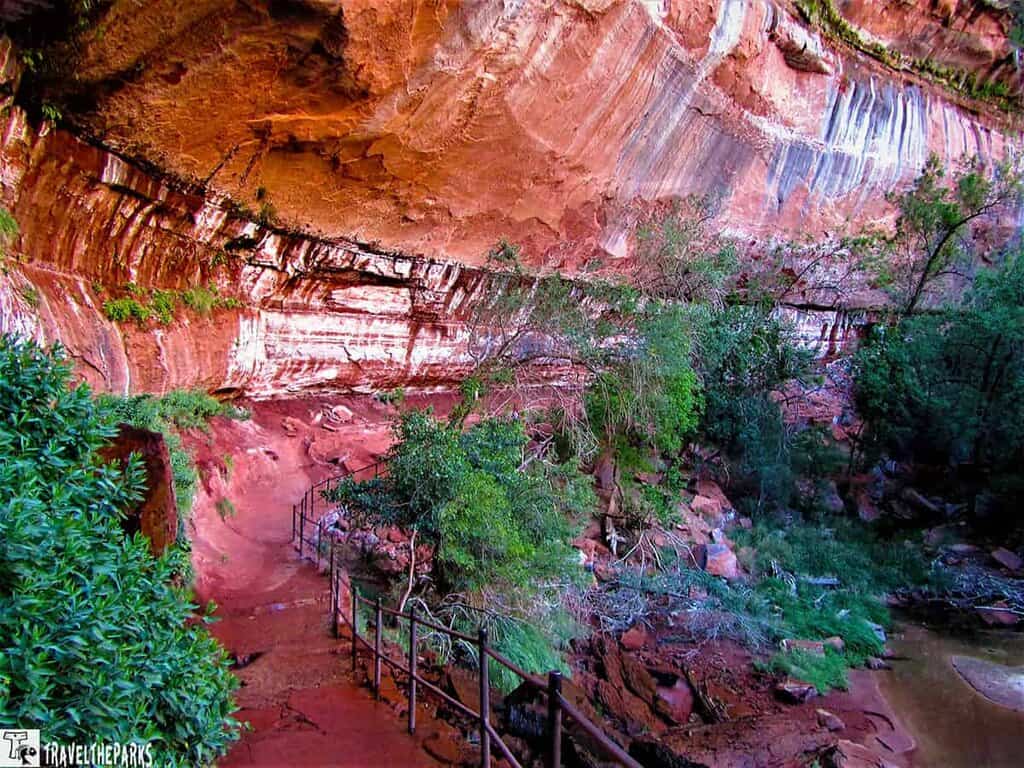
The Lower Emerald Pool is the easiest section and a good introduction to the trail. The path leads beneath towering cliffs and toward the lower pool, where water can spill over the sandstone cliffs above.
This is the part of the trail we would recommend if you’re looking for a shorter hike or simply want to save your energy for other Zion must-see spots. It’s also a beautiful place to stop, take a few photos, and enjoy the dramatic canyon walls surrounding you.

Middle and Upper Emerald Pools
Want a little more of a challenge? Continue toward the Middle and Upper Emerald Pools. The trail becomes steeper and more rugged as you climb, but the additional effort brings you deeper into the canyon and offers more impressive views along the way.
When we hiked this area, we also had a few unexpected wildlife encounters. We spotted mule deer, wild turkeys, and even rattlesnakes sunning themselves. We gave the snakes plenty of room, of course! Wildlife sightings are never guaranteed, but they’re a good reminder that you’re exploring a real wild landscape.
Plan to spend a couple of hours here if you want to explore beyond the Lower Pool. Bring plenty of water, wear sturdy shoes, and check current trail conditions before setting out.
For a Zion National Park day hike, Emerald Pools offers a lot of scenery without requiring an all-day commitment. It’s an excellent addition to a one-day itinerary, especially if you want a hike that gives you waterfalls, canyon views, and a chance to experience Zion beyond the shuttle road.
Zion National Park Day Hike: Angels Landing
If you’re looking for an optional adventure that will really test your legs—and your comfort with heights—Shuttle Stop #6, The Grotto, is where you’ll find the trail to Angels Landing.
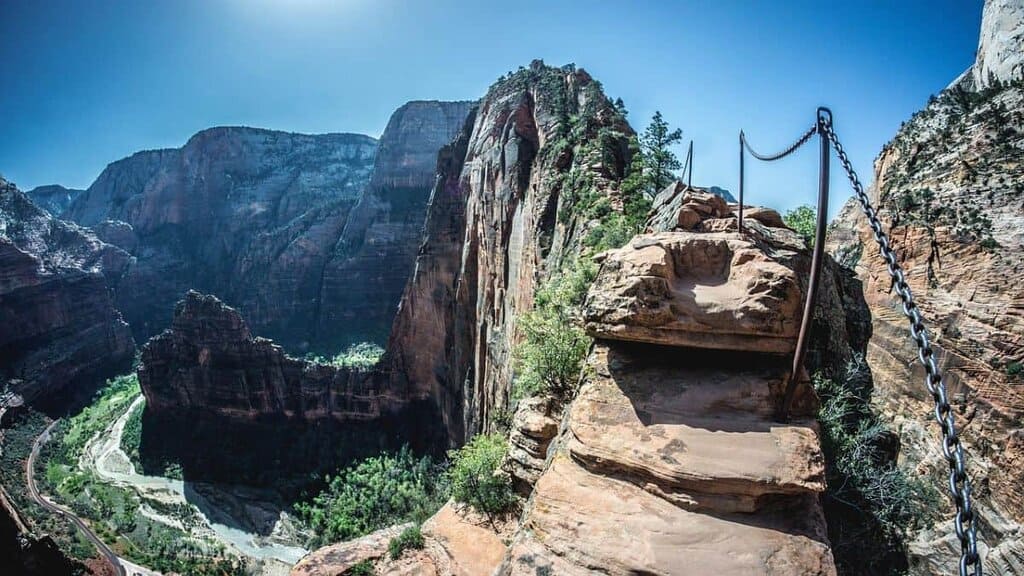
Angels Landing is one of Zion National Park’s most famous hikes, and for good reason. The trail climbs steeply through the canyon before reaching a narrow, exposed ridge with incredible views of Zion Canyon.
The hike to Angels Landing is about 5.4 miles round-trip. One of the most memorable sections is Walter’s Wiggles, a series of 21 steep switchbacks that climb the canyon wall. We tackled those switchbacks on our visit, and for this landlubber, they were equal parts exhausting and exhilarating. But reaching the top made every step worth it.
After the Wiggles, you reach Scout Lookout, and this is where we split up.
I decided Scout Lookout was far enough for me. The views were spectacular, the ground beneath my feet was solid, and I was perfectly happy taking in the scenery from there.
My hubby, on the other hand, was just getting started.
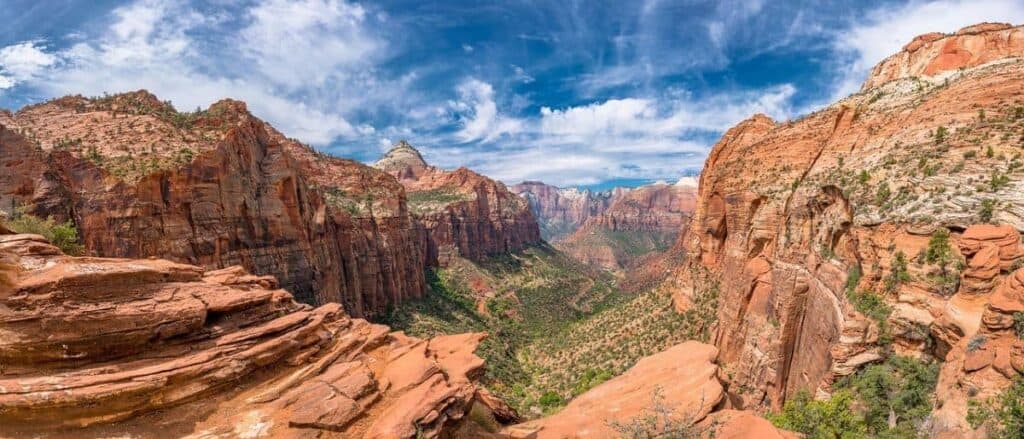
Our Angels Landing Experience: Scout Lookout or the Summit?
When we hiked Angels Landing in 2013, a permit was not required. Barry continued beyond Scout Lookout, using the famous chains to navigate the narrow, exposed section toward the summit. And yes, I was perfectly happy watching from a safe distance!
Even if you stop at Scout Lookout, you’ll still be rewarded with spectacular views of Zion Canyon. For many visitors, that’s plenty of adventure without tackling the most exposed section.
If you want to continue to the summit, remember that a permit is now required for the section beyond Scout Lookout. Check the current requirements before your visit, as rules can change.
Angels Landing is steep, strenuous, and exposed, with significant drop-offs. It’s not a hike for everyone, and there’s absolutely no shame in turning around at Scout Lookout. Know your limits and enjoy the canyon at your own comfort level.
For us, Angels Landing was one of those Zion experiences we’ll never forget. Whether you make it to the summit or stop at Scout Lookout, the views are incredible.
Our advice? Stay in the park and start early. We stayed at Zion Lodge, which allowed us to catch one of the first shuttles into the canyon. If Angels Landing is at the top of your Zion National Park itinerary, getting an early start can make a big difference.
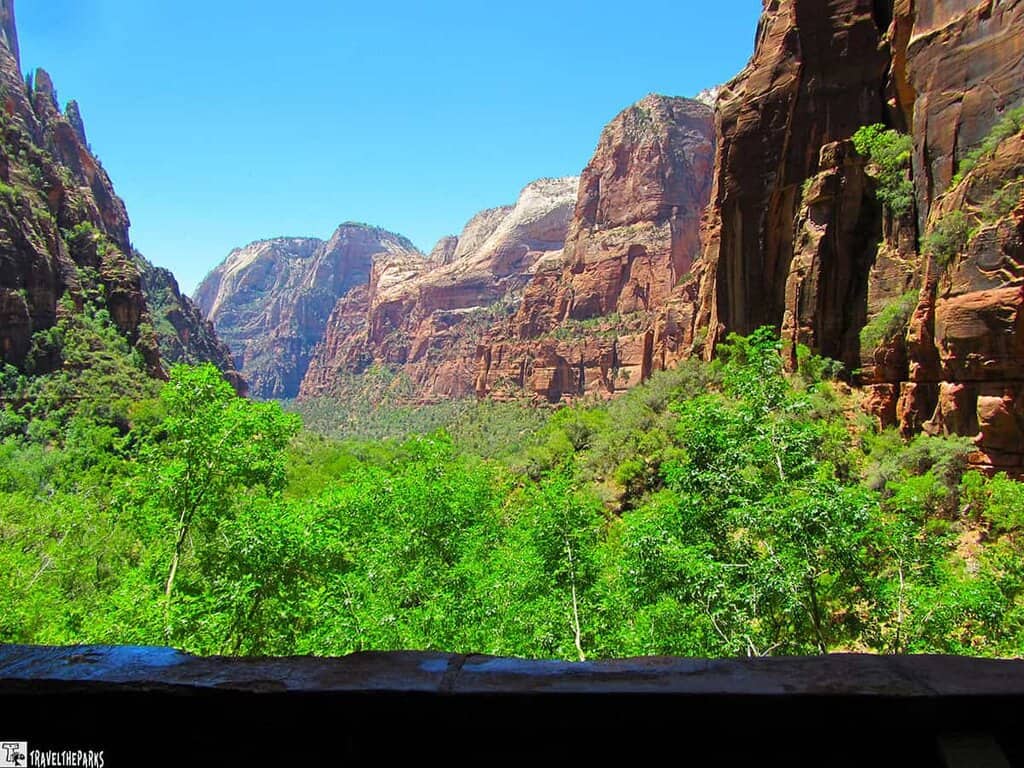
Zion National Park Day Trip: Weeping Rock
Weeping Rock was one of the stops we enjoyed during our visit to Zion, and it’s one of those places that really lives up to its name.
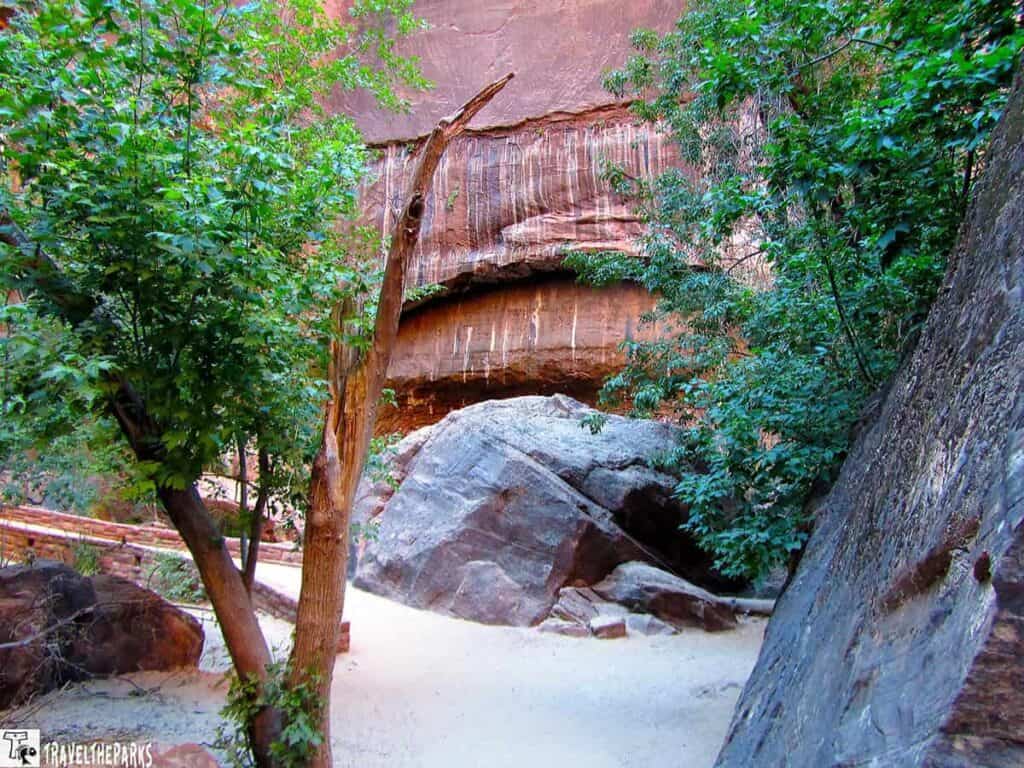
The short trail led us toward a natural spring where water slowly seeped through the layers of Navajo Sandstone and dripped down the rock face. The moisture created a lush little alcove filled with ferns, moss, and other plants that thrive in the cool, damp environment.
The contrast was beautiful. Zion is famous for its massive red-rock cliffs and dry desert landscape, so coming upon this green, misty pocket of vegetation felt like discovering a hidden oasis.
The water also gives Weeping Rock its name. As groundwater moves through the sandstone, it eventually reaches the surface and trickles down the cliff. Over time, that constant moisture has helped create the hanging gardens that make this area so distinctive.
One of our favorite parts was the view. From the overlook, we could see the dramatic canyon walls surrounding Big Bend and the Virgin River winding through the valley below.
Zion National Park Must-See Spots: Big Bend
Shuttle Stop #8 is one of those places where you’ll want to slow down and simply look around. Big Bend gives you a spectacular view in almost every direction, with towering canyon walls, the Virgin River, and some of Zion’s most recognizable formations all competing for your attention.
Remember those sweeping views we mentioned from Weeping Rock? This is what we were looking at from across the canyon.
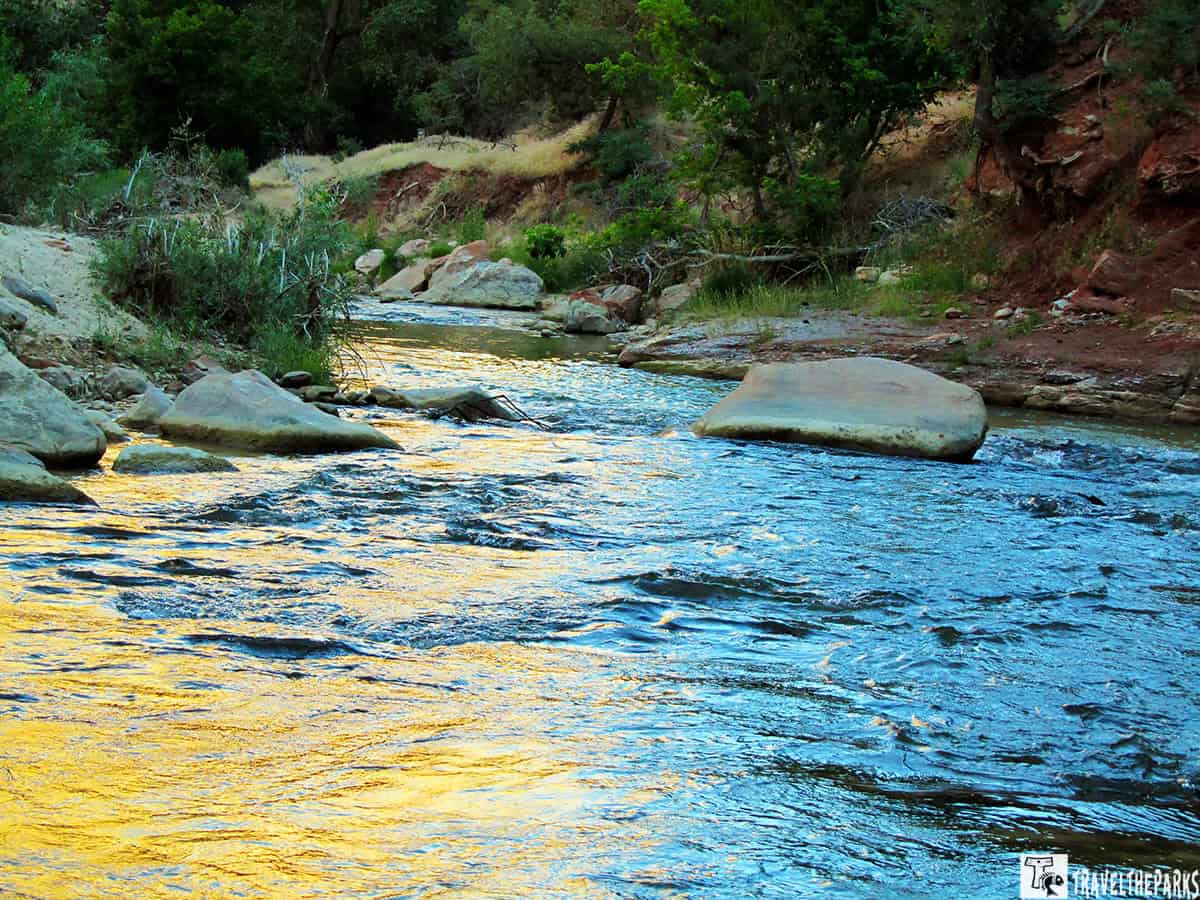
Here, the Virgin River makes a dramatic curve around the Organ before continuing through the lower canyon. From the viewpoint, you can watch the river wind through the red rock landscape. It’s one of those classic Zion scenes that looks like it belongs on a postcard.
But the real showstopper is The Great White Throne.
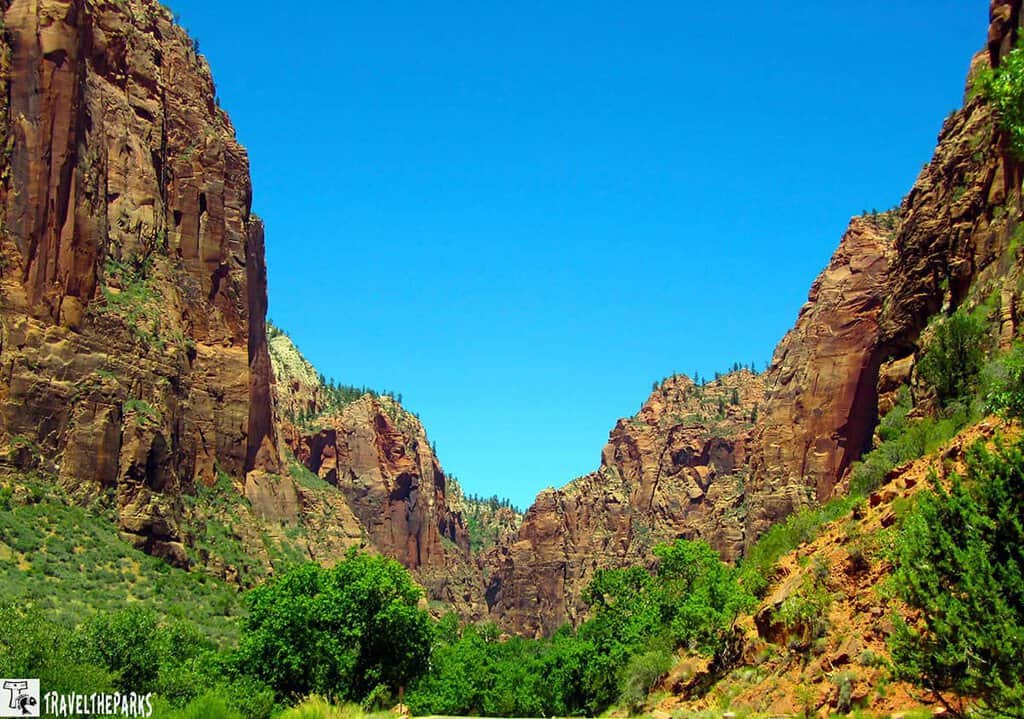
This enormous formation rises about 2,400 feet above the canyon floor, towering over the surrounding landscape. Its bright white upper cliffs stand out dramatically against the red and orange sandstone surrounding it.
Take a few minutes here to appreciate just how enormous everything is. It’s easy to get caught up in checking off shuttle stops and hiking trails when you’re visiting Zion in a day. Big Bend is a good reminder to stop, look up, and enjoy the scenery.
Whether you’re taking photos, watching the river, or simply standing there trying to take in the scale of the canyon, Big Bend delivers.
This is classic Zion—and definitely a stop we wouldn’t skip on a Zion National Park day trip.
Zion National Park Day Trip: The Narrows
Sure, Angels Landing gets most of the attention, but in our book, The Narrows is just as unforgettable. Shuttle Stop #9 takes you to the Temple of Sinawava, where the paved Riverside Walk begins.
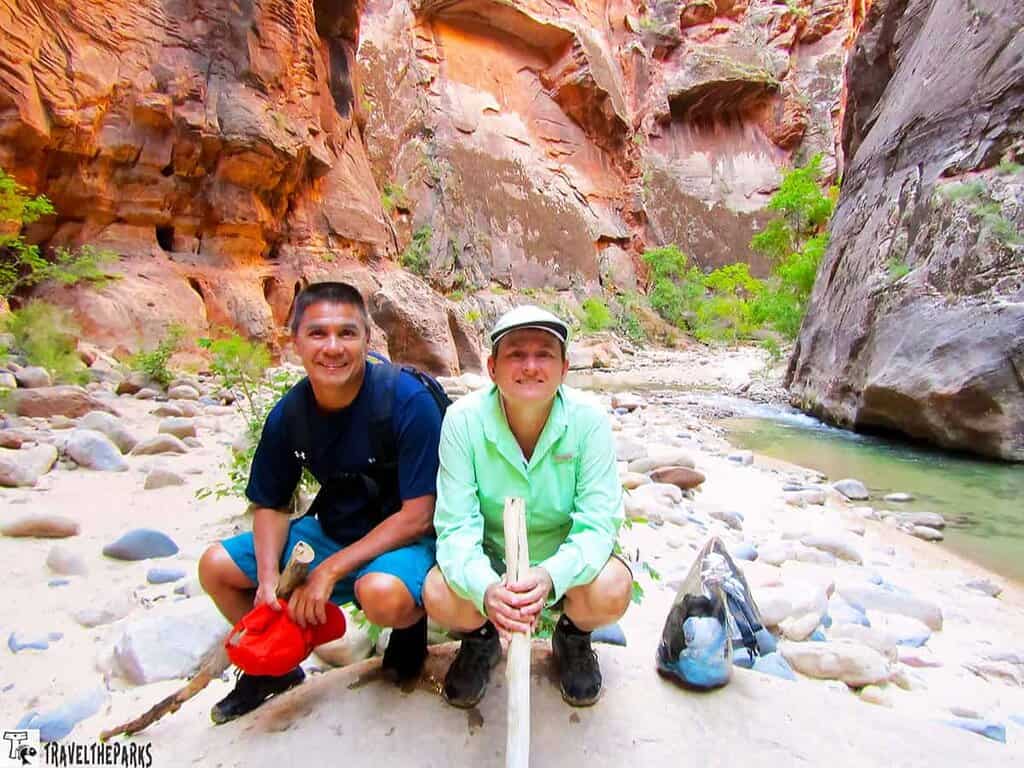
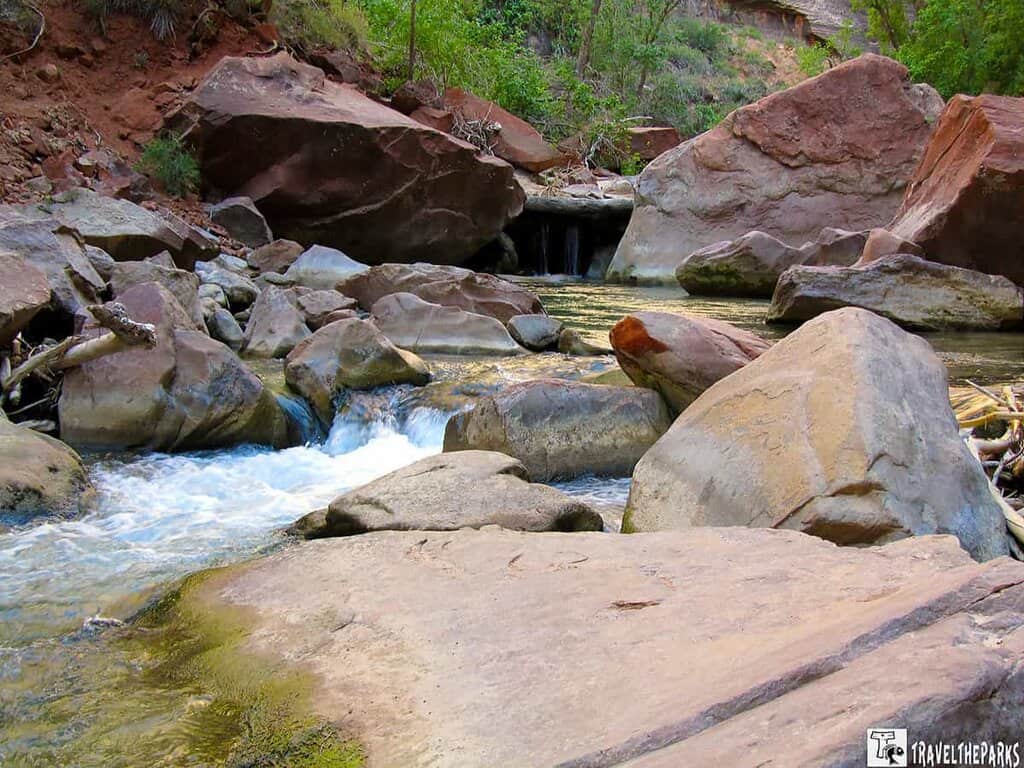
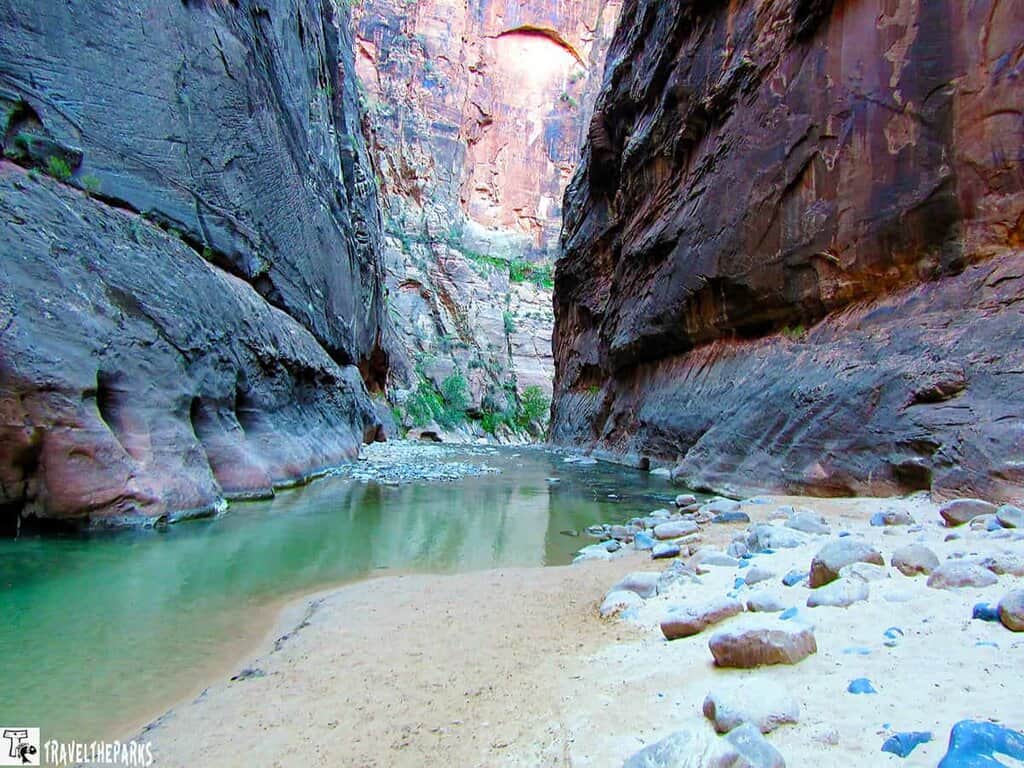
The Riverside Walk follows the Virgin River through a beautiful section of the canyon. As you continue, the canyon walls gradually close in, and eventually, the pavement ends. That’s where the real adventure begins—you can step right into the Virgin River and start exploring The Narrows.
Wading through the river between those towering canyon walls is an experience unlike anything else in Zion. It’s cool, refreshing, and definitely an adventure!
Planning to hike The Narrows? We have an entire post dedicated to this incredible Zion experience, including what to expect, what to wear, what to bring, and important safety information.
Read our complete guide to hiking The Narrows in Zion National Park
If conditions are right and you’re prepared for the adventure, The Narrows can be one of the highlights of your entire 1-Day Itinerary for Zion National Park.
Mount Carmel Highway: The Scenic East Side of Zion
We were lucky enough to have two days in Zion, and since we were heading to Bryce Canyon, we took UT-9 through the Zion-Mount Carmel Highway on our way out. If you have extra time, this scenic drive is absolutely worth adding to your trip.
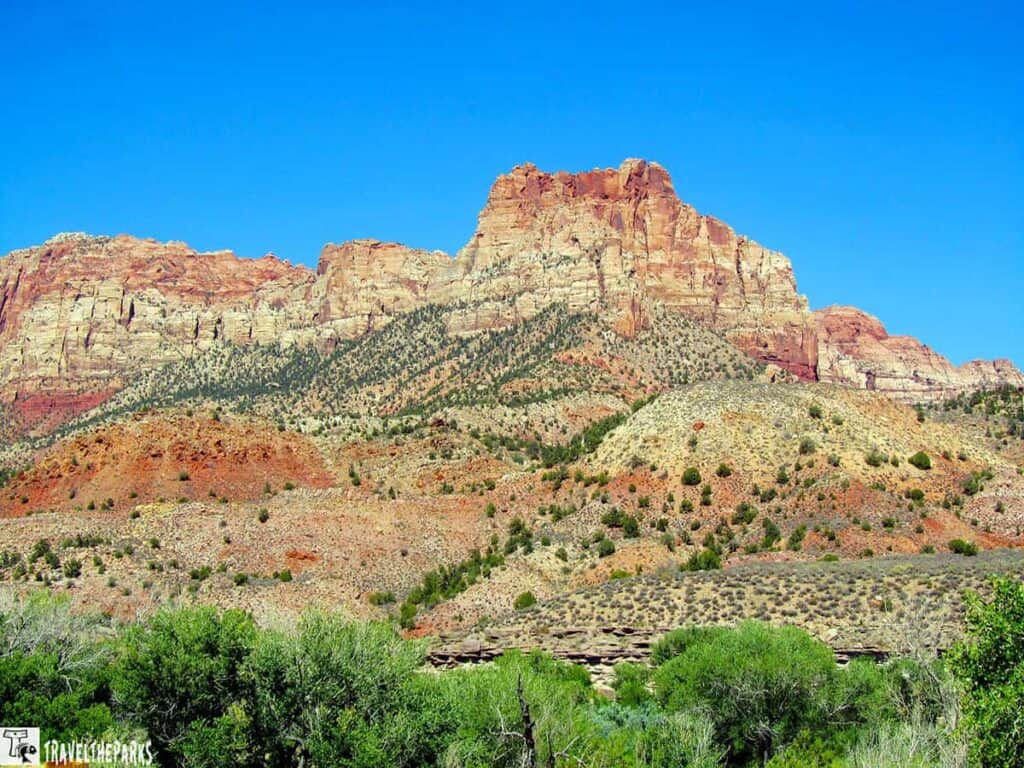
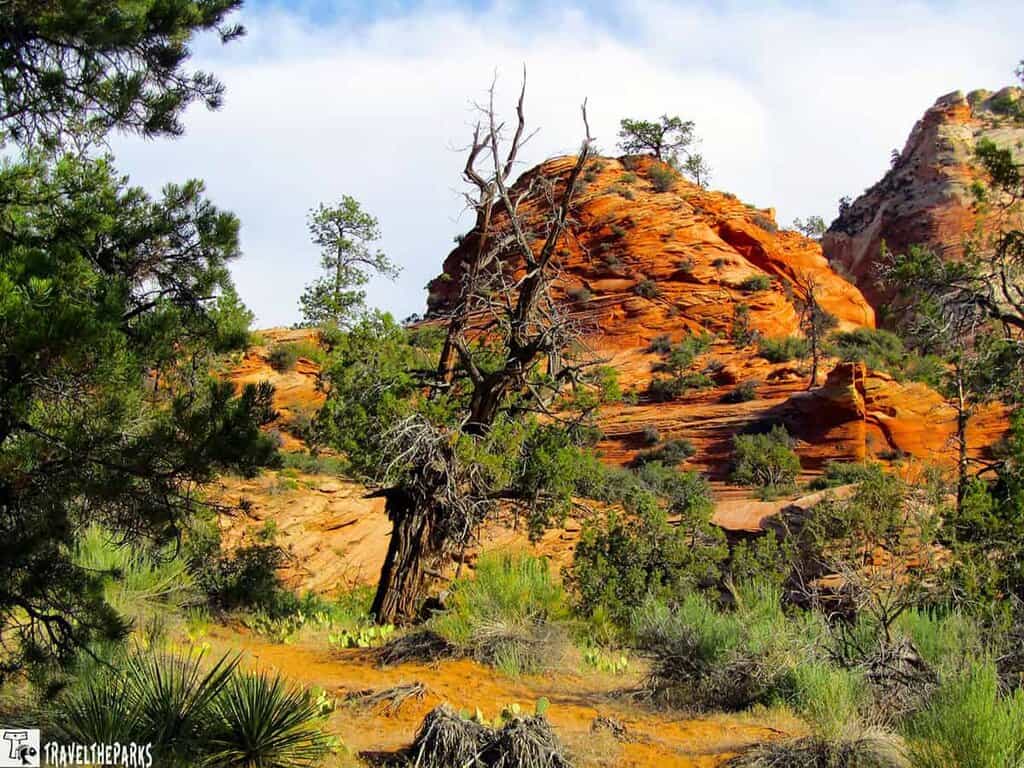
The road winds through the eastern side of the park, with steep switchbacks, dramatic rock formations, and plenty of overlooks. The scenery changes as you leave the main canyon, giving you a completely different perspective of Zion.
We especially enjoyed the early morning light. It brought out incredible textures and colors in the sandstone and made the landscape feel completely different from what we had seen along the Zion Canyon Scenic Drive.
If you’re continuing on to Bryce Canyon, this is a particularly beautiful way to leave Zion. Just take your time on the winding road and be prepared for some steep drop-offs and tight curves.
Have an extra day or are heading toward Bryce Canyon? Add the Zion-Mount Carmel Highway to your plans. It’s a beautiful way to experience another side of the park.
Zion-Mount Carmel Tunnel: An Engineering Marvel
One of the most impressive parts of the Zion-Mount Carmel Highway is the historic tunnel that connects Zion Canyon with the park’s east side. Construction began in 1927, and the highway and tunnel were completed in 1930. The ambitious project created a direct route through Zion toward Bryce Canyon and the Grand Canyon and was an incredible engineering accomplishment for its time.
The tunnel is more than a mile long and surprisingly dark. Six large “windows” carved into the canyon wall provide glimpses of the spectacular landscape outside. You can’t stop to photograph them, but catching a quick glimpse of the canyon through one of these openings is part of the experience.
When we traveled through the tunnel, traffic was controlled by rangers. Larger vehicles could be allowed to travel down the center of the tunnel while oncoming traffic was stopped. We arrived at the east entrance just before 8:00 a.m. and were able to go through without a wait.
Important Update for RV Travelers
Things have changed since our visit. Beginning June 7, 2026, Zion implemented new size restrictions on the Zion-Mount Carmel Highway between Canyon Junction and the East Entrance. Vehicles exceeding 35 feet 9 inches in length, 7 feet 10 inches in width, 11 feet 4 inches in height, or 50,000 pounds are no longer permitted on this section of highway. Large vehicles must use an alternate route.
This is especially important if you’re traveling by motorhome. The old tunnel escort system for oversized vehicles is no longer available, so check your vehicle’s measurements before planning to drive this route. Measurements include things such as mirrors, bike racks, and other attachments.
For those traveling in a standard-sized vehicle, the Zion-Mount Carmel Highway remains a spectacular way to experience the eastern side of the park—and one of our favorite drives in Zion.
Checkerboard Mesa: Nature’s Geometric Masterpiece
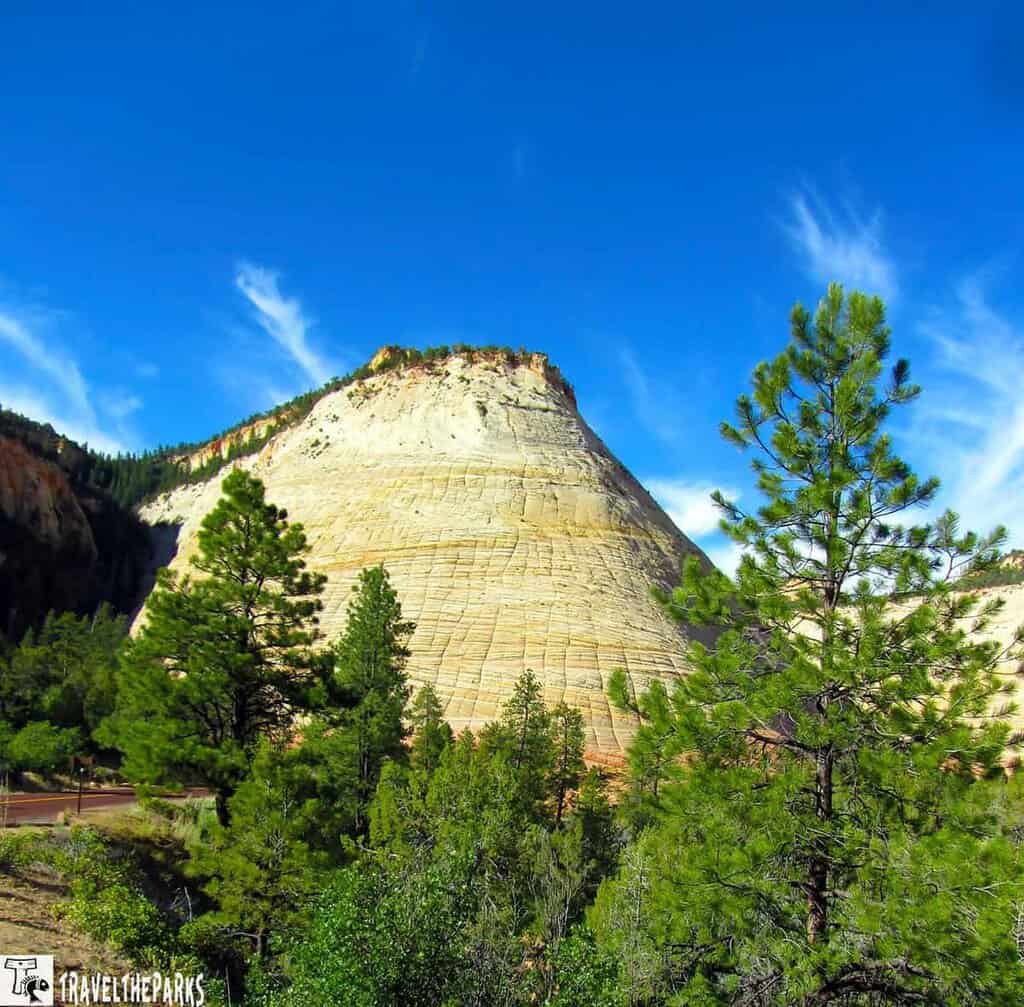
Just off the Zion-Mount Carmel Highway (UT-9), near the park’s east entrance, you’ll find one of Zion’s most unusual formations: Checkerboard Mesa.
There’s a designated pullout where you can stop and take in the view. Look closely at the sandstone and you’ll see the distinctive grid-like pattern that gives the mesa its name.
So, what creates this incredible natural checkerboard? The horizontal lines are cross-bedding, created by ancient sand dunes, while vertical cracks formed as the sandstone expanded and contracted over time. Together, they create the unusual pattern covering the rock.
As a former Earth Science teacher, this was one of those places that immediately caught my attention. It’s like a giant geology lesson written right into the mountainside.
Nearby Crazy Quilt Mesa displays similar patterns, adding to the almost otherworldly appearance of the landscape. The scenery here feels completely different from the towering canyon walls farther west.
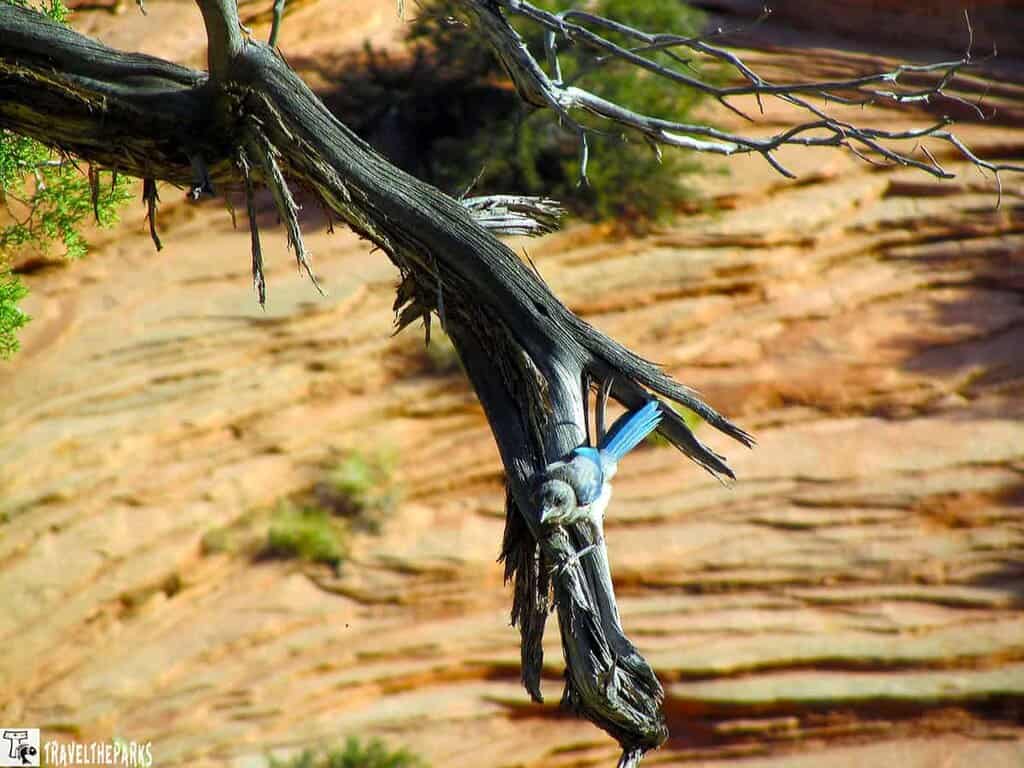
We explored the area in the morning light, when the shadows really brought out the patterns in the sandstone. We also enjoyed seeing how the vegetation and wildlife change as you move into this quieter, more rugged part of Zion.
If you’re driving the Zion-Mount Carmel Highway and have some extra time, Checkerboard Mesa is an easy and worthwhile stop. It’s a completely different side of Zion—and one we found fascinating.

What to Bring for Your One-Day Zion National Park Itinerary
What you pack for Zion depends on which trails you plan to hike and the time of year you visit. For a typical day in the park, we recommend bringing:
- 2-3 liters of water per person
- High-SPF Sunscreen
- Wide-brimmed hat and sunglasses
- Comfortable hiking shoes and
- Lightweight, breathable Clothing
- A rain jacket or extra layer
- High-energy snacks and a lightweight lunch
- A small daypack
- First Aid Kit
- Camera and extra batteries or a portable charger
- Trash bag for packing out your waste
- Trekking poles, if you find them helpful on rocky or uneven trails
Zion can be extremely hot during the summer, so water is the most important thing to get right. Refill stations are available in the park, but don’t count on finding water along the trail.
Hiking The Narrows?
If The Narrows is part of your 1-day itinerary for Zion National Park, you’ll need a few additional items. We recommend wading socks, appropriate footwear for walking in the river, and a sturdy trekking stick for balance on the slippery rocks.
You can rent Narrows equipment from outfitters in Springdale. Before heading out, always check the current river conditions and NPS warnings, since water levels can affect whether the hike is safe or even open. For more ideas, see our National Parks Packing List and our guide to hiking The Narrows
Final Thoughts: Zion in One Day – Pure Magic
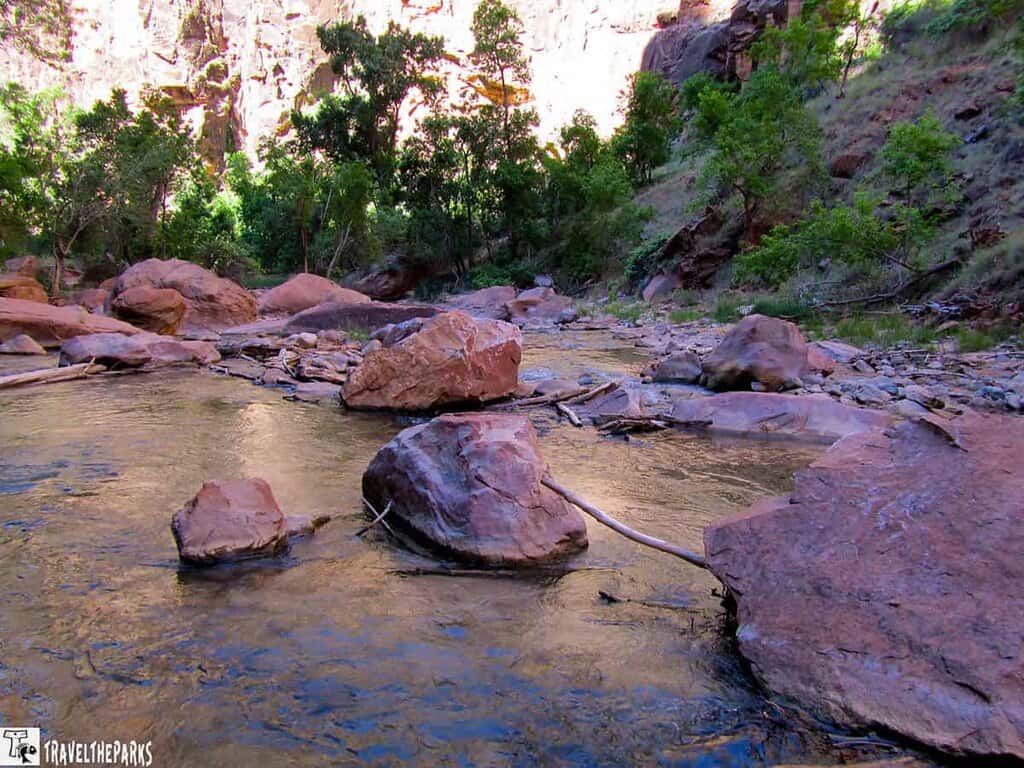
After a full day in Zion, it’s easy to understand why this park leaves such a lasting impression. Standing beneath those towering cream, pink, and red cliffs, you’re surrounded by a landscape shaped by geology, water, and the people who have called this canyon home for generations.
We especially loved the early mornings. The canyon was quieter, the light was beautiful, and deer and wild turkeys wandered through the campground as though they owned the place. Honestly, they probably think they do!
Zion can get incredibly crowded, especially during the busiest months. The shuttle system helps manage the crowds, but popular trails and viewpoints can still feel busy. If we return, we’d aim for early spring or late fall for cooler temperatures and fewer visitors.
Of all the Utah Mighty 5, Zion is our favorite. Maybe it’s the towering cliffs. Maybe it’s the hikes. Or maybe it’s those quiet moments when you’re watching deer graze at dusk and realize just how special this place is.
Zion stole our hearts.
If you’re planning to visit Zion in a day, start early, choose your hikes wisely, and leave yourself time to simply stop and look around. You may not see everything, but you can experience a lot—and you’ll probably leave already thinking about when you can come back.
Next stop: Bryce Canyon.
But Zion? You left us speechless.
What about you? What was your most memorable Zion moment? Tell us about it in the comments!